

No Auto Focus, Outline or Camera Features Needed!
If you have an older laser, or a basic laser that doesn’t have all the bells and whistles, then this tutorial is for you!
✨ Supplies for Projects
⇢ Basic Wood Pencils (Round or Hexagonal)
⇢ Sharpie Oil Paint Pens
✨ Free Download 👇
Step 1 – Download the Template
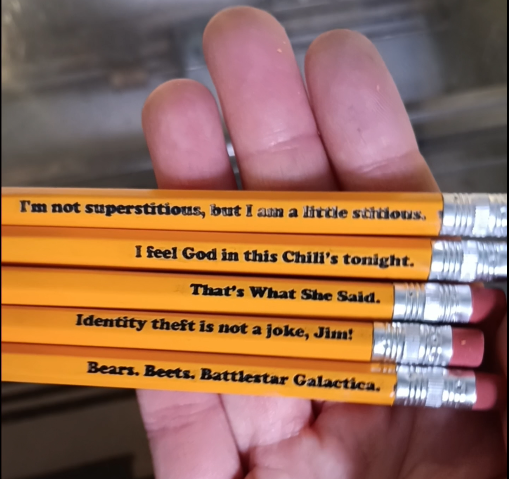
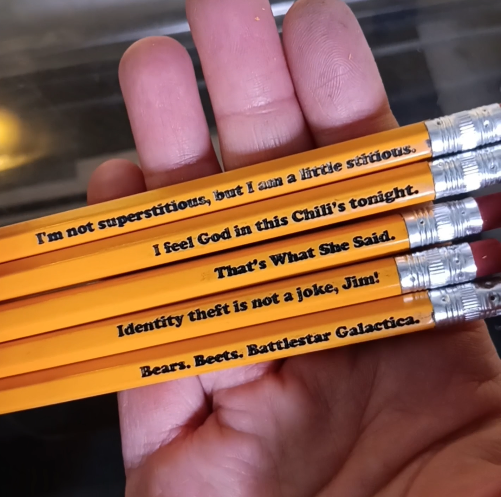
Once you import the PDF into your editing program, choose to use The Office Pencils, or create your own! Keep your Text inside the yellow boundary lines. Load the whole file into your laser program.
Step 2 – Cut Out Template
Get a scrap piece of cardboard. Ideally, you’ll want the core waves to be perpendicular to the horizontal pencils, but either way it is orientated it will work. Tape it down, or use pegs, to keep the cardboard from moving around in your laser.
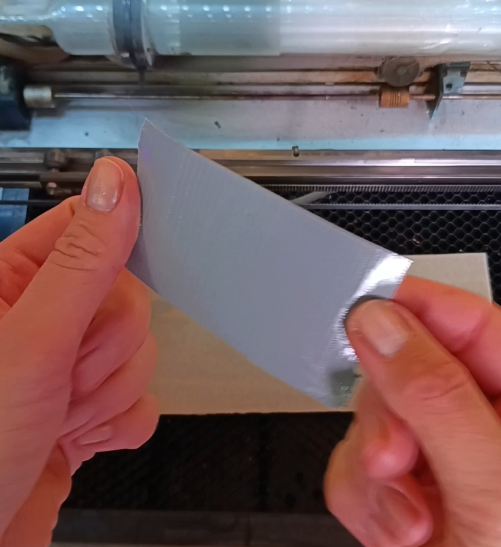
Focus your laser head to the cardboard and cut out the BLUE lines only, using your standard cardboard cut settings.
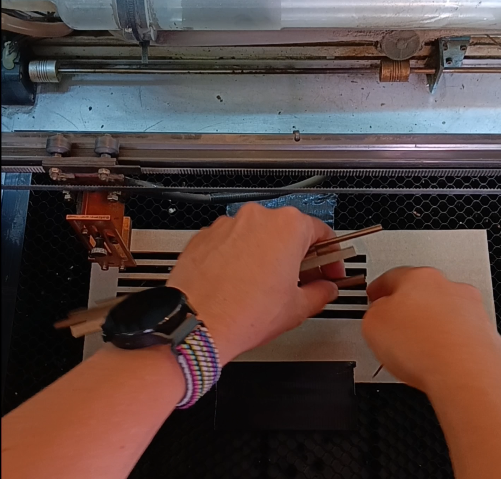
Step 3 – Load in the Pencils
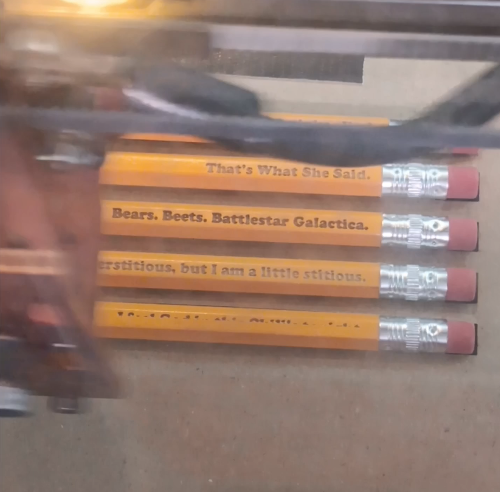
Make sure you load in the pencils in the same way they are in the file, eraser side on the right. Pencils are usually a soft wood, like cedar, so use rather low power to engrave. We’ll make the engravings darker later.

Be sure to re-focus your laser head to the new height of the pencils, and engrave!
Step 4 – Paint in the Engravings
Now we just need to use our favorite Paint or Paint Pens to fill in the Engravings!
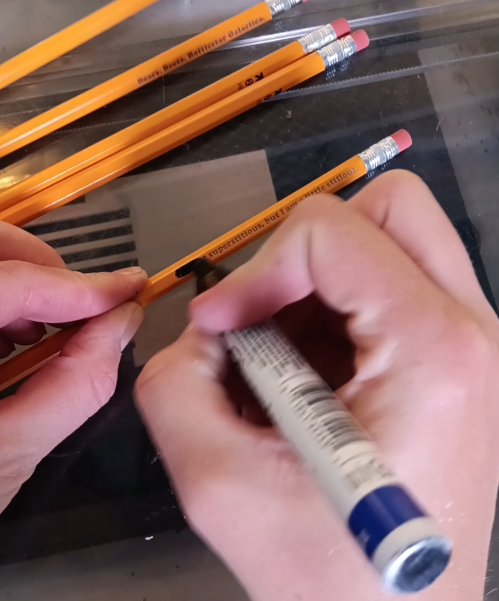
Using a cloth with a little bit of water (for acrylic paints) or rubbing alcohol (for oil paints) you can clean it up unveiling the engraving!

Congrats! Your pencils are done!
Watch the super quick tutorial in the video below!
➕ Subscribe to my YouTube Channel HERE
🆓 FREE Download for Honeycomb Bed Pins

Leave a comment