
Get Extra Credit with This Cute Charm! 👩🏫
✨ Supplies for Projects
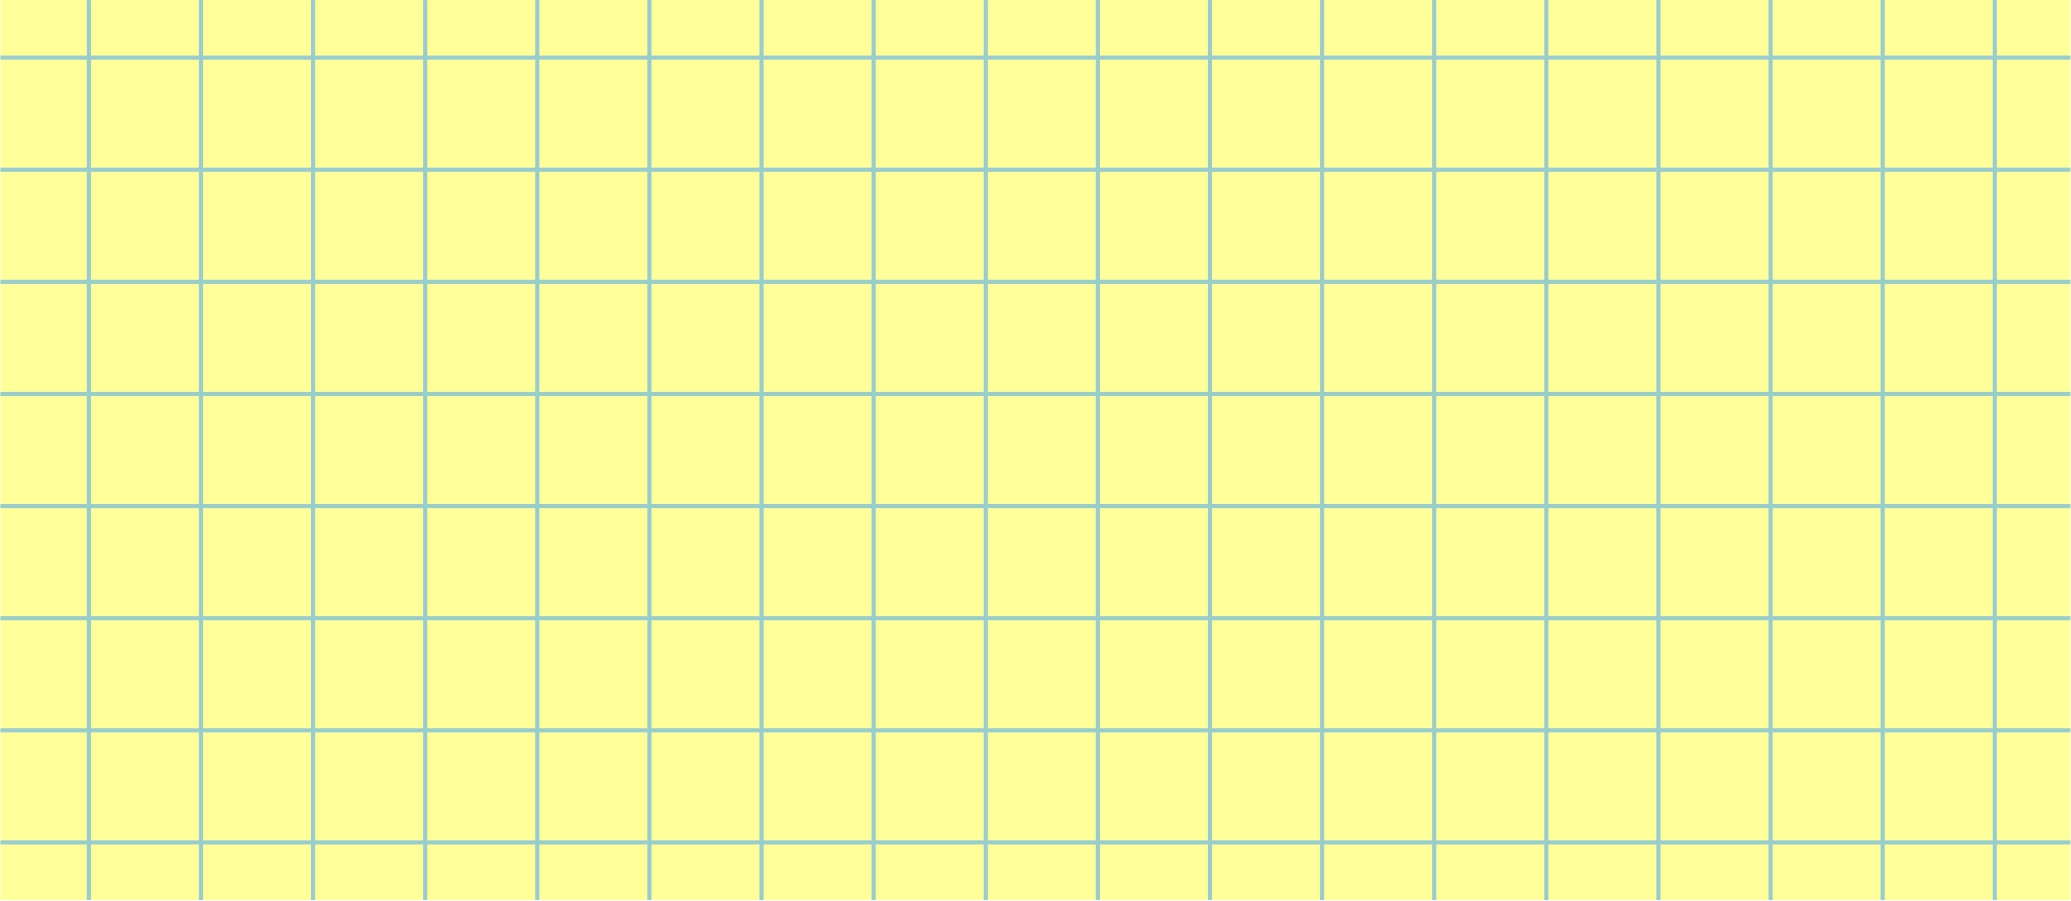
⇢ Basic Wood Ruler
⇢ Keyrings & Chain – AND/OR –
⇢ Necklace Chain
✨ Free Download 👇
Take advantage of the Back-to-School Sales and grab yourself a few nice, inexpensive wooden rulers! 📏
Step 1 – Download the Template
Download the flower design above or create your own charm that will fit within the 1″ wide wood ruler. Import the PDF into your laser editing program.
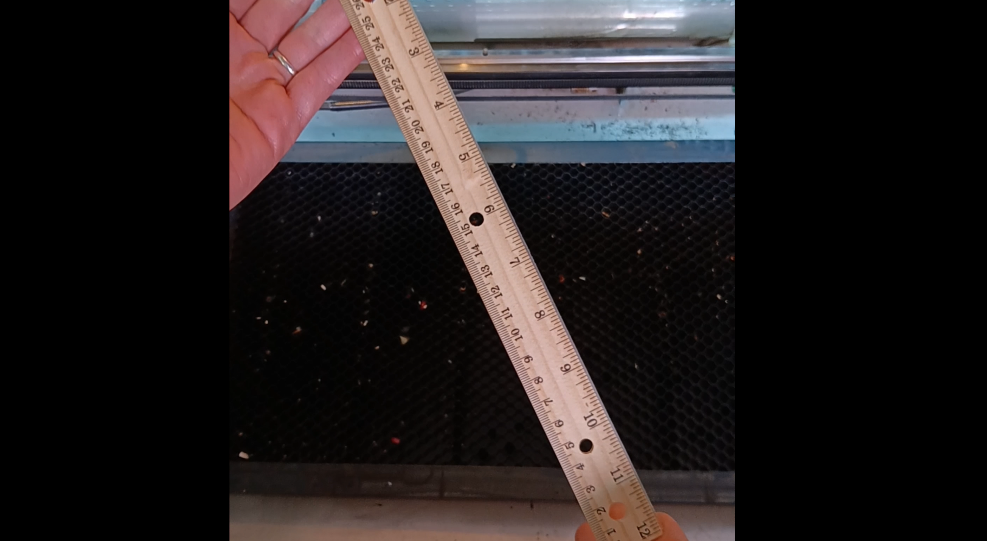
Step 2 – Prepare the Ruler
Remove and stickers as well as the plastic or metal straight edge imbedded along the edge.
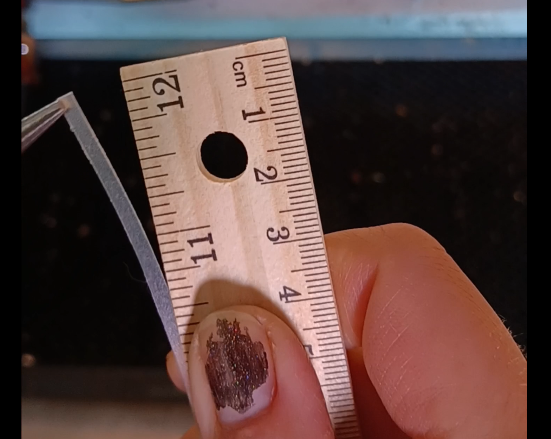
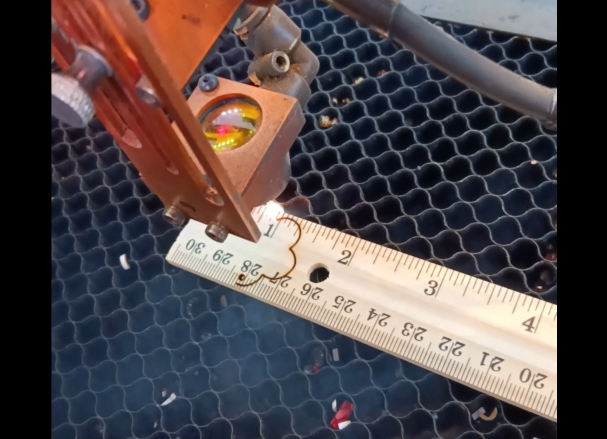
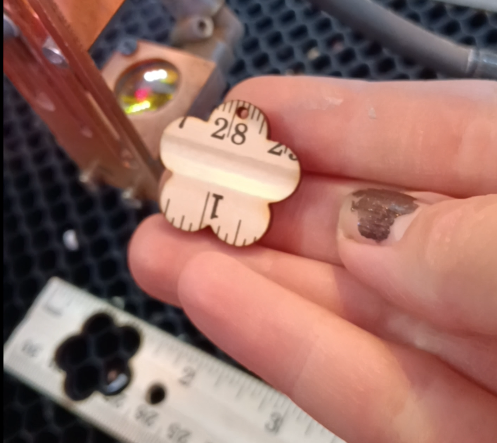
Step 3 – Cut Out the Charms
Align the design along the ruler, paying attention to the pre-drilled holes. I have found wooden rulers are made of pretty soft wood, and you can use your usual wood cut settings.
You will be surprised how fast and easy these Laser Cut Rulers take to make!
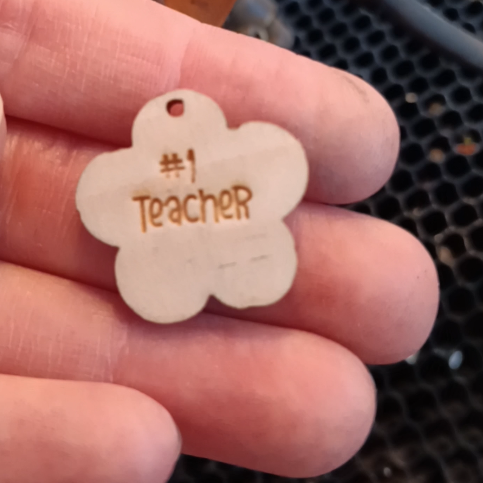
Step 4 – Engrave the Laser Cut Ruler Charms
This is optional, but can make the charms extremely personable! If there is any print on the opposite side of the ruler, you should be able to sand that off with some 150-300 grit sand paper.
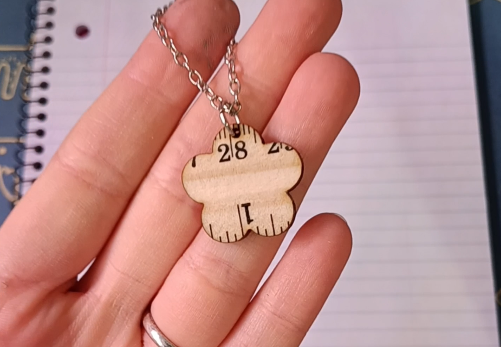
Step 5 – Turn Your Ruler Charms into Gifts!
You can seal these with varnish or leave them as they are! No matter the teacher, you can turn these into wonderful personalizable gifts by putting them on necklace chains or keyrings!
Congrats! You are are done!
Watch the super quick tutorial in the video below!
➕ Subscribe to my YouTube Channel HERE
🆓 FREE Download for Honeycomb Bed Pins

Leave a comment