
It’s Wine-o-clock in Your Laser 🍷
✨ Supplies for Projects
⇢ Wine Cork (Here’s a Link for a Bunch of Corks)
⇢ Little Eye Screws
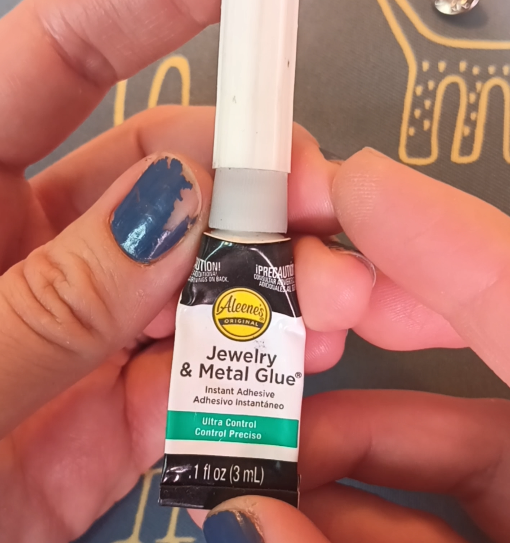
⇢ Aleene’s Jewelry Glue
⇢ Jewelry Findings
⇢ Pins
Cork is a sustainable wood product that is perfect for your laser!
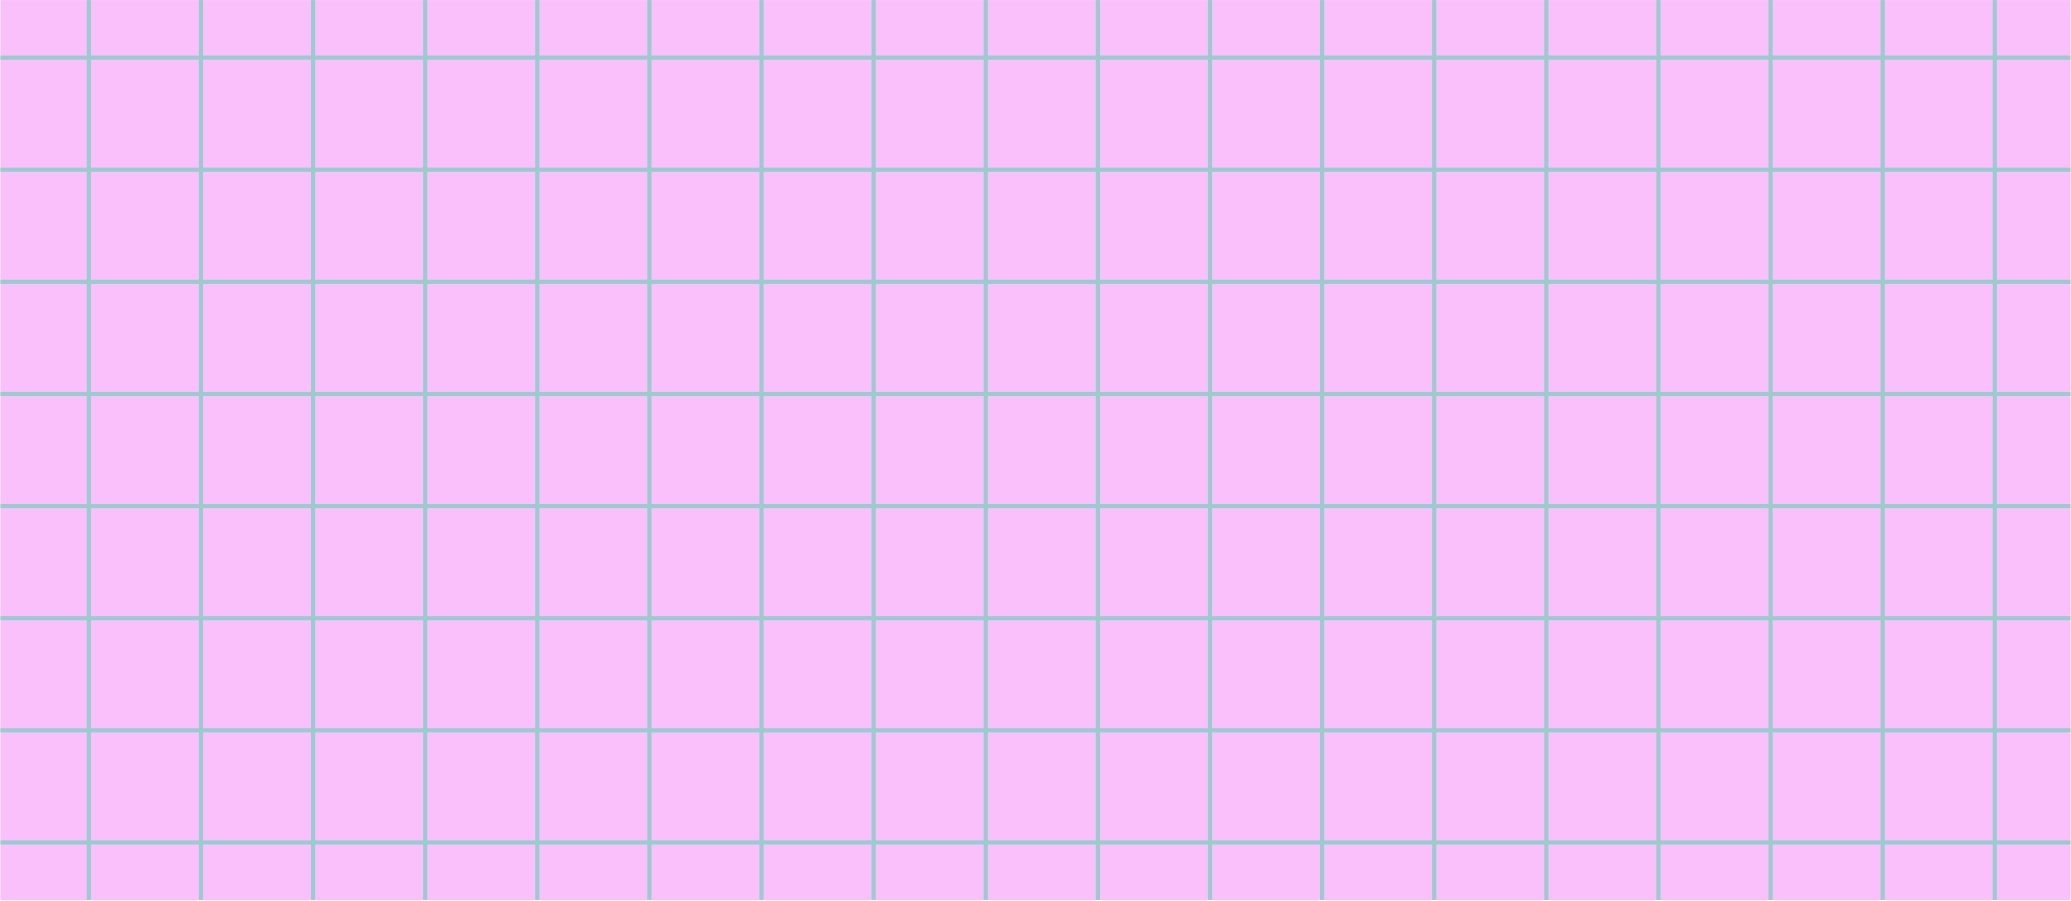
Step 1 – Cut the Wine Cork
All you need is a sharp knife or utility knife. Be careful! Try to cut the cork into a disc, as wide as you like, and as straight as you can. Luckily, corks are easy to come by. Practice makes perfect!
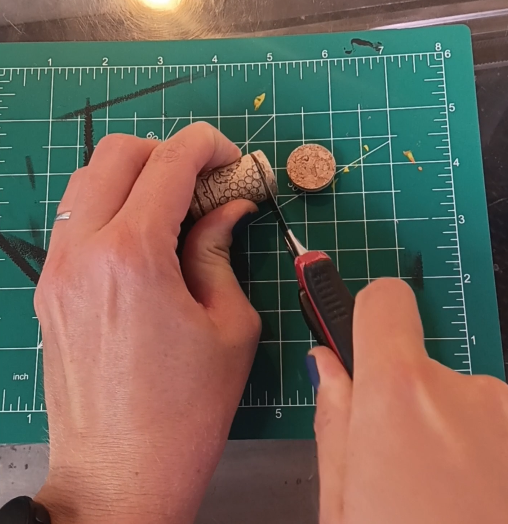
Step 2 – Position in Laser
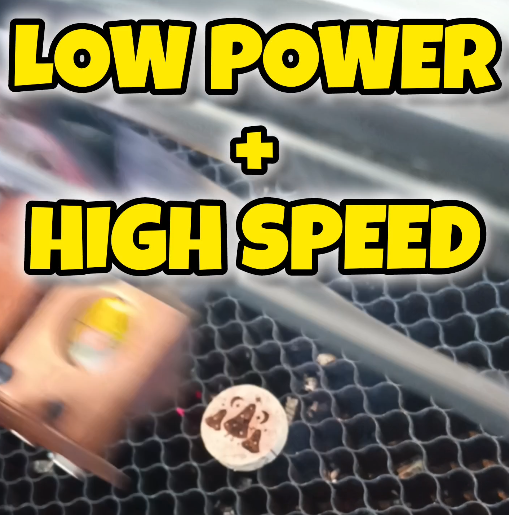
Next, we need to laser engrave a fun design on there! Simple, or intricate, corks measure around .75” wide, so there is a decent amount of space to engrave anything you like! Cork is a type of wood, but it is extremely light and spongy. This means your engraving laser levels should be pretty fast and low level.
Step 3 – Finishing Laser Engraved Cork Disks into Jewelry – or Anything!
I am going to turn these into jewelry pieces. You can seal the surface with resin or clear acrylic spray, but I will leave these with their raw finish.
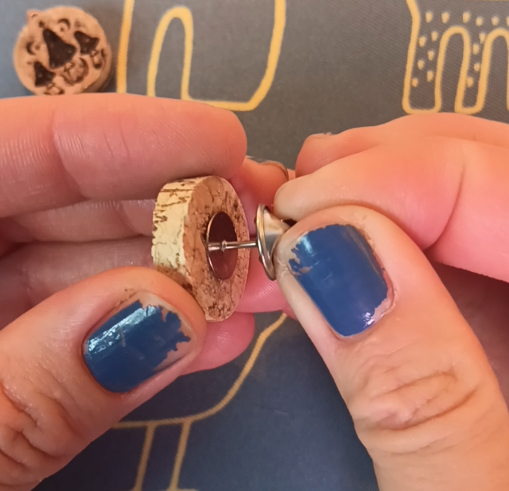
To make the earrings, I just use these tiny little eye screws.
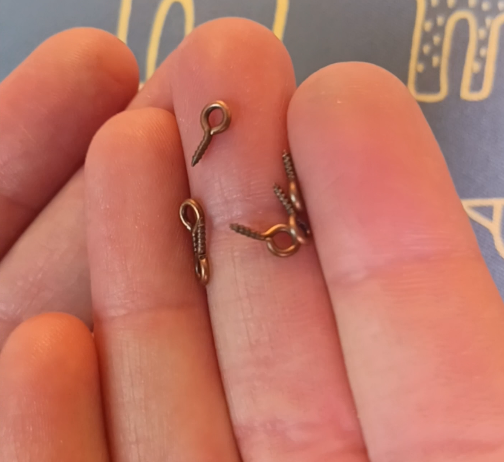
They screw right in, and with a little dab of nice glue, like this Aleene’s Jewelry Glue, it will hold very well.
Then, they just need to be put on some hooks and you have some super cute earrings!
To make a pin, it is even easier! Just glue a pin on the back and you are done!
Can you believe how cute these laser engraved cork slices came out!?
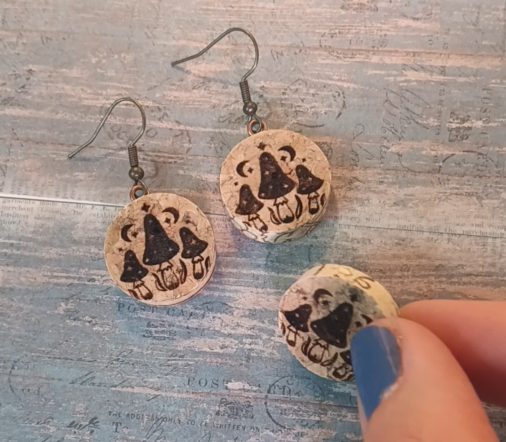
Such a cheap and impressive laser craft. What will you engrave on your corks?
Watch the super quick tutorial in the video below!
➕ Subscribe to my YouTube Channel HERE
🆓 FREE Download for Honeycomb Bed Pins

Leave a comment