

Reuse, Reduce and Laser! ♻
10 Free Downloads Await! Sign up for Creative Fabrica’s All Access Free Trial and enjoy 10 free downloads to kickstart your creative projects.
✨ Supplies for Project
⇢ Old Jeans
⇢ Wide Masking Tape
⇢ 3M Double Sided Sticky Paper
⇢ Jean Patches
✨ Designs Used
⇢ Skulls and Bones
⇢ Brass Knuckles
⇢ Hippie Symbols, Peace Sign
Materials can be expensive! Let’s check out how to Laser Cutting Jeans and save money in the long run!
➕ Subscribe to my YouTube Channel HERE
NOTE* I am using a 40 watt CO2 Laser. If you are using a diode laser, you may get different results.
Types of Jeans
I’ll be using these Gray jeans that are 98% cotton and 2% Elastane. Elastane is a Polyurethane, which is laser safe.
I will also be using these regular old 100% cotton jeans, as well as this premade iron on jean patch. There are sheets of iron on adhesive you can use to turn any fabric into a patch, but the premade patches saves me a step and are wicked cheap!

I just need to cut out little swatches of the jeans for us to laser. With one of the 100% cotton jean bits, I spray painted it up a little bit for our engraving experiment later. While that dries, let’s try our first experiment.

Laser Cut Jean Earrings
Let’s see if we can make some laser cut jean earrings! To make the material a bit more sturdy, let’s put some extra wide masking tape on there. I use this stuff all the time, especially with acrylic and painted wood!
Now that is on there pretty good, I am going to put it in the laser and secure it with some crafting magnets. Since the material is thin, it holds it in place easily.
I am going to try to make some skull pendants. The setting I am using is the same for 1/16th in acrylic. So, pretty fast and semi-low power. You’ll want to fiddle around with the settings for your laser.
It cut out just fine. The backside soaked up some blow back residue, but I don’t think these are going to work because there are too thin of areas. I can pull the whole thing apart.

But, that is just a design lesson with fabric! Let’s try some simple hearts, and this time, I am going to put masking on the backside as well. See how much we learn from experimenting?
These hearts look great! They are super lightweight as earrings. They are a bit floppy, perhaps I can incorporate jean material with some wood or acrylic someday? It would be great if we could stick jeans onto something, which brings us to the next idea I had.

How to Laser Cut a Jean Decal Sticker
Jean Decal Stickers! If you have seen my video on Weird Materials You Can Laser, you will have seen me making one of these before and it is so very easy!
Let’s get out some of that 3M Double Sided Sticker Paper! You can find this for cheap at my favorite acrylic shop in the link below!
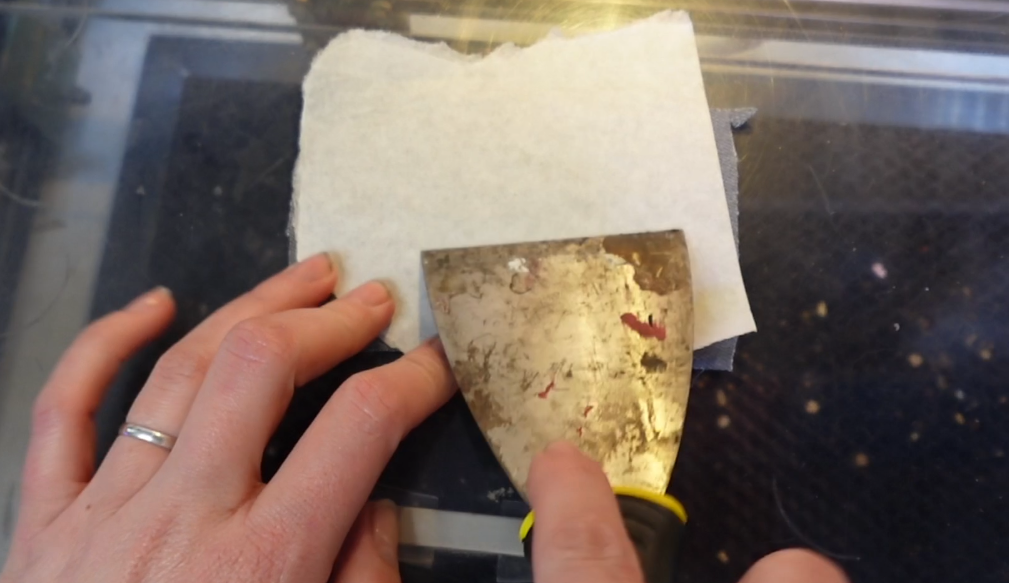
To make a jean sticker, I just adhere the 3M sticker paper to one side and masking tape to the other. I use a putty knife to really smush everything together.

Magnets hold it all in place and now we can make our Peace Sign Sticker! It cuts easily with the same settings as before.

I’m sure you are wondering, how well does laser cut jeans hold up? Well, let’s test that out a little!
I am first going to stick this on my ideas notebook and the let’s give it hell! I am really trying to scratch at it! The results? You can expect it to fray a little around the edges, just like a cut in your jeans would do. There are solutions you can paint around the edge to prevent this. I’ve even heard clear finger nail polish can work. I kind of like the look though, maybe it’s just me.

Talk about making a look, let’s get our designer pants on (or off 😆) and see how the jean patches do!
How to Make a Laser Cut Jean Patch
Like I said before, these Iron on Patches are so inexpensive, which means if you were to sell them, you’d be making mega profit! That’s what we like!
This pack came with 2. I am going to cover each side with the masking tape, even though the iron on adhesive side really didn’t want to stick to it. I just don’t want to melt it onto my laser bed.
I am making this brass knuckles design. I do sell all the designs I’ve made so far, just so you know. 😉😉😉

Still using the same settings, it is cutting like butter! The masking protects everything! It is a little curly from where it was folded in the package, but that shouldn’t matter when we iron it on!
I ironed it on and it stuck on there just like it is supposed to! I’m sure it might fray a little in time, but the adhesive will likely help stop that.

If you are into patches, or are looking into a quick little something to sell online and at craft shows, consider this!
Now for the ultimate Jean Test – Engraving!
How to Laser Engrave Jeans
The spray paint is now nice and dry. I wasn’t sure how much laser engraving jeans would show up, so this paint should help. We can’t engrave with too high of power, or we might burn a hole right through it! So, I suspect we won’t have a charred engraved look.
I am going to use my logo for the raster engrave with a high speed and medium power engrave setting. I also set some shapes as vector engrave cut line around the edges. I am using a medium/low speed and the very lowest power setting for that.
Let’s see the final result!

The engraving is noticeable. The paint does help, but you can see the texture in the fabric!
The Vector Engrave Cut lines, however, nearly – and did! – cut right through. This means that setting would need to be drastically changed, or avoided. It also tells me, I might be able to cut out all these projects with a lower power setting than I’ve been using.

Let’s give it a bit of a stress test. Looks like it will fray, just like the others. Jeans will be jeans.
I hope you learned a little something and are inspired to try something different! If you want to learn how to master more materials and techniques, check this out! Happy Crafting!

Sign up for Creative Fabrica’s All Access Free Trial and enjoy 10 free downloads to kickstart your creative projects. Plus they’re having a Subscription Sale, so check it out and Happy Crafting!

Leave a comment