

Quick List of Quick Tips!
10 Free Downloads Await! Sign up for Creative Fabrica’s All Access Free Trial and enjoy 10 free downloads to kickstart your creative projects.
✨ Supplies for Project
⇢ Coated MDF Colorboards
⇢ Wide Masking Tape
⇢ Gorilla Duct Tape
✨ Designs Used
⇢ Super Mario World Laser Cut Map (Download Coming Soon!)
⇢ Legend of Zelda Link to the Past Map
⇢ Legend of Zelda Master Key
⇢ Super Mario Question Block
⇢ Super Mario Invincibility Star
Time is Money! Save time making your projects with these helpful tips!
➕ Subscribe to my YouTube Channel HERE
Tip #1 – Paint Your Project IN Your Laser
Call me crazy, I’ve been called worse! If I have a bunch of little, even big, pieces that need to have the engravings filled in with paint, I will paint them right in the laser before it is cut out!
This piece has already been engraved. I made sure to have it held in place with these honeycomb pegs.
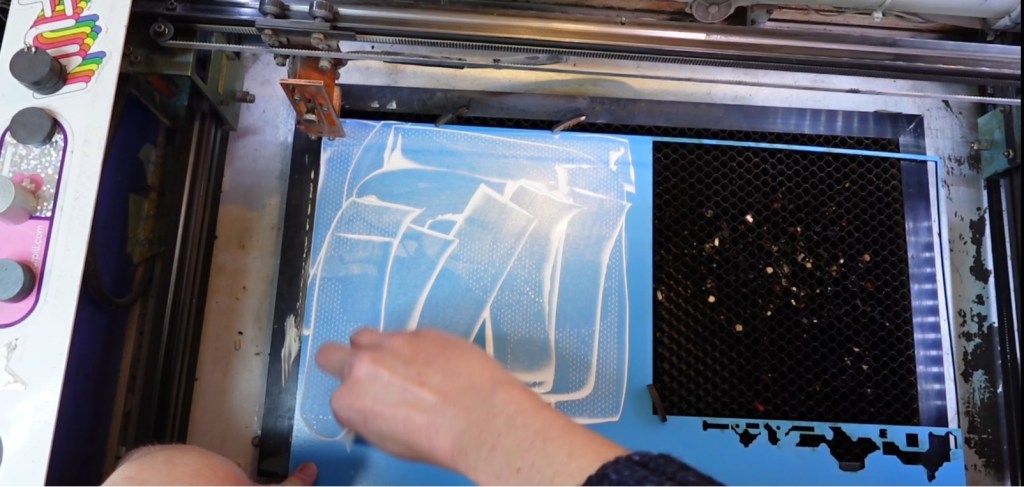
The process is exactly like it sounds! I just carefully get some basic acrylic paint in there and squeegee it around with a scrap piece of cardstock.
This paint wipes off of this materials surface really well, so I also sprayed it with a touch of water to clean it up even more. I then let the laser cut out the pieces! Easy!
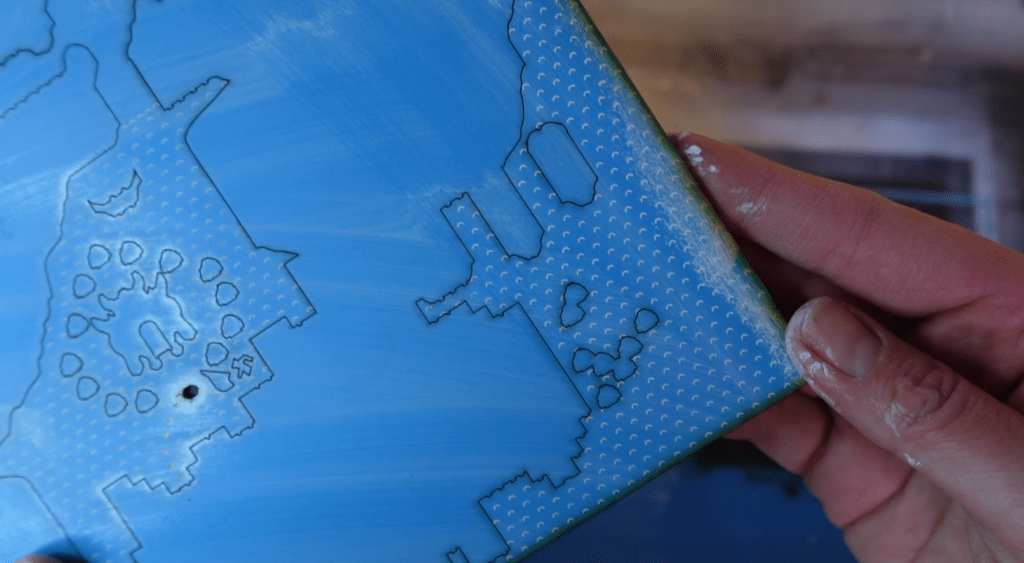
The big board looks like this after it is cut out. There is some blowback residue on here, but that will clean up with the rest of the paint residue. This material is actually the next tip!
Tip #2 – Use Pre-Colored MDF Boards
This material I am using is called Colorboards from Craft Closet. They feature full color prints and solid colors on regular ol’ easy to cut MDF. It has a durable, UV cured, clear laserable varnish on top for lasting protection, and quick cleanup like you saw before.
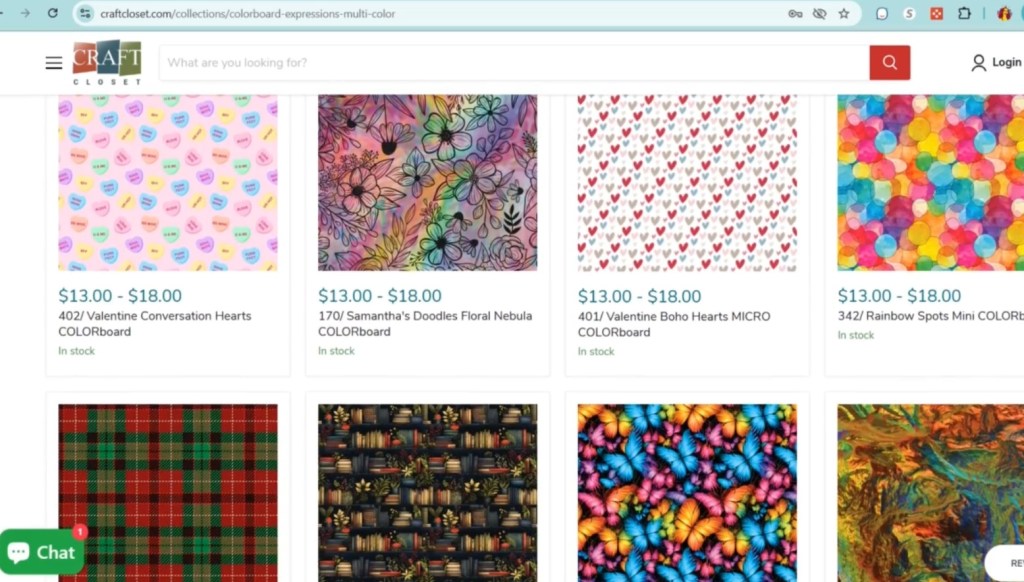
There are a bunch of colors and prints, and most are also double sided. No need to paint! Your project is practically done at the same time your laser has finished the job. Easy!
Tip #3 – Get A Hold of Your Little Bits with Tape
I use tape for so many things. Here’s my top 3 ways I use tape!
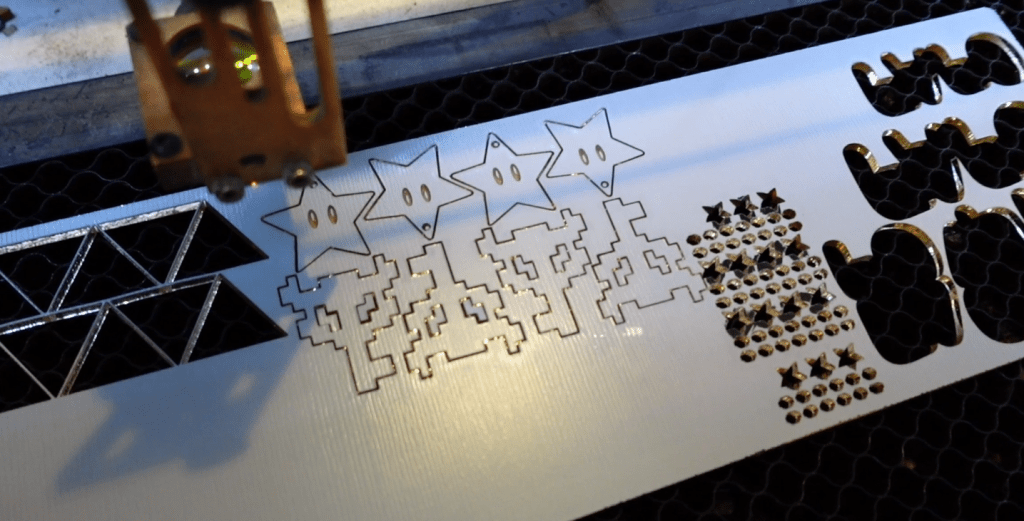
1} After I filled in these engravings with some paint, just like before, I cut everything out. There are a bunch of little tiny, bitty, insie winsie pieces here and I don’t want to pick them all out, so here comes some tape!
Even if a few fall through, every little bit helps! I tape up the whole piece and take out everything together.
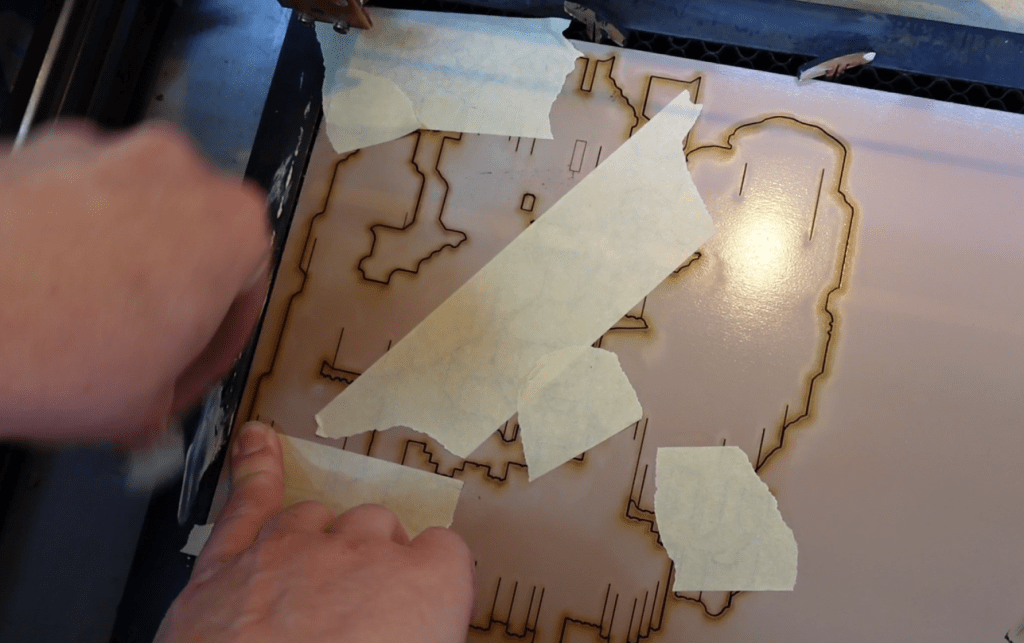
2} The next way I use tape is to mask off the surface of my material and then I laser engrave and cut it. This is extra helpful for smaller pieces that would be too much of a pain to try and clean up each little piece.
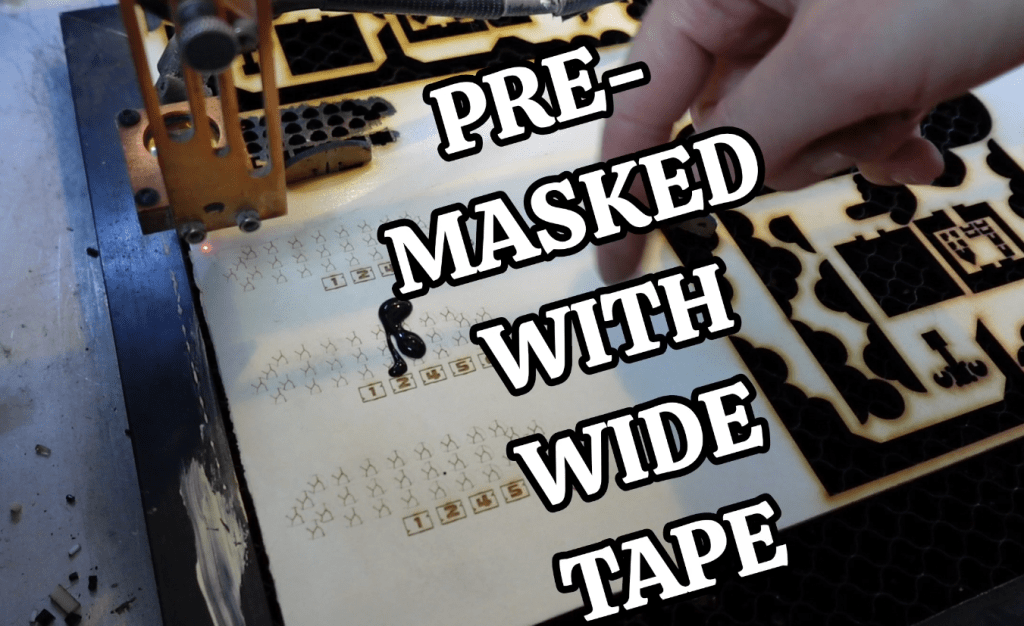
I still paint up the engravings inside the laser. If you are wondering how easy it is to get the masking tape off, well we just need another tape to help us!
3} I cut a rectangle around these little bit to help us out for this tape process. I’m using Gorilla brand Duct tape. This tape is stronger than the masking, so it will help us get the masking off.
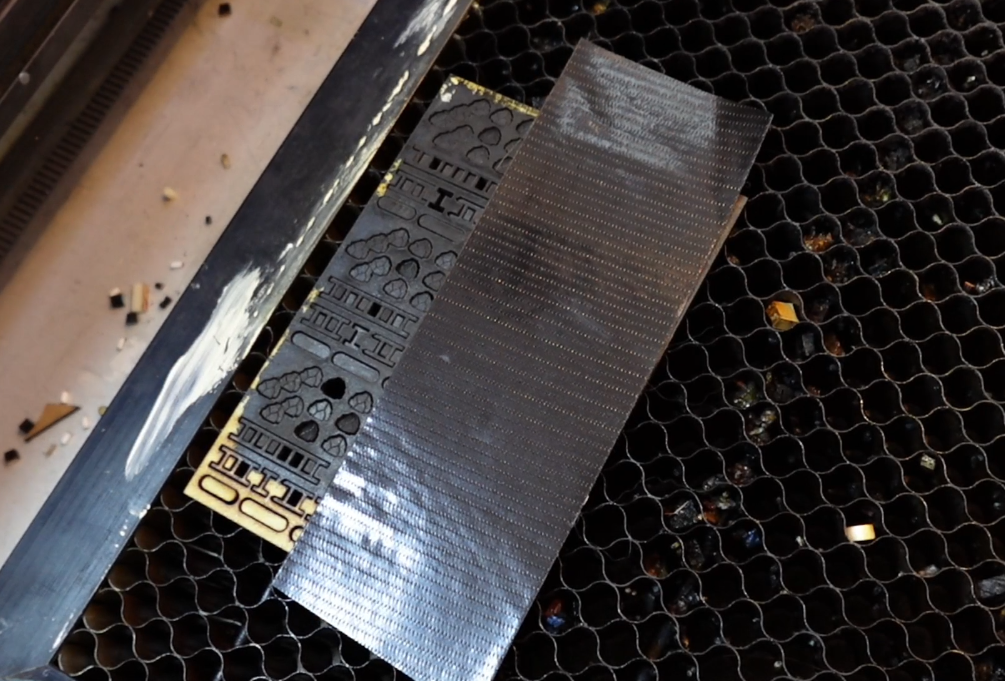
I just put a few strips on top of the masked laser cut bits. It also holds them together, which is super helpful. I can then peel away the material that is not needed and now all the laser cut bits are stuck face down on the duct tape!
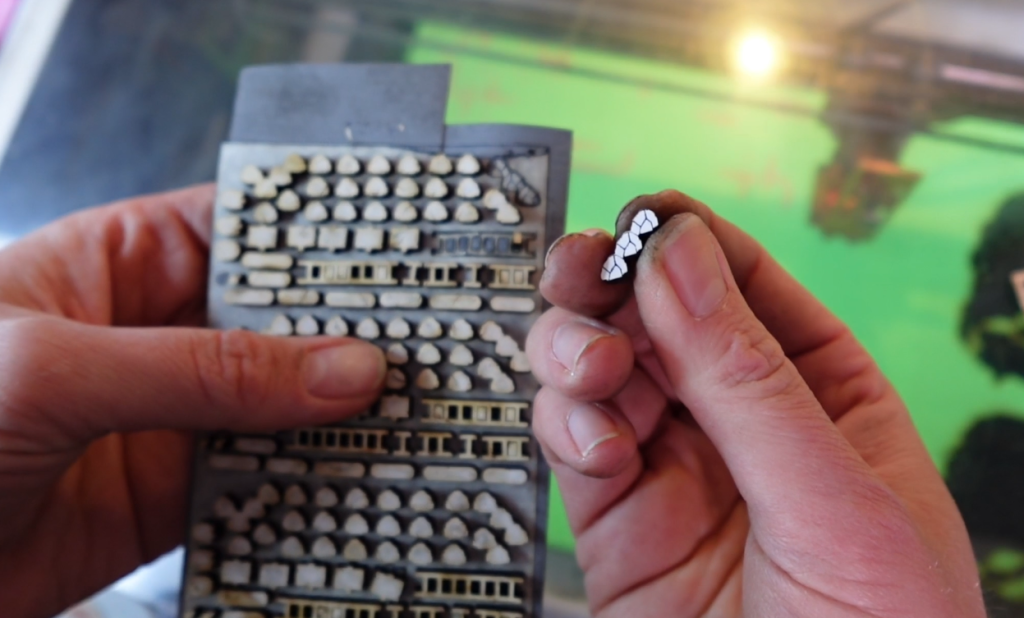
I can just peel these off, leaving the masking tape behind for a perfectly color-filled engraved teeny tiny piece!
Tip #4 – Organize and Optimize Your Laser Job Lineup
If you have a lot to cut out, make sure you are grouping things for maximum optimization! Have a project todo list handy, so you aren’t wasting time cutting something yellow, then something red, then back to yellow for another project, and so on.
Plus, if you only need a little bit of a material cut, try to find something you need to restock to pair with it or even try another project in a new color!
It sounds obvious, but if you pre-organize what you need cut, you will give yourself the opportunity to save time grouping things.
Tip #5 – When the Laser is Busy, You are Busy
This reminds me of when my son was young, people would say things like, “Sleep when the baby sleeps.” Which is a little crazy, but the I’m here to say the same sentiment. Not to sleep when your laser is on, but to work when your laser is working.
I try to time things like this: Long project first, so I can set up the laser job lineup. Then each subsequent color is in order to the projects I am working on.
Such as this Super Mario Map, I cut the base, then the 2nd layer, then the 3rd. So while I am cleaning up and gluing a layer, the next one is almost done. If I just dilly dallied waiting for everything to get cut out and THEN glued it all together, I would have wasted some time.

I hope these tips help you save time and get those projects ready to sell!
Happy Crafting!

Sign up for Creative Fabrica’s All Access Free Trial and enjoy 10 free downloads to kickstart your creative projects. Plus they’re having a Subscription Sale, so check it out and Happy Crafting!

Leave a comment