
There are a lot of steps, so take your time & take breaks.
Step 1 : Download the Laser Files
First step is to Download the Laser Cut file I have meticulously made for your enjoyment! You can download the file HERE.
✨ Supplies for this Project
⇢ Acrylic or Wood : I recommend Color Board MDF Sheets in Gray, Green, Tan, White, Blue and a Specialty MDF in a Light Neon Green Color. This could easily be made with color acrylic, or paint your own wood pieces. Any uniformly thick material will work with this laser file.
⇢ Glue – Wood Glue or Elmer’s Extra Strength Glue works well with wood products. If you are using Acrylic I recommend Weld-On Cement.
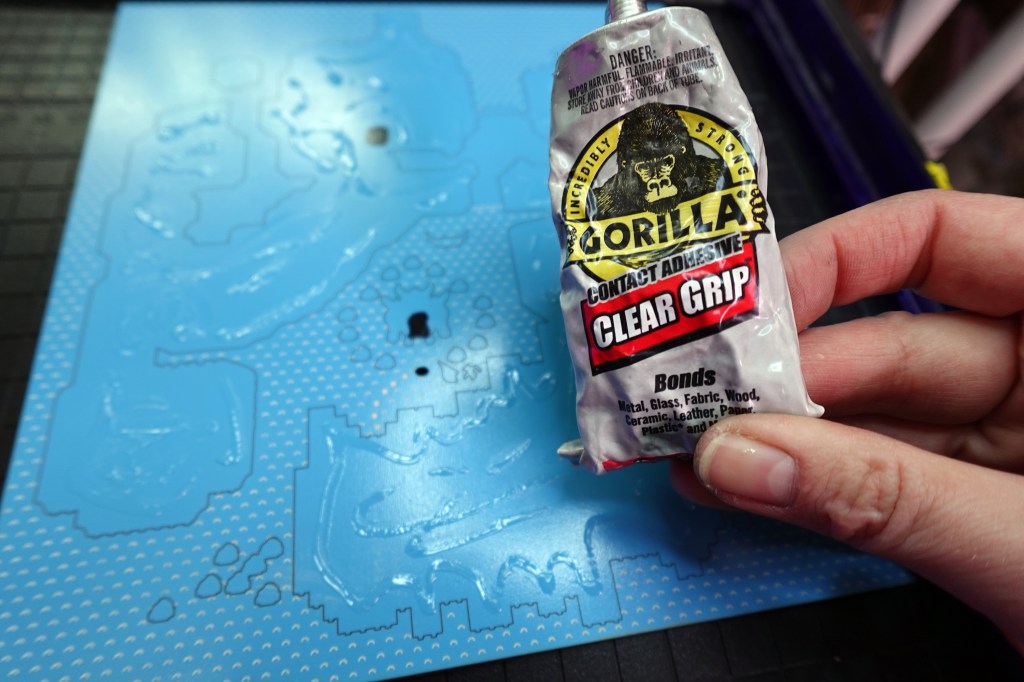
I would also recommend Gorilla Clear Grip Contact Adhesive. This one gives you a bit of wiggle room / time to get in place and clamp.
To instantly adhere the little pieces, I recommend an instant super glue. The kind I like and use for my jewelry making is this Aleene’s Jewelry & Metal Glue.
⇢ Sharpie Oil Paint Pens (Black, Blue, White)
⇢ Basic Acrylic Craft Paints (White, Black)
⇢ Tweezers
⇢ Masking Tape
⇢ Various Paints to embellish engravings (Optional)
✨ File Download for this Project
⇢ Legend of Zelda Link to the Past Hyrule Map
I recommend you cut out ALL the color layers before you start to assemble this craft. After the 1st layer, more and more colors come into play, and it’s convenient to have everything ready.
✨ Helpful Tips
⇢ A bowl of some sort helps keep the small pieces together.
⇢ Use masking tape to hold all the little pieces together after you laser them, so they stay together before you lift them out of the laser.
⇢ Just like building legos, it is helpful to keep the same color pieces together.
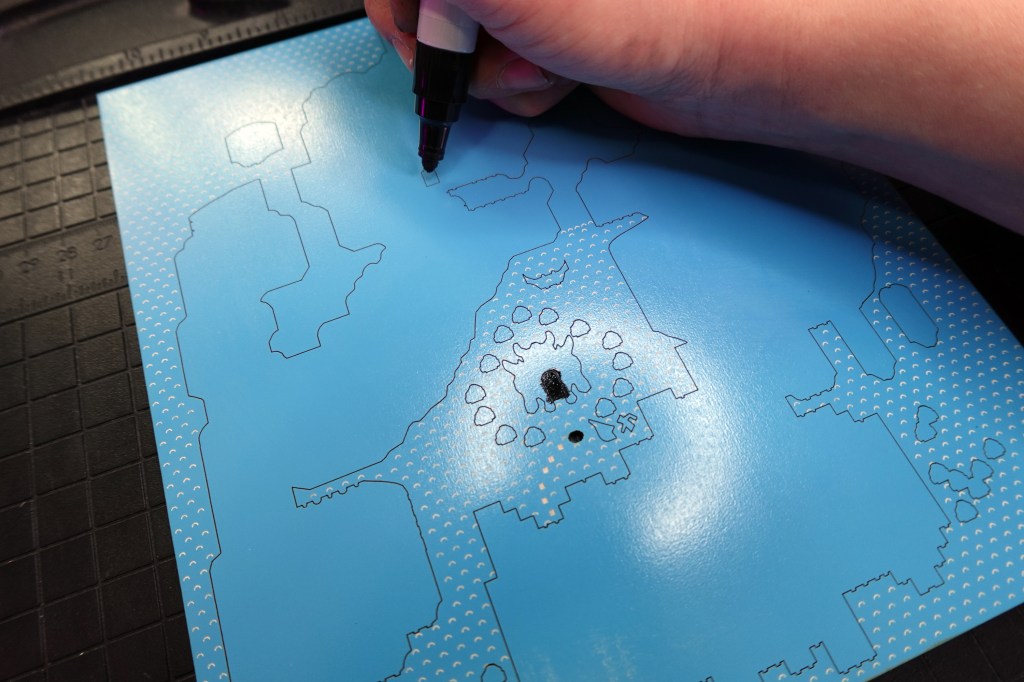
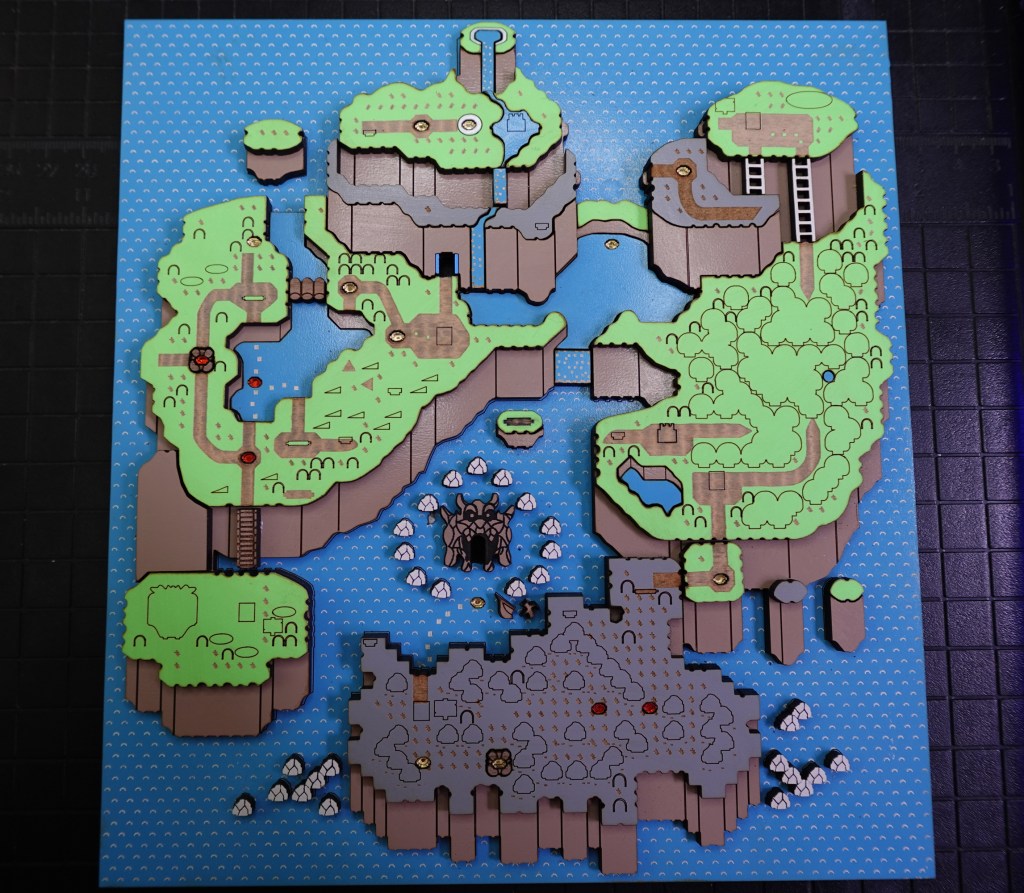
1st Layer – Blue Layer
The blue file includes the main board as well as the lakes and waterfalls. I like to paint in the little engraved squares with white. This will show through and be the ocean waves. You can also paint the waves in the laser after it is engraved, but before it is cut. Here is a video/blog showcasing some tips to get things made with efficiency.
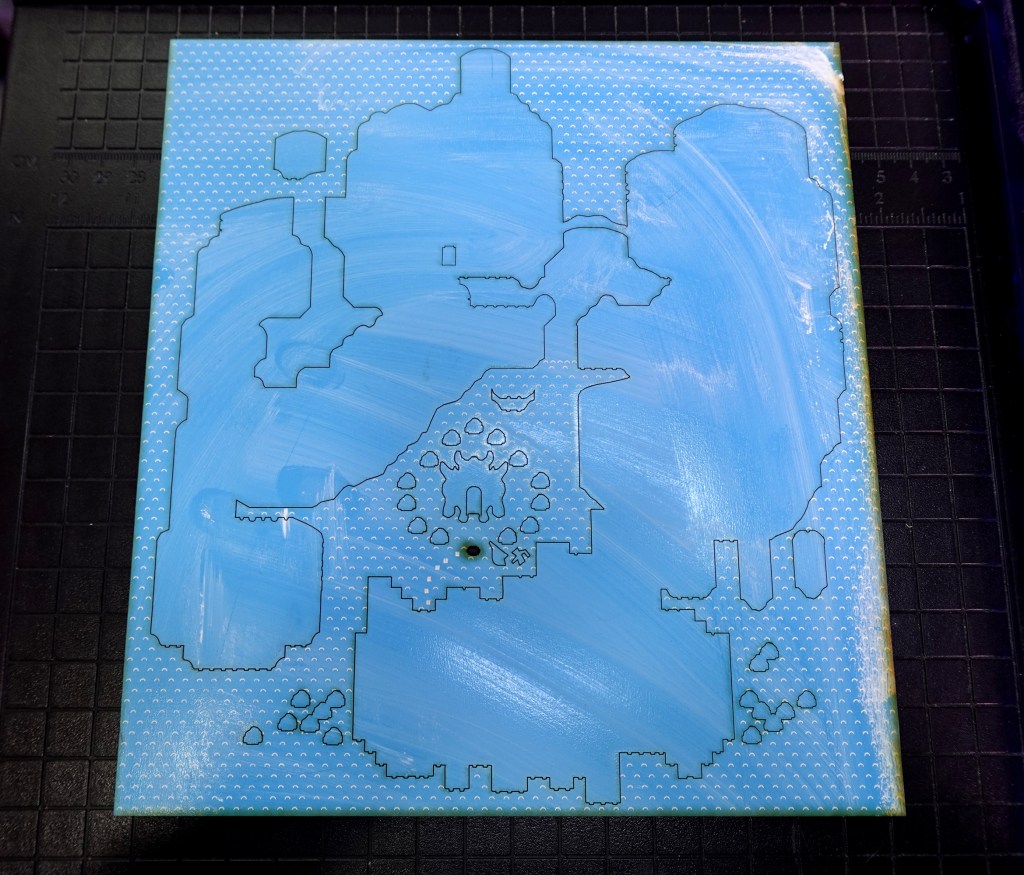
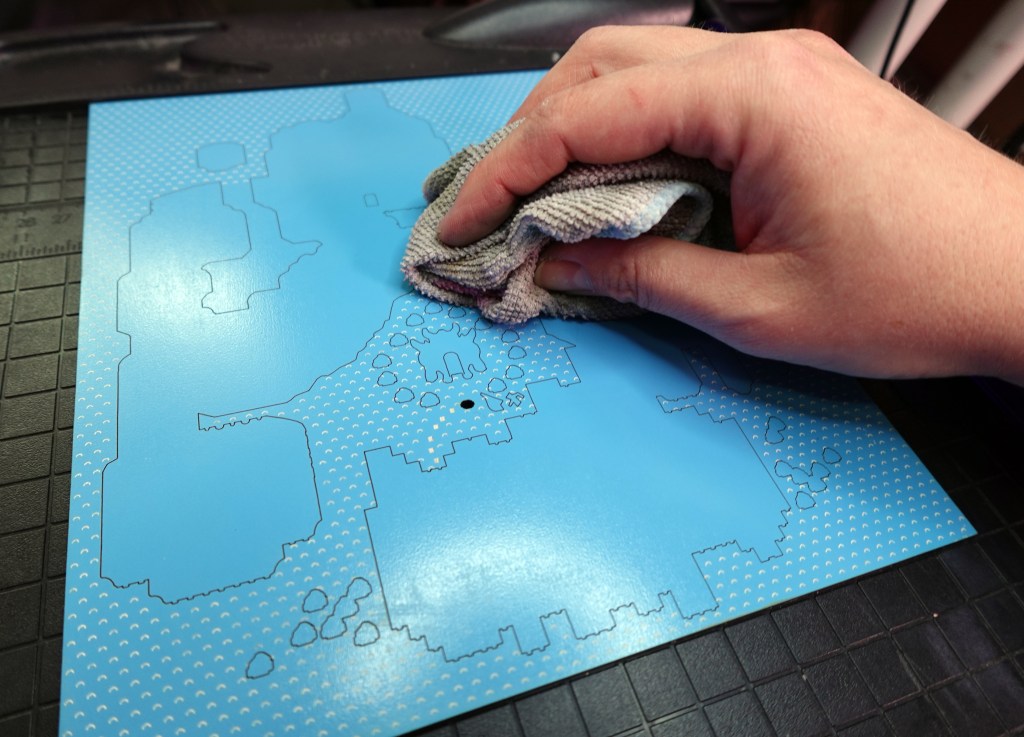
Because I used the coated MDF, the film left over from the basic acrylic paints wipes right off.
There is also 2 spaces that will need to be painted in with black. I suggest these Sharpie Oil Paint Pens : The rectangle where the cave door will be & the rounded door inside the Bowser Cave Head. No need to stay inside the lines, the sides will be covered up.
To finish this layer, flip over and tape, or cover somehow, the hole for the ocean level piece. You can then glue in the level piece, it is a yellow one. I used mirror gold acrylic to really give it some shine.

I’ve got a clever idea on how to cover that backside tape in the end stage, so be patient! 😉
2nd Layer – Tan, Blue, Green & White
I used this Gorilla Clear Grip Contact Adhesive so I had some time to get it into place and then clamped in place for a little while. Again, if you want to fill those tiny white iceberg pieces with back paint, watch this video / blog to learn my paint/tape trick to speed through it.
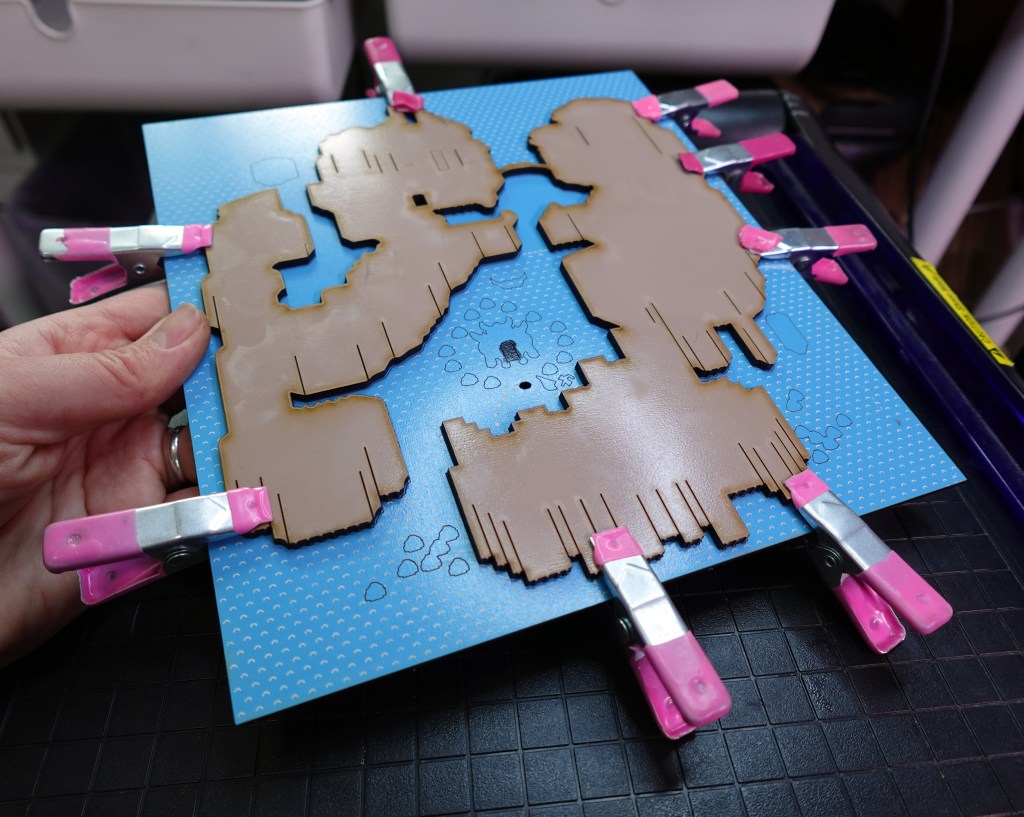
The tan layer needed a little wiping up of the blowback, then I glued in the rest of layer 2 pieces.
Here is everything on the 2nd layer. The main piece and surrounding pieces have convenient outlines that will match up with the piece needed.
If you would like the embellish the top of the waterfall piece, I recommend a White Sharpie Paint Marker.

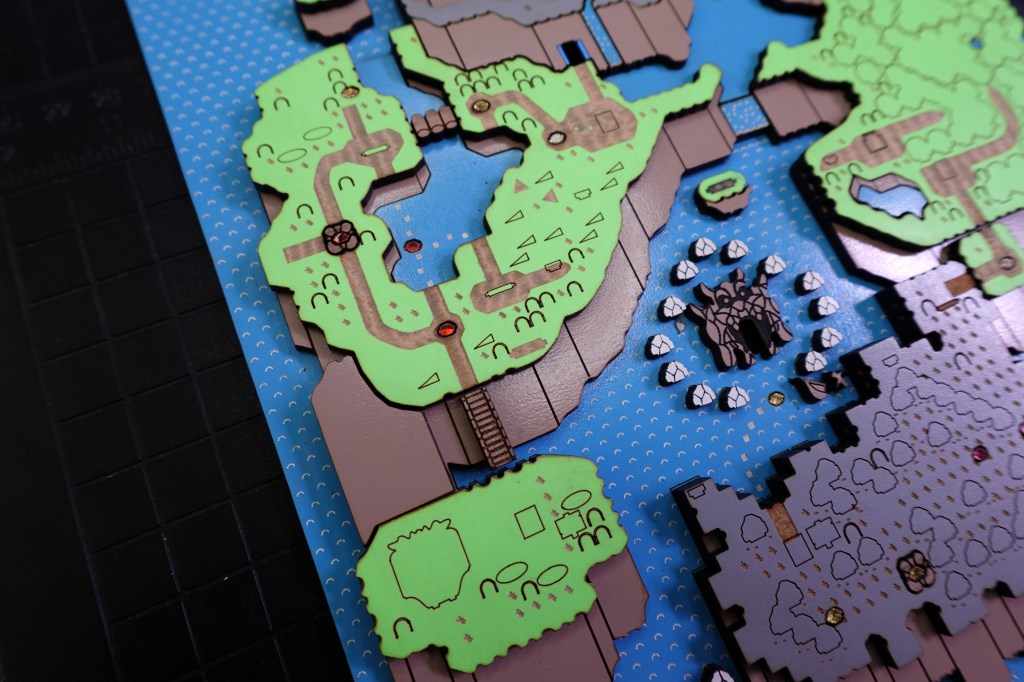
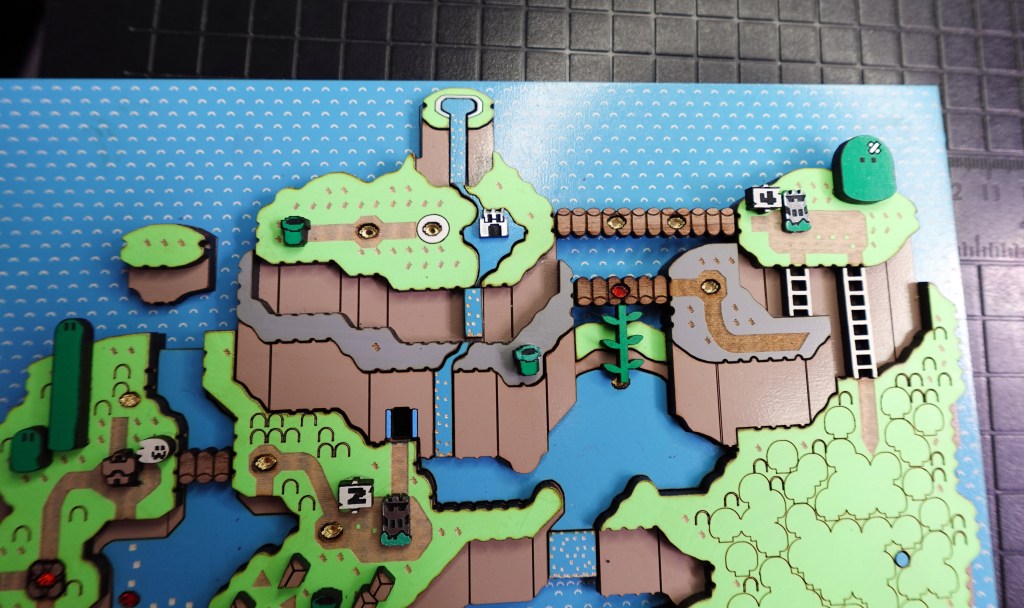
Layer 3 – Green, White, Blue, Gray & Tan
It really starts to take shape on the 3rd layer! Here it is with all the largest pieces, smaller bridges, mountain waterfalls and mountain ladders.
NOTE : The level pieces for a “regular level” and the “underground level” (the ones with a rocky border) are different sizes. You will find there are extra level pieces leftover from the cut file because they are so small and easy to lose.
I used walnut wood for the underground level shapes and bridges and mirror acrylic for the levels and star world pieces you’ll see on layer 4.
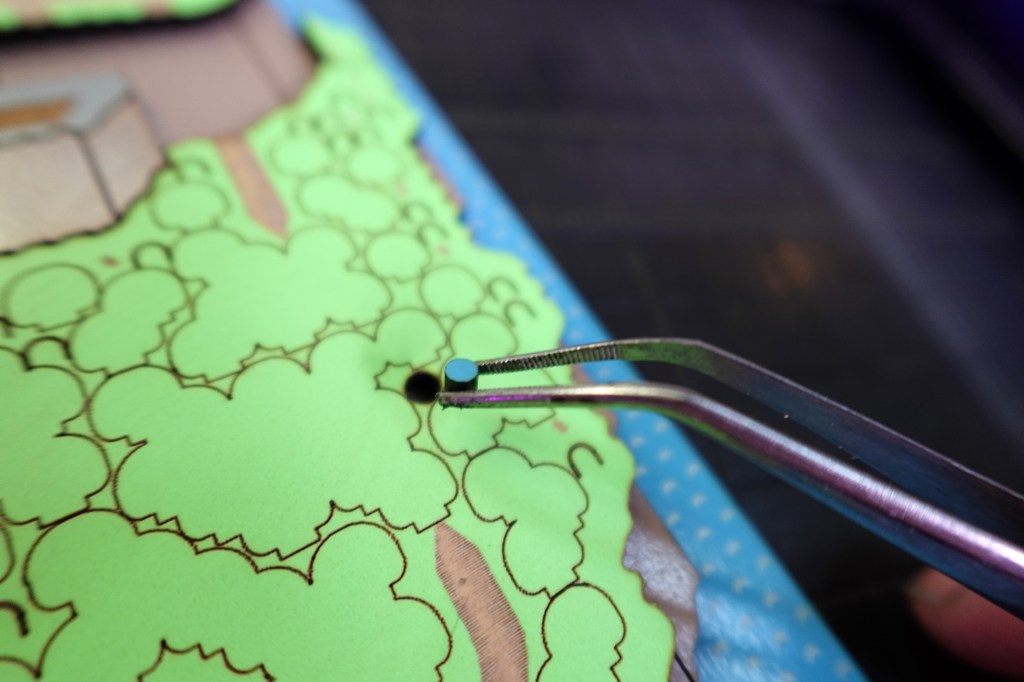
Don’t forget this little blue circle in the Forest of Illusion.
Pay mind to the blue lake piece and a tan piece with lines in the Forest of illusion, as well as the land pieces that top the islands surrounding the main lands.
If you want to step up the detail, use a blue sharpie paint pen to outline the entrance door to Vanilla Dome.
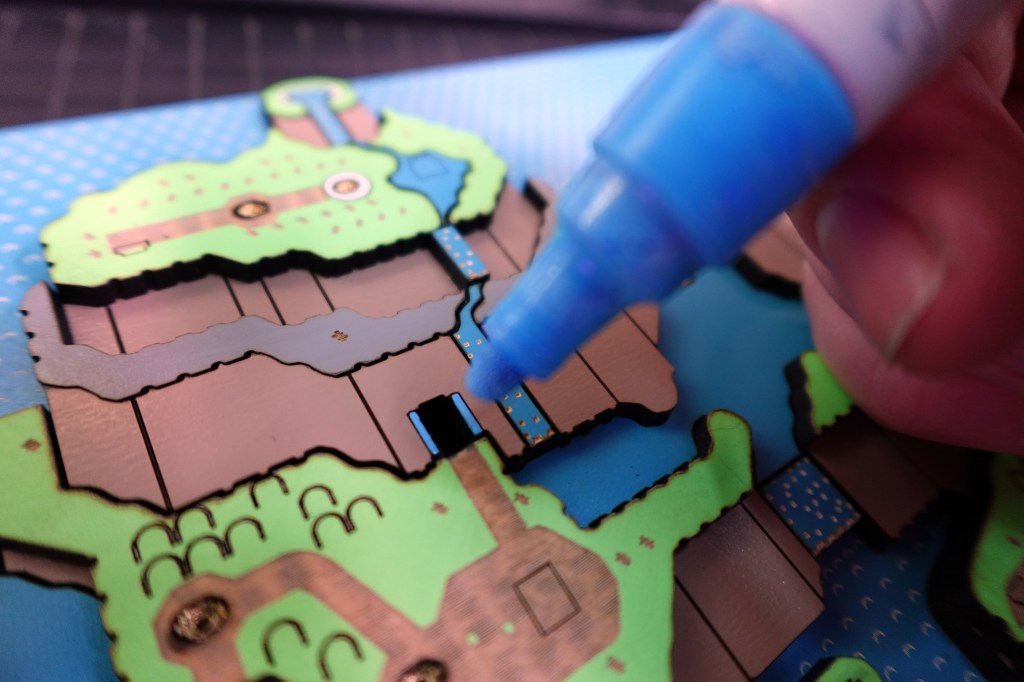
There is also a water level on the top of the mountain that has a white outline that can be painted with the paint pens, or any paint really. 😉

Don’t forget the bridge from Yoshi Island to Donut Plains and across the river.
There is a tan piece that will support the large hill on Yoshi Island.
There are 2 ladders on the mountain above the Forest of Illusion. Both ladders have flat bottoms. The pointy ended ladders will be needed in the next layer.
Yours should be looking a little like this.
For the two largest bridges (Butter Bridge and the one underneath it) the holes are cut out and to get the levels to stay, you will need to block the holes. I used tape just like on the first blue layer.
Alternatively, you can cut out a 1/16th inch thick piece to glue onto the backside, or use some thin scraps. Then the levels won’t fall through when you glue them in.
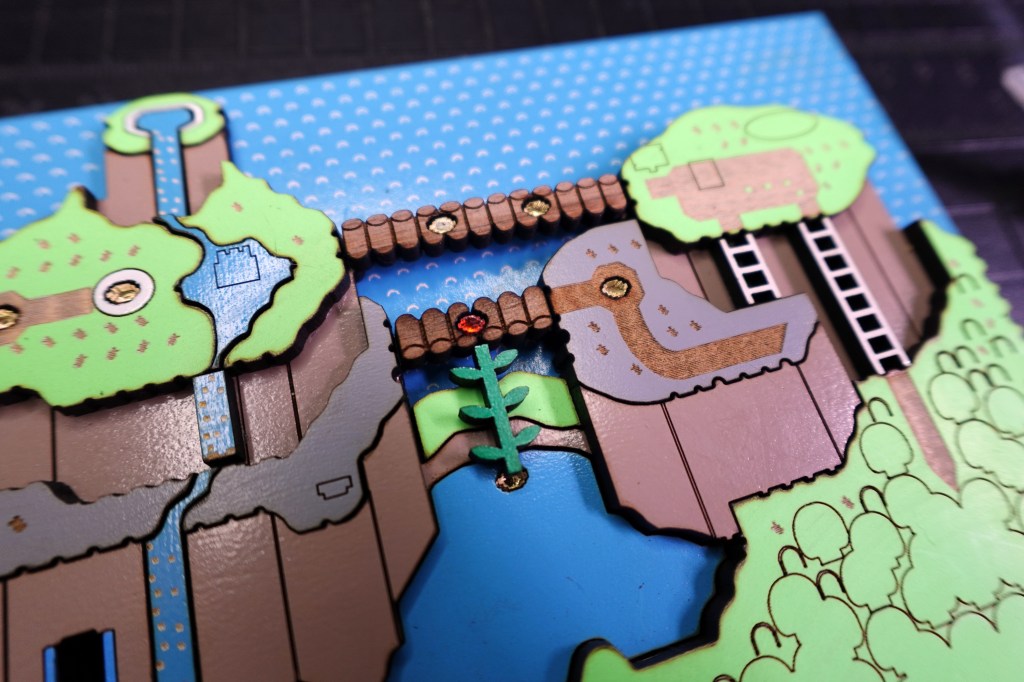
There are little notches to glue the completed bridges onto. This will give it a raised 3D look!
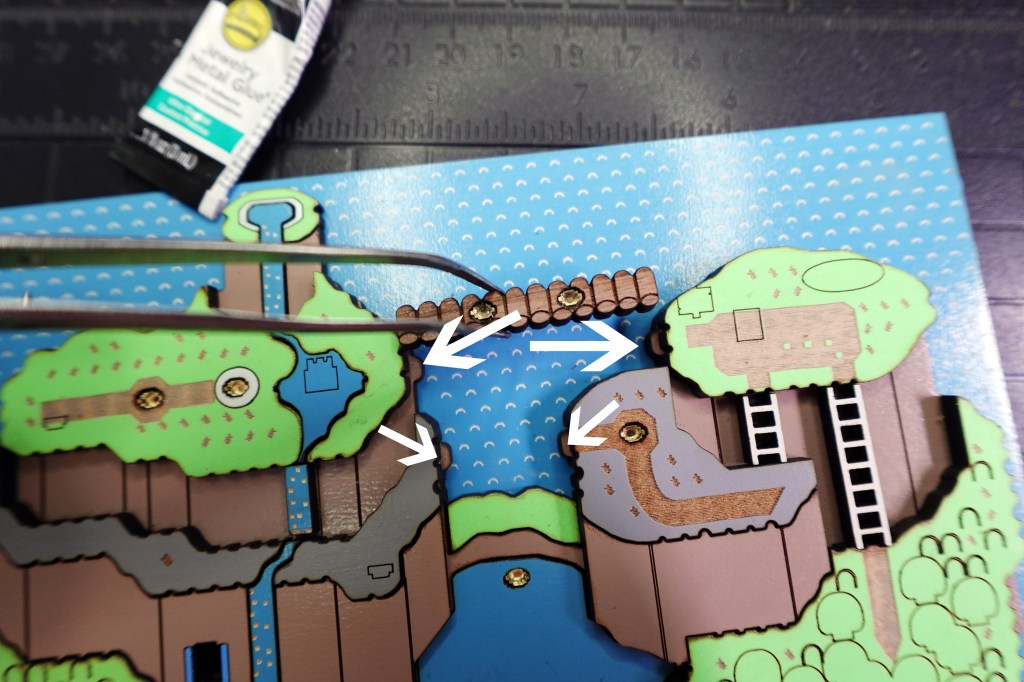
Once the bridges are in place, glue on the little vine and this layer is complete! Try not to glue your bridges on upside down like I did! 😅 Whoops!
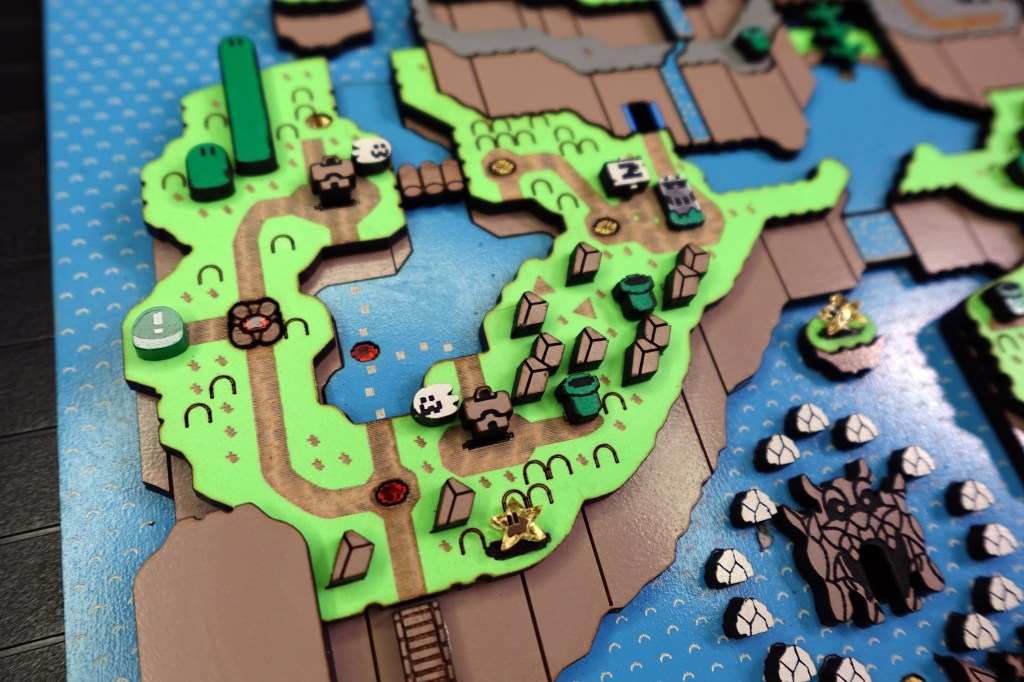
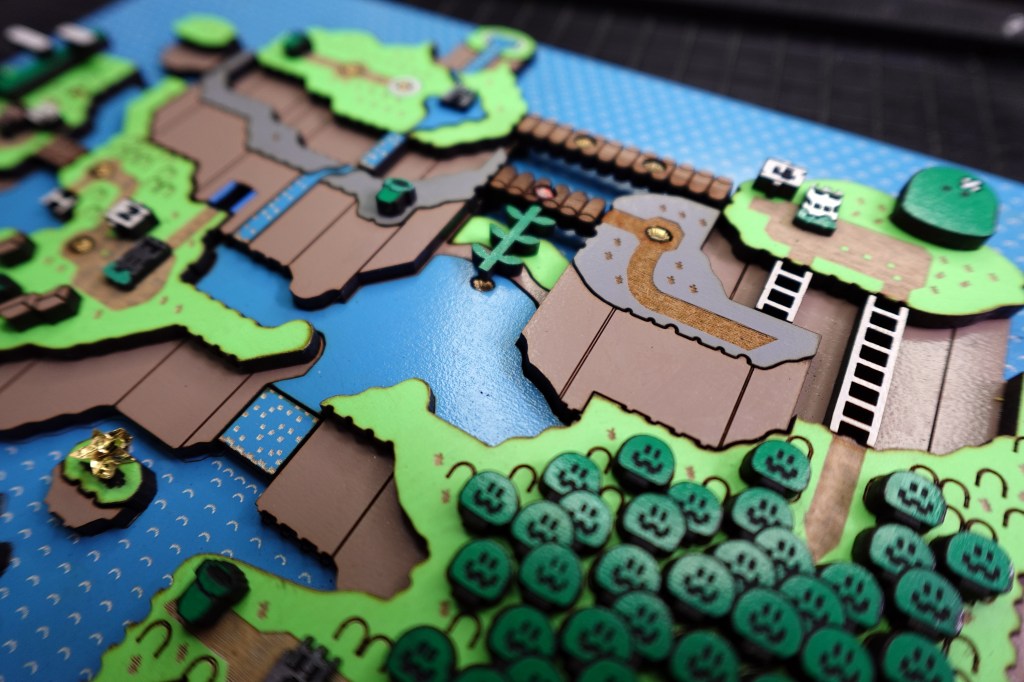
4th Layer – Detail Party Time
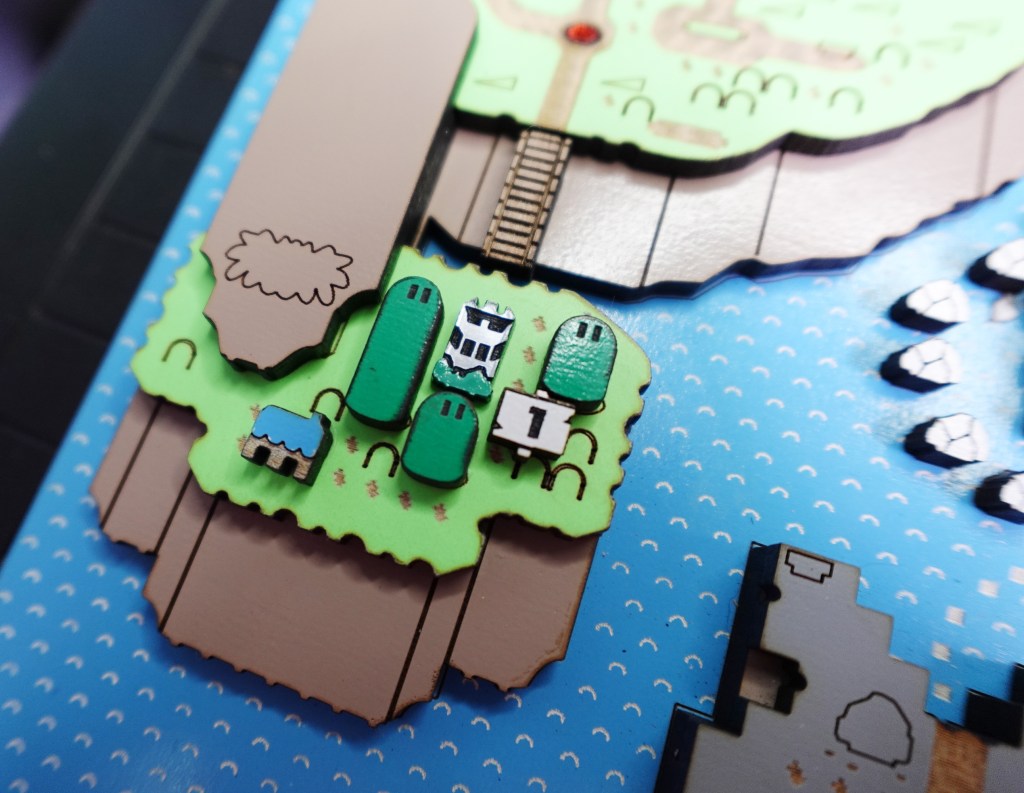
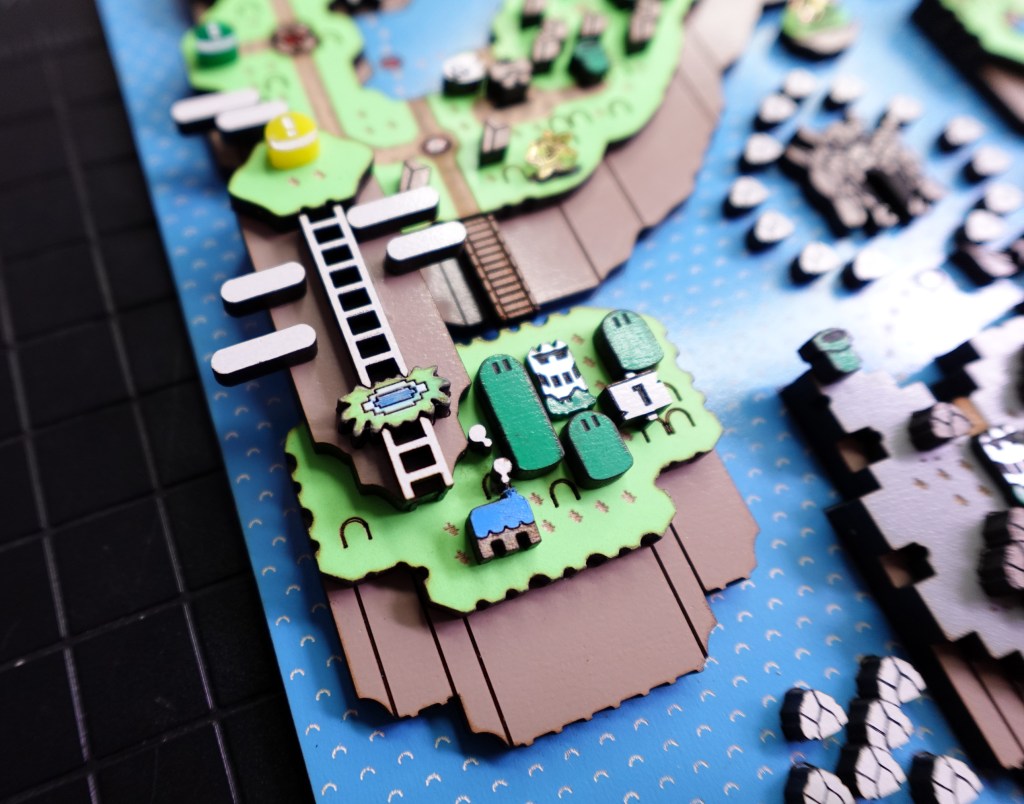
Now we are really going to see some magic happen! Let’s start with Yoshi’s Island!
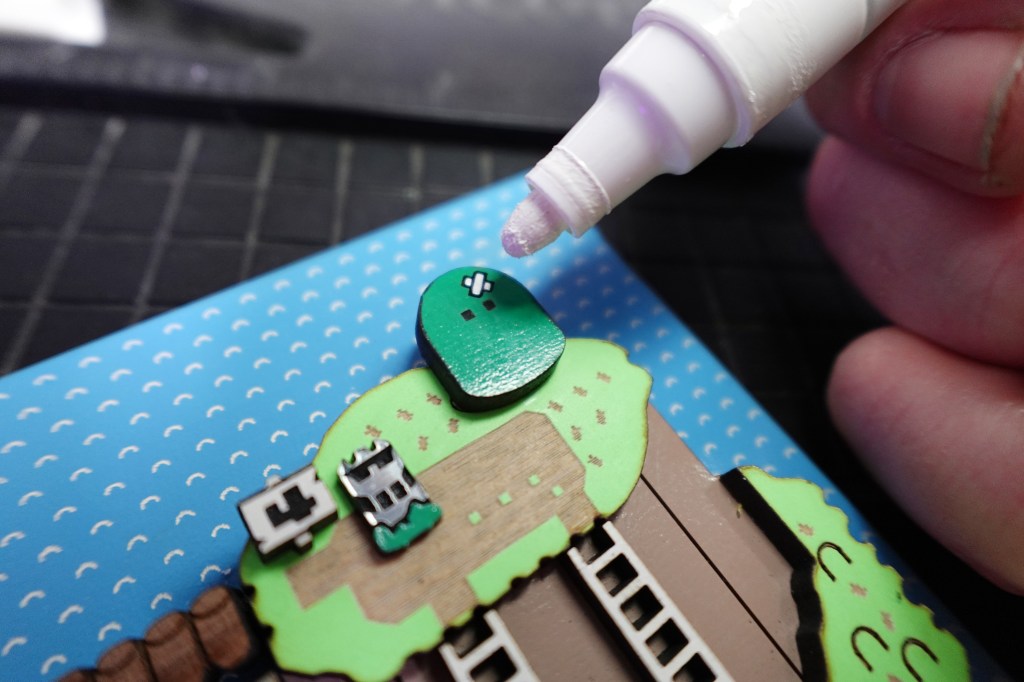
Yoshi’s house was cut out of the same blue as the rest and the engraved “legs” of the building was painted white.
The castles and boss castles were made from 2 tone 1/16th inch acrylic with a silver metallic color. It’s great because engraving a material like this does not need to be painted. I did, however, paint the shrubs at the bottom of the boss castles.
The large hills (with eyes) go on top of the oval vector engraved shapes.
The #1 sign goes next to the castle on the rectangle.
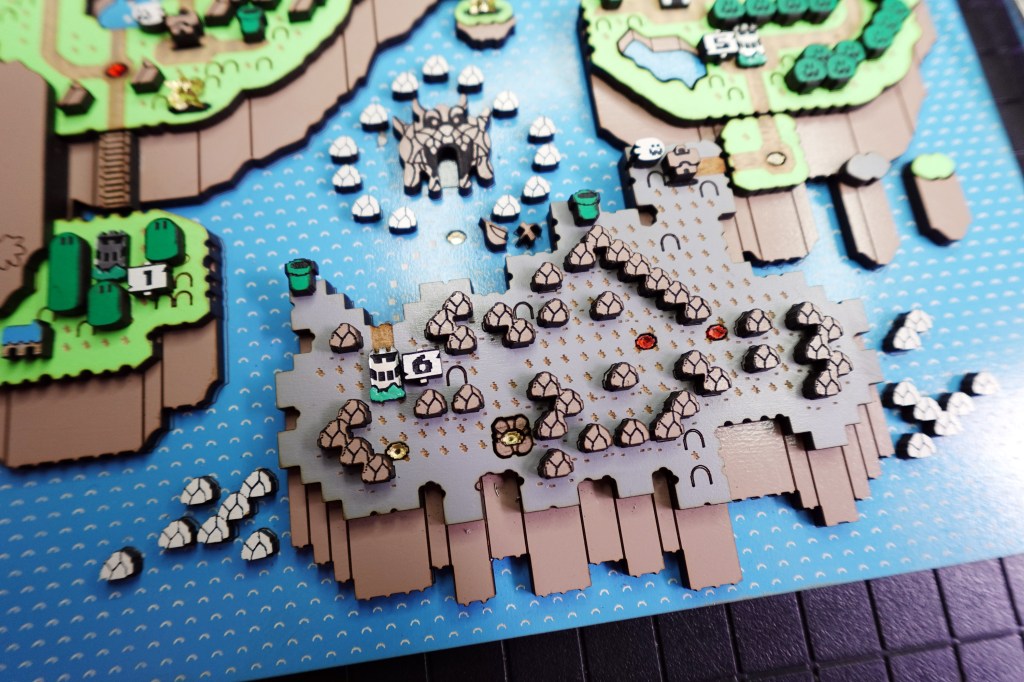
Donut Pains is next! The triangle shapes are where the rocky pieces go.
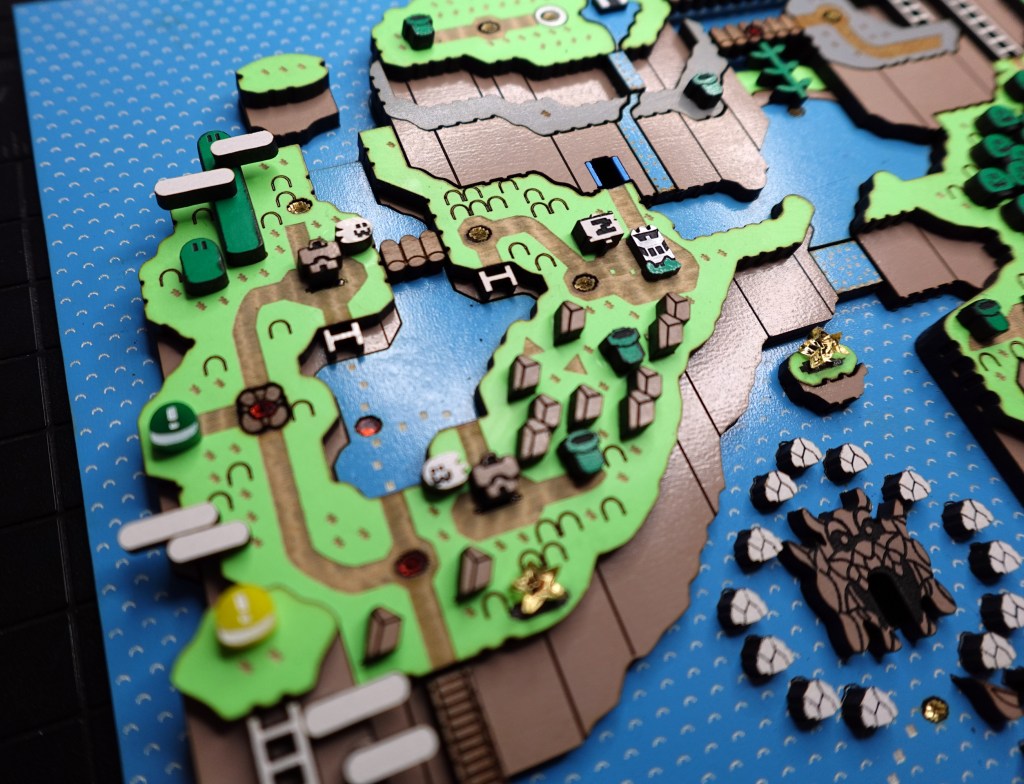
The ghost houses go on top of their shadow shapes. I happened to paint in the green shape to make it look more like a shadow before gluing on the house. There is no exact place for the ghosts to go, so put them where you like!
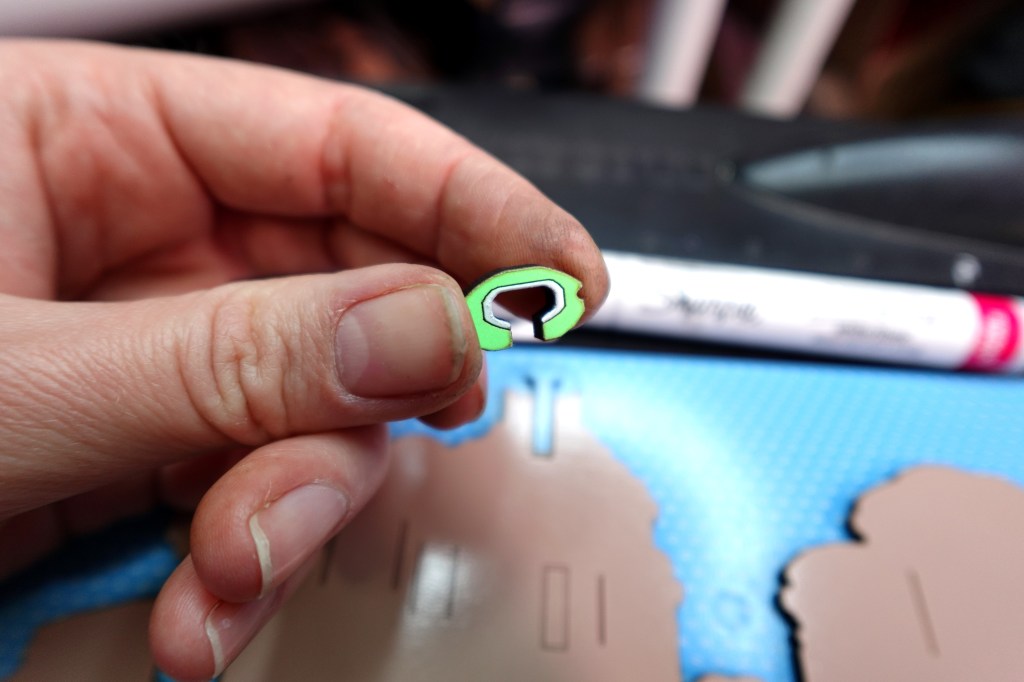
The green block switch was made of green acrylic with the engravings painted white.
The tunnels go on top of the vector etch lines that resemble the rectangular bottom shape of the tunnel pieces themselves.
Vanilla Dome just needs a few tunnels and a mini boss castle in the water on the shape that looks just like it. Across the upside down Butter Bridge, there is the #4 sign, Boss Castle and large hill.
I painted in the hill’s ouchie with some white paint! Big oof!
The Forest of Illusion is super fun! Each cluster of trees is unique to the outline shape where they belong.
If you haven’t already, don’t forget to glue on the Star Road Star on the little island left of the forest.
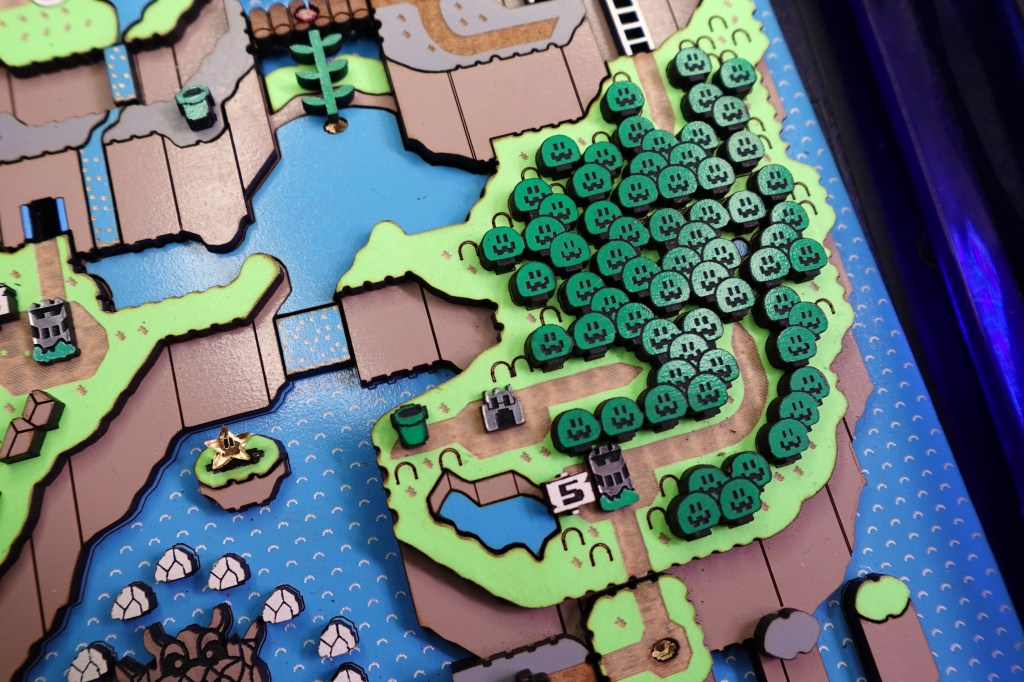
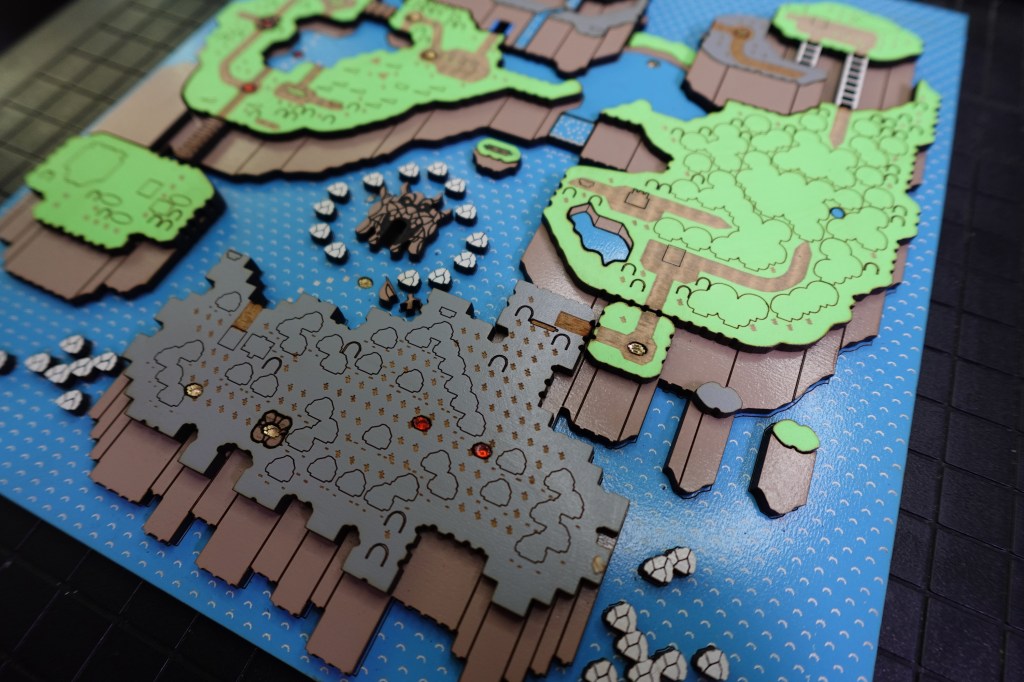
Next up is Chocolate Island! You guessed it! There are rock shapes for all the rocks! There is also a ghost house, and your choice of ghost. There are 2 tunnels, so don’t forget those!
Just a few things left!
Remaining Layers & Detail
We are nearly to the end!
We need to finish up that huge mountain on Yoshi Hill.
The pointed ladders nest into the little pond on the middle of the mountain. I also painted in the pond so the piece is now 3 colors.
Put the oval clouds anywhere you like! I put 2 tiny white tuft clouds rising from the Yoshi’s house.
There is also room for more clouds on Donut Plains.
You can see the Yellow Block Button in the picture below. I made this one like the green button. It is yellow acrylic with the engravings painted in with white.
Check out the next few images to make sure you have all your little bits in place! Like those mini ladders in the lake. I had forgotten those until now.

Don’t think I forgot about showing you how to cover up the backside!
I like to make my little biz tags with Wood Veneer that has 3M sticker back. You can learn more about this awesome material HERE.
I also put in a little hang hook, which just screws right in!

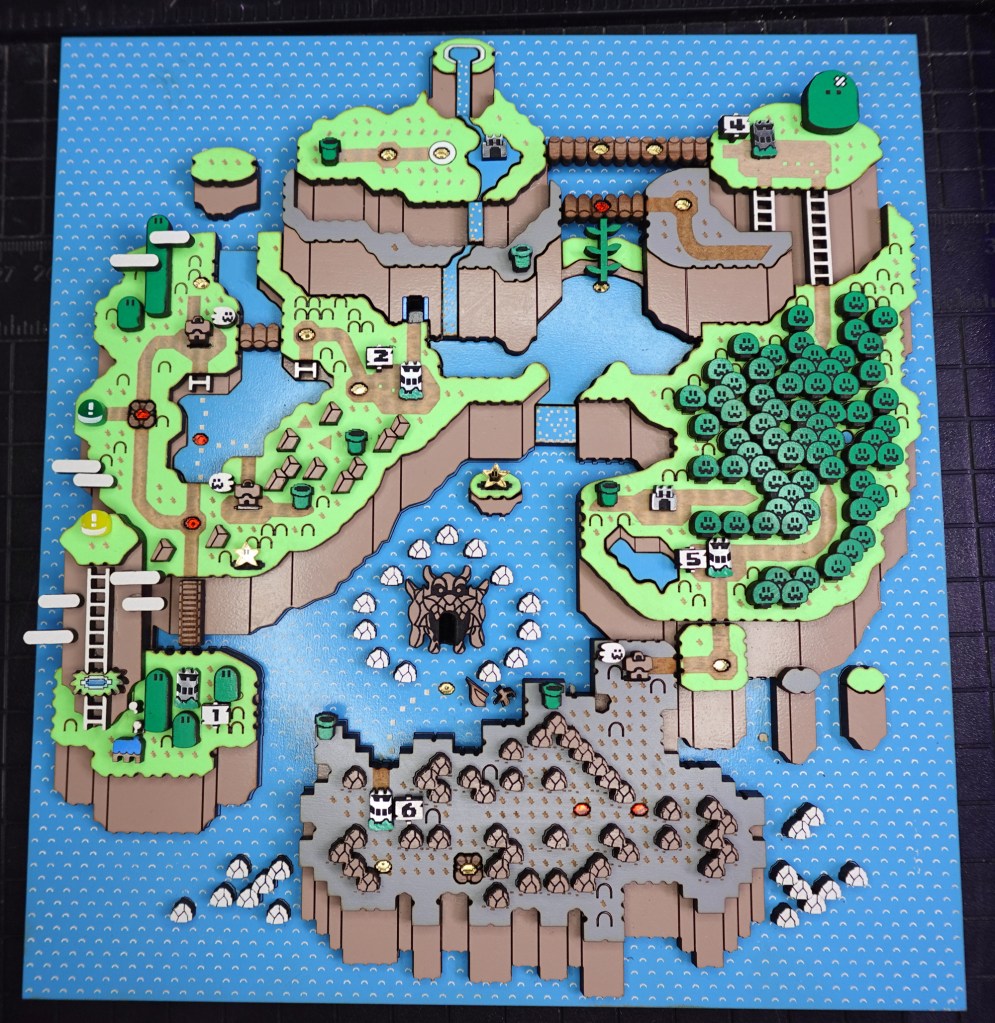
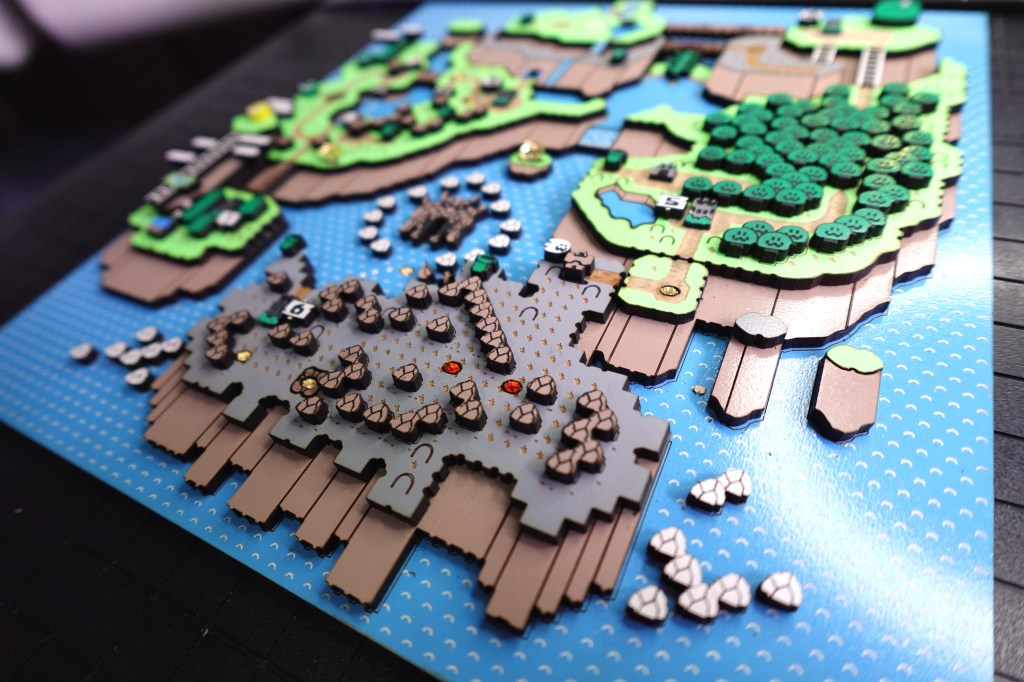
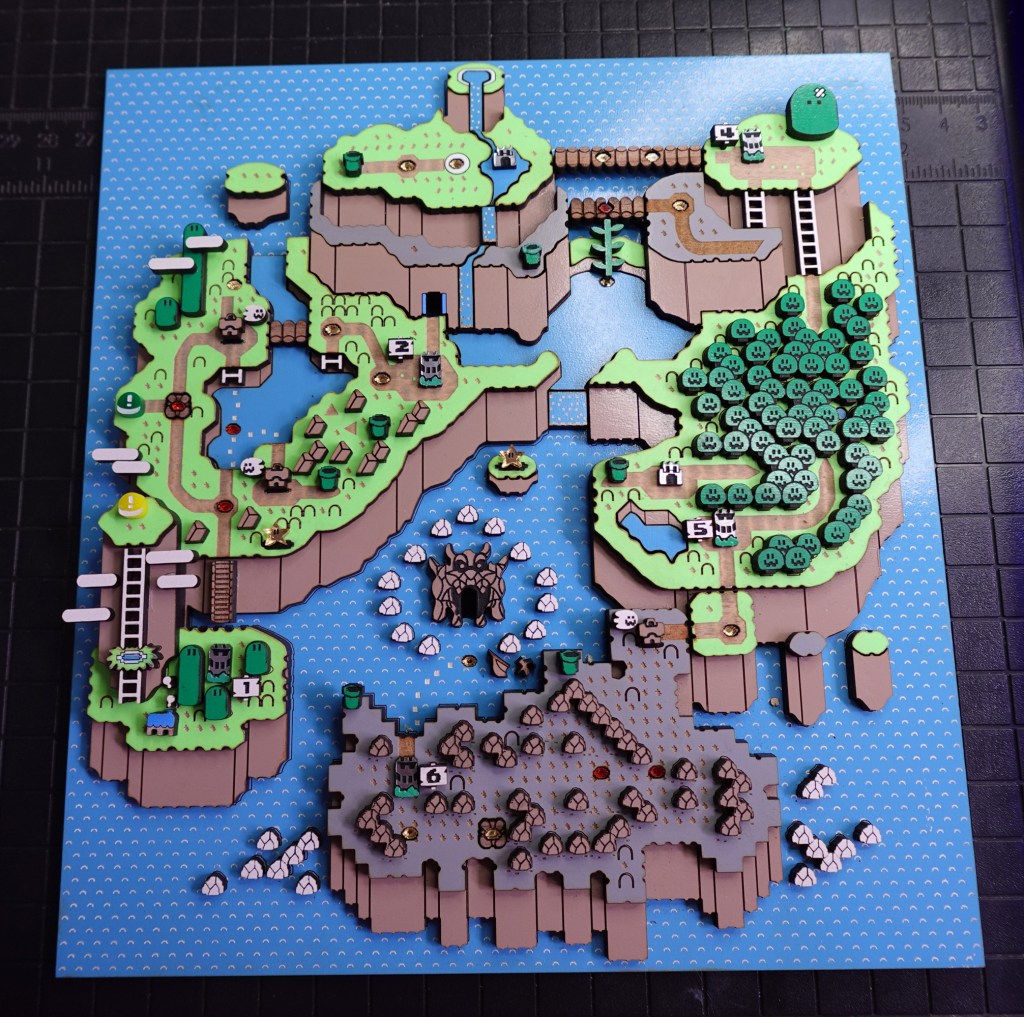
The Final Result?
I hope that was fun to make! Not easy by any means, and probably pretty time consuming! But, I hope that it resulted in a piece you can treasure. I love SNES Super Mario World and now we can share this super fun piece together!
Feel free to email me with pictures of your creations or if you have any questions about the assembly.
➕ Learn fun laser tips on my YouTube Channel! Subscribe HERE

Leave a comment