

You’ll be Up & Running in No Time!
10 Free Laser Downloads Await! Sign up for Creative Fabrica’s All Access Free Trial and enjoy 10 free downloads to kickstart your creative projects.
✨ Supplies
⇢ WeCreat Vista FlipLaser Engraver and Cutter
⇢ WeCreat Rotary PRO Full Attachment
⇢ WeCreat Vista 2W IR (Infrared) Laser Head
⇢ Scissors
⇢ Flathead Screwdriver
➕ Subscribe to my YouTube Channel HERE
Unboxing a WeCreat Vista Laser
Get your Wecreat Vista Laser close to the location where it is going to be. It will need to vent out of a window and be close to a dedicated outlet.

Opening the box is pretty straight forward. Be sure to read the unbox and Installation guide greeting you inside the box.
The laser bed will be the first thing to uncover inside the box.
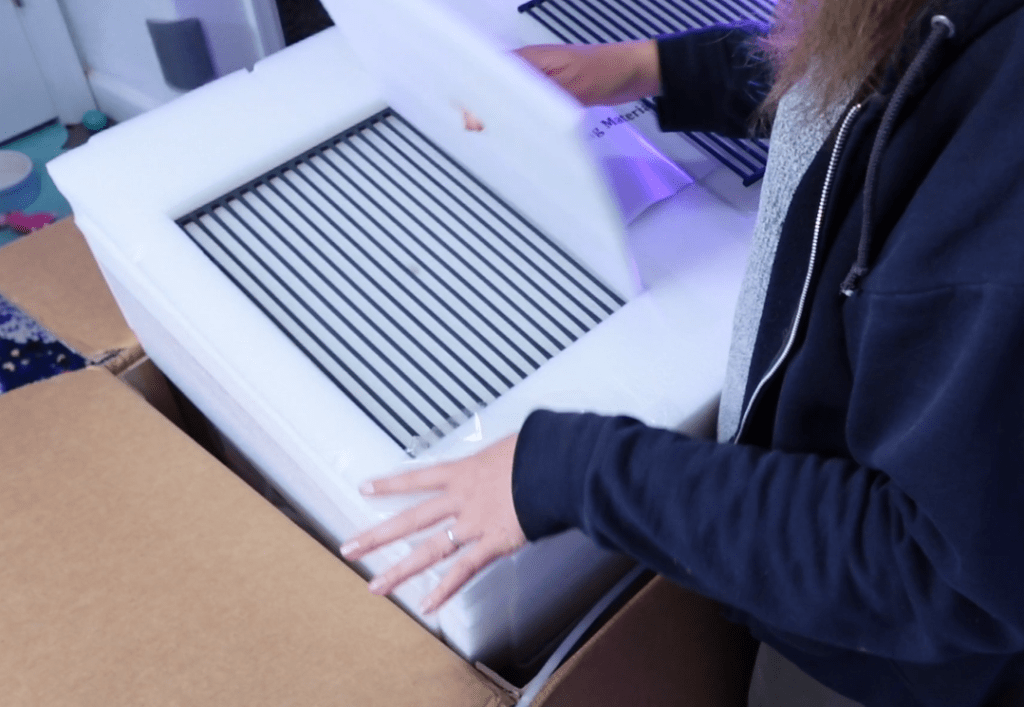
Next up is the laser itself! The one I got is a fabulous pink color!
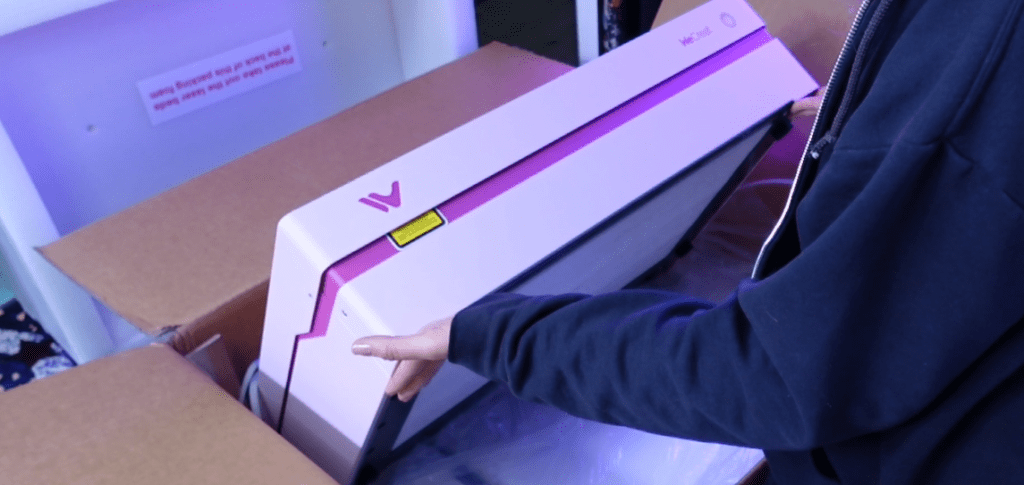
Transfer the laser close to where it will be living soon.
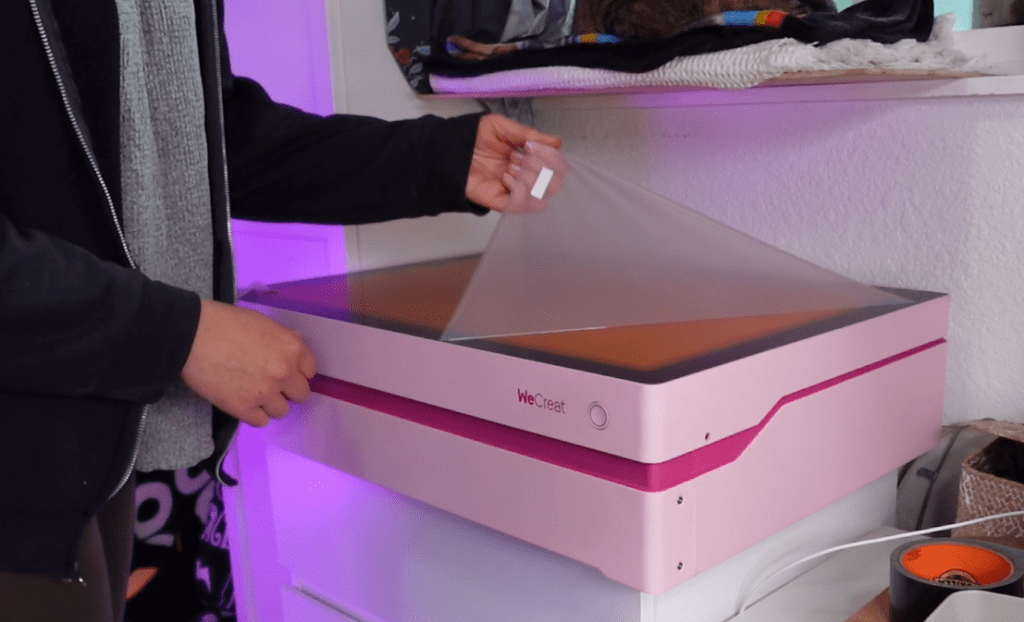
Take out the side pins or rubber nubs and open the laser. Your tools, power source and addition rotary and supplies will be inside.
The laser bed base will be under the laser in the box.
Hooking Up a WeCreat Vista Laser
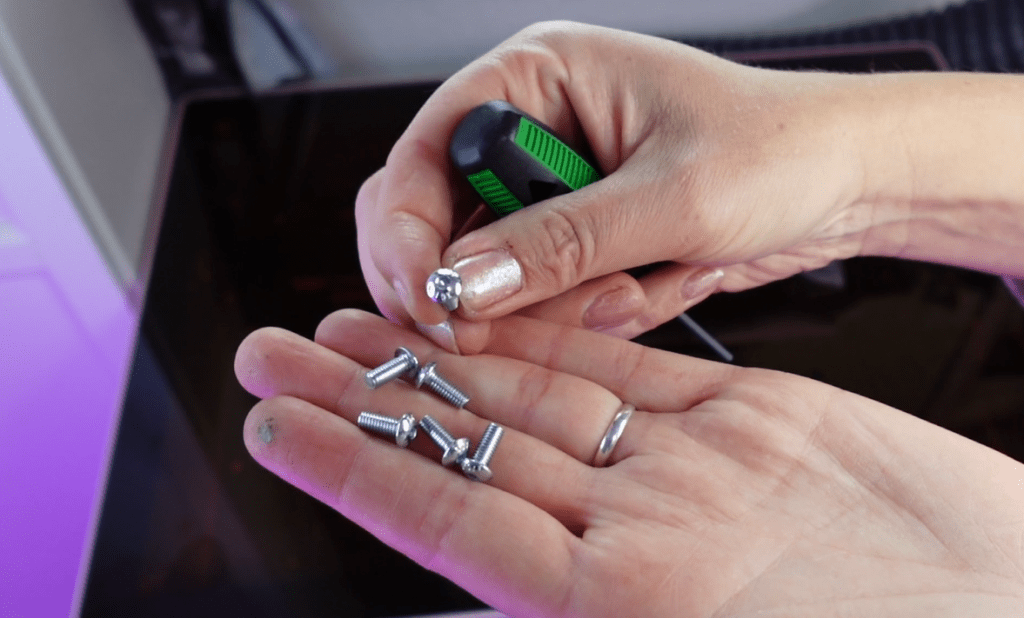
Once you’ve cleared the laser lay out the contents of the tool bag and grab the screwdriver that fits the screws inside the laser labeled with the big red tape. Unscrew those.
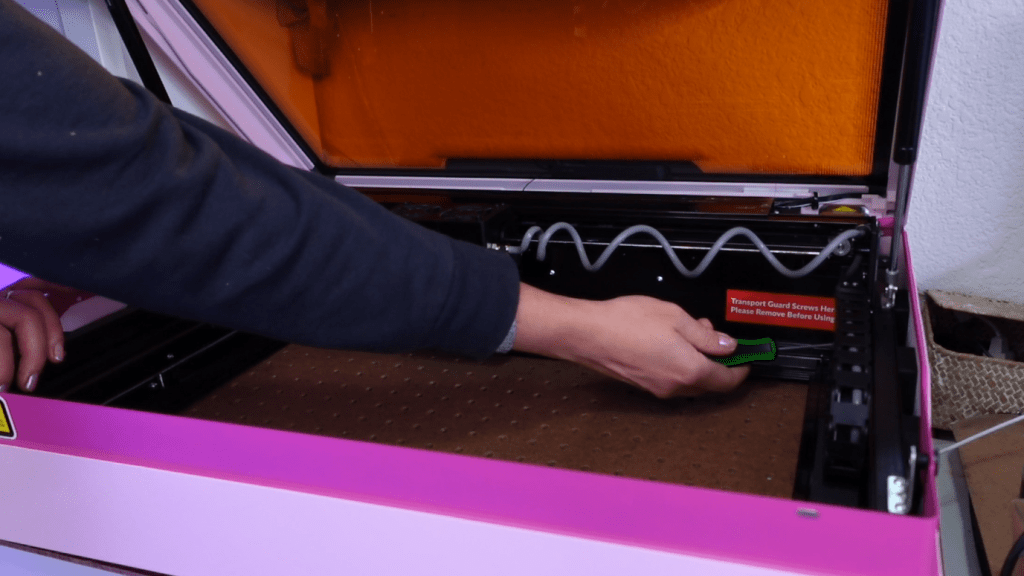
Might as well keep them in the tool bag for extra parts.
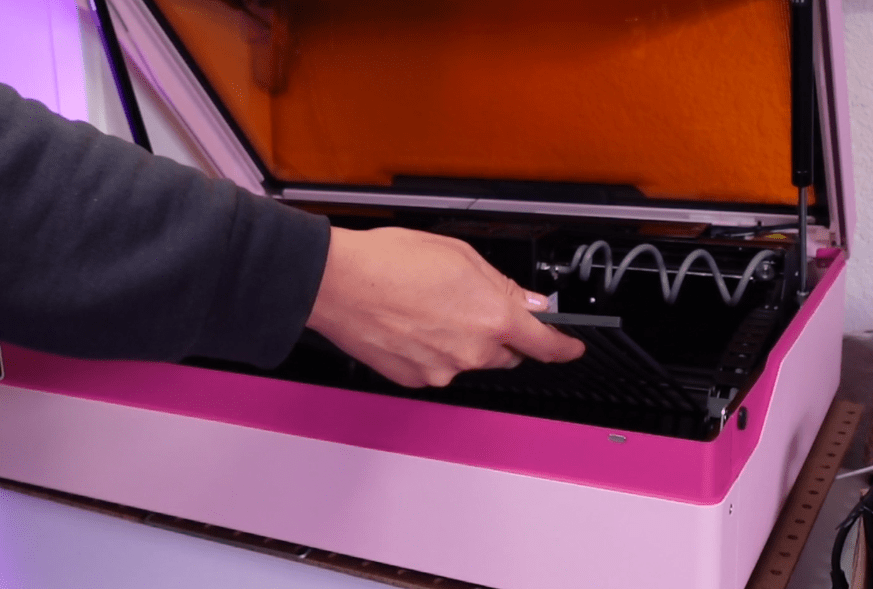
Next, grab the laser bed. To put it into place, point the edge with a wire handle toward the front of the laser. Push the handle side underneath the front of the opening and slide toward you until it drops into place. It shouldn’t be able to wiggle around.

It took me a few tries to get it in there right, you can do it!
Put the laser bed panels in place over the laser bed. They will fit just so with no wiggle room.
Make sure you plug the open circles on the left and right sides of the laser with the 2 little plugs in your tool bag.

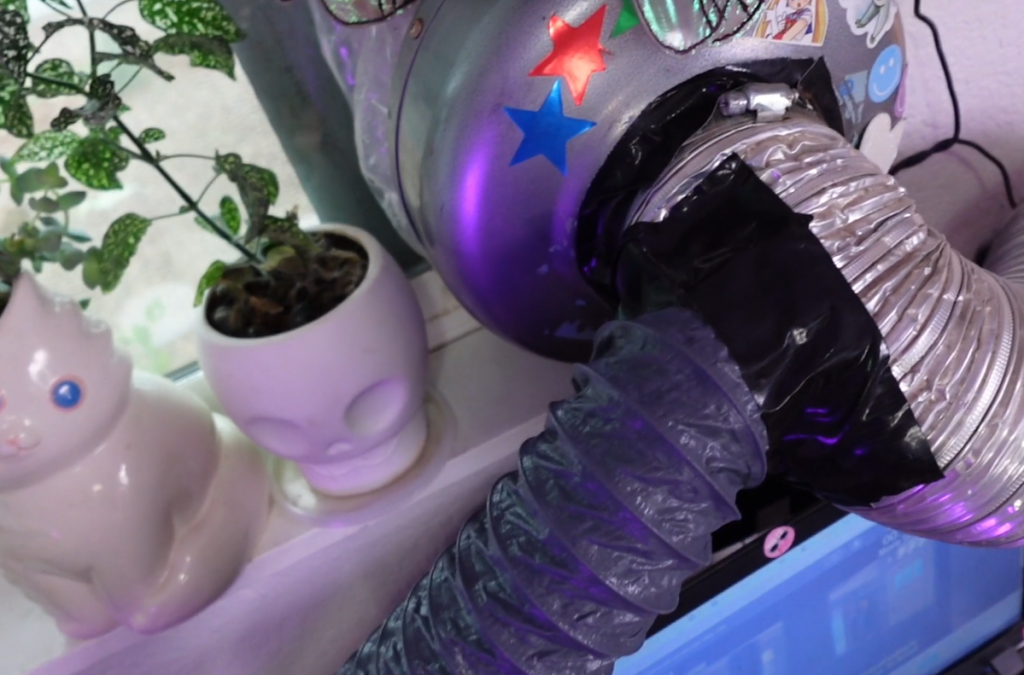
Ventilation Exhaust Tube Hookup
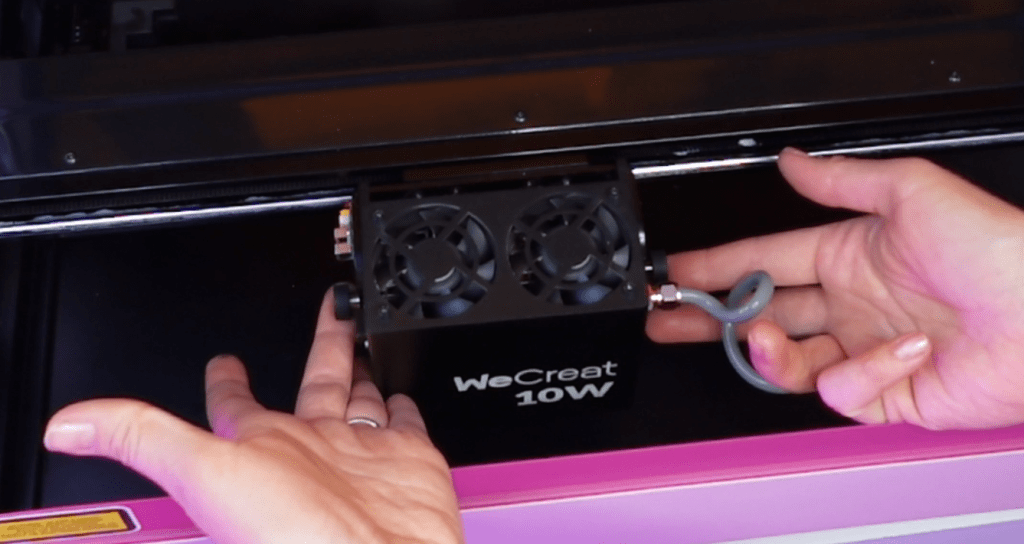
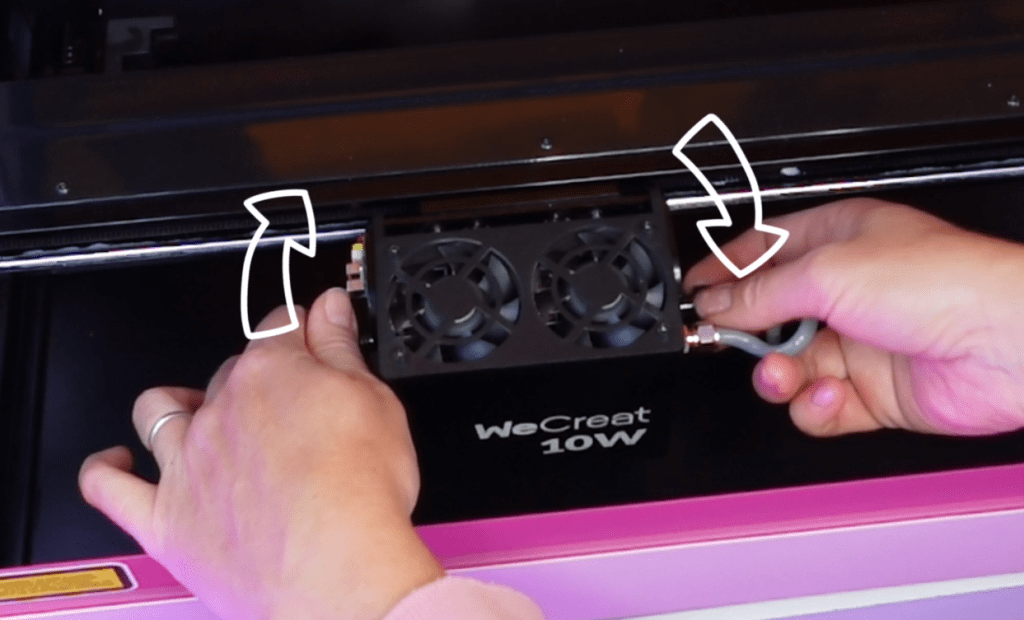
Unscrew the bolts surrounding the exhaust fan. The tool bag has a wrench for this, but I used my own that was easier to hold.
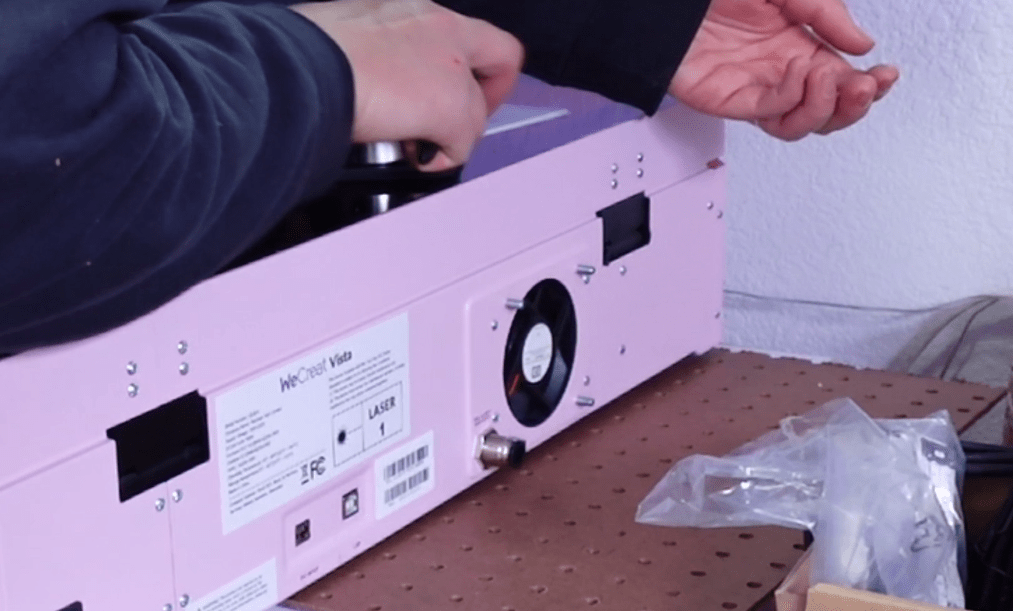
Thread on the exhaust outlet and screw the bolts back on.
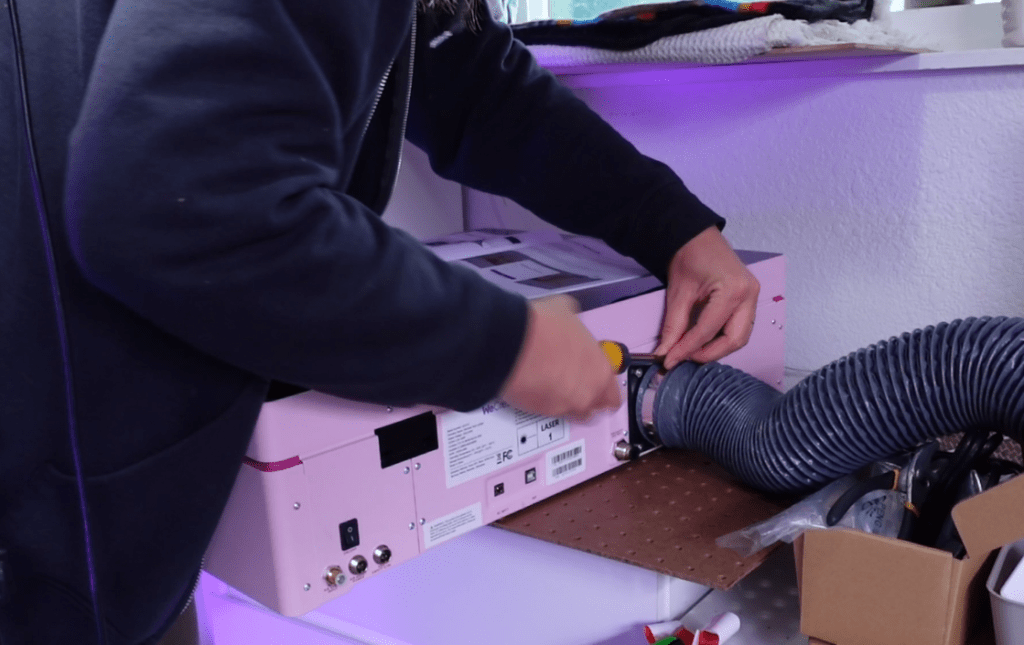
Loosen the clamp with a flathead screwdriver enough to go over the hose.
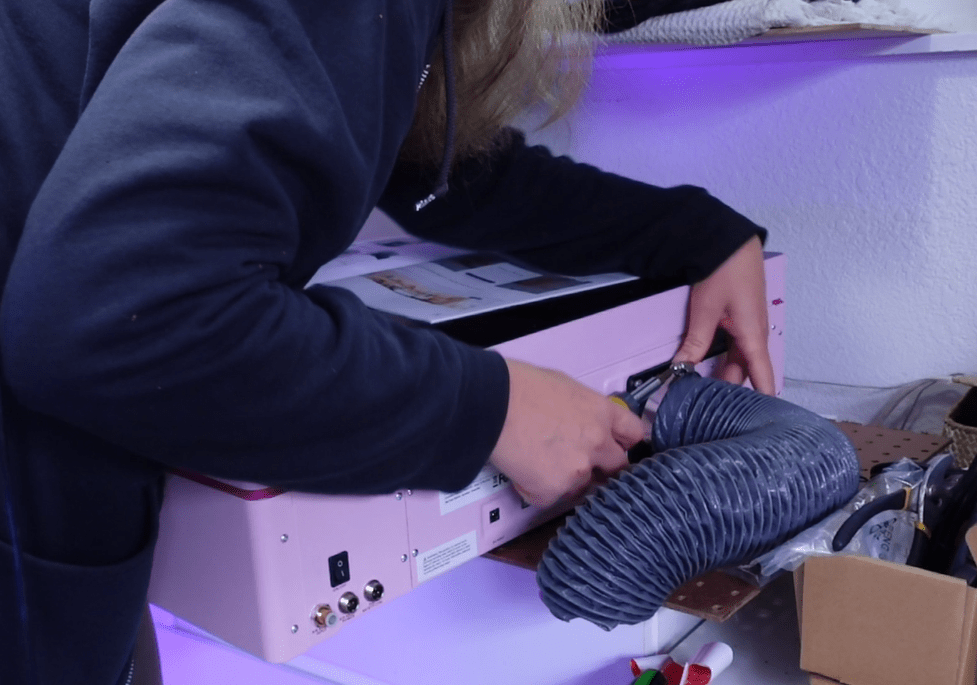
Thread the hose on the outlet and tighten the clamp to secure the hose in place.
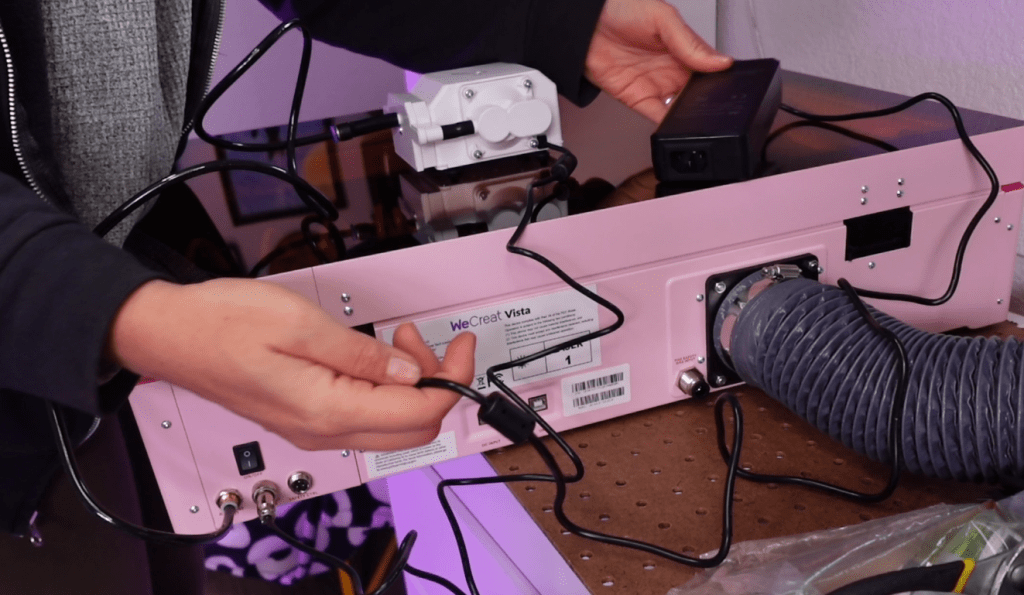
Air Assist Hookup
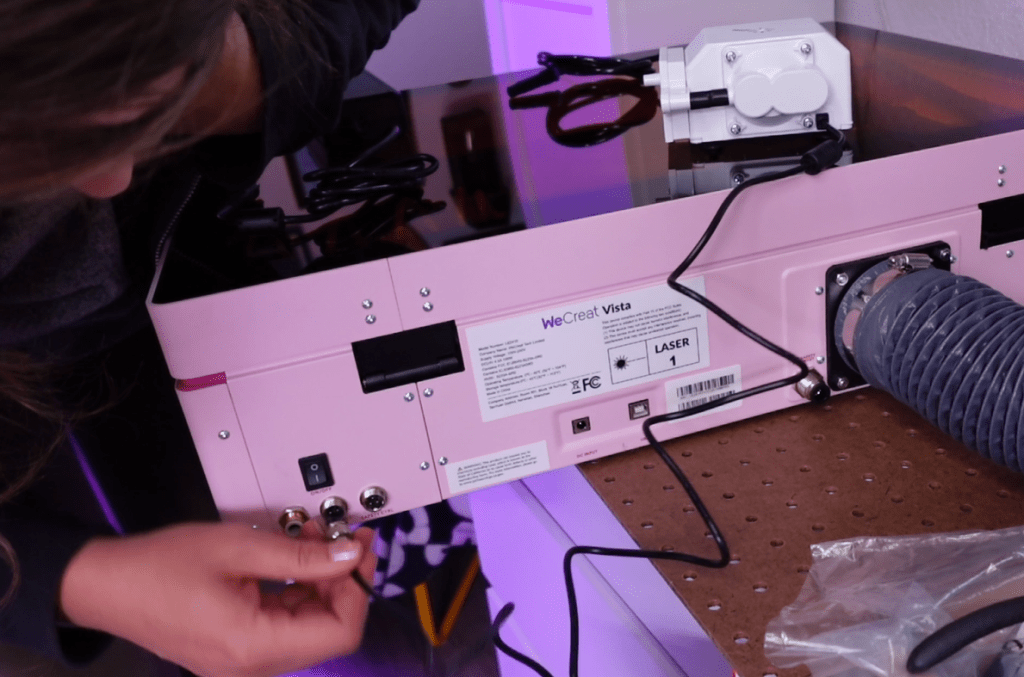
Lucky for us, everything is labeled on the backside. Plug in the metal power cord to the port labeled Air Asist and thread the nut on for a secure fit.
The wide end of the air tube will fit into air pump and the opposite side of the tube will fit into the port on the right backside of the laser with a pressure valve.
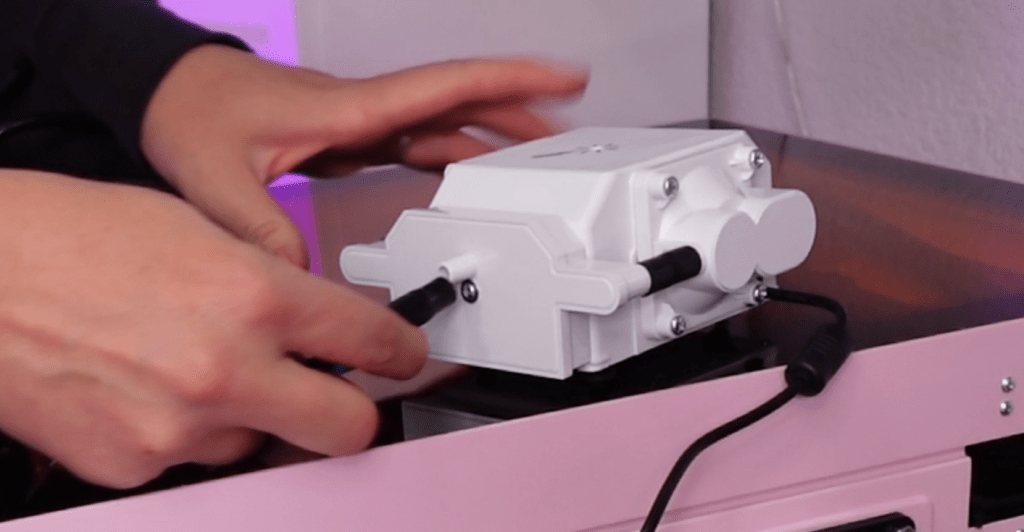
To take the tube out, you’ll have to press on the valve and it will be able to pull out. You know it’s in enough when it resists being pulled.
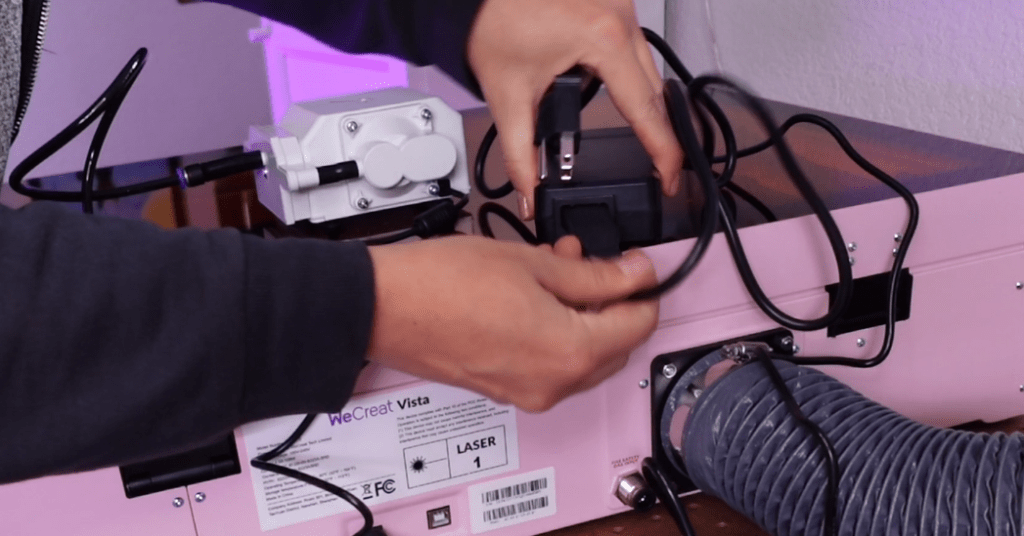
Power Cord
There are 2 parts to the power cord.
Find the black power box with a plug that matches the port on the backside that say DC Input.
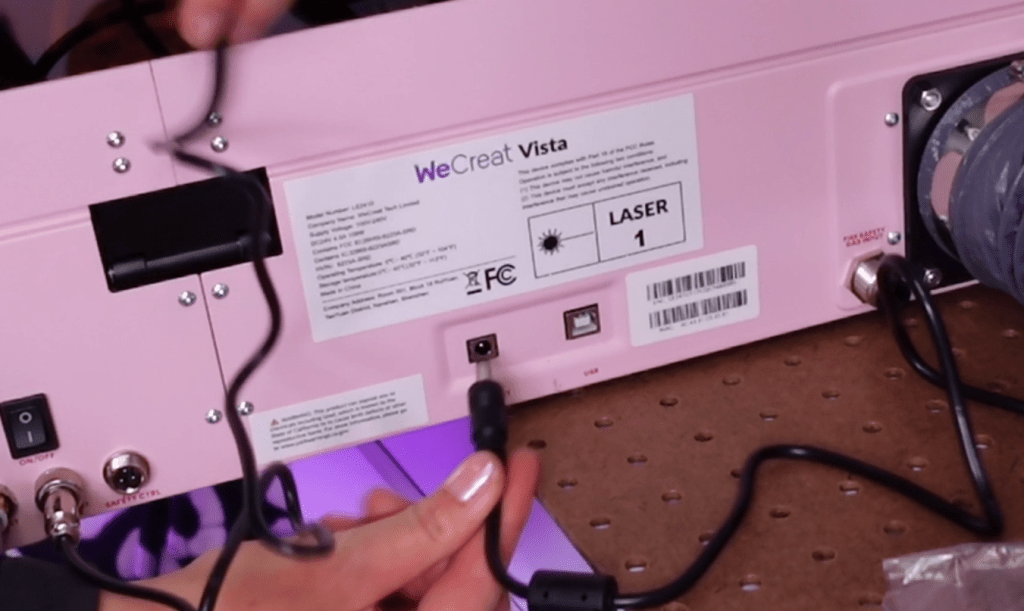
Find the regular looking plug and fit the opposite end into the black box.
USB Cable
Initially, you want to plug in the laser with the USB cable. You can configure the wireless setting later.
Getting Ready to Turn On
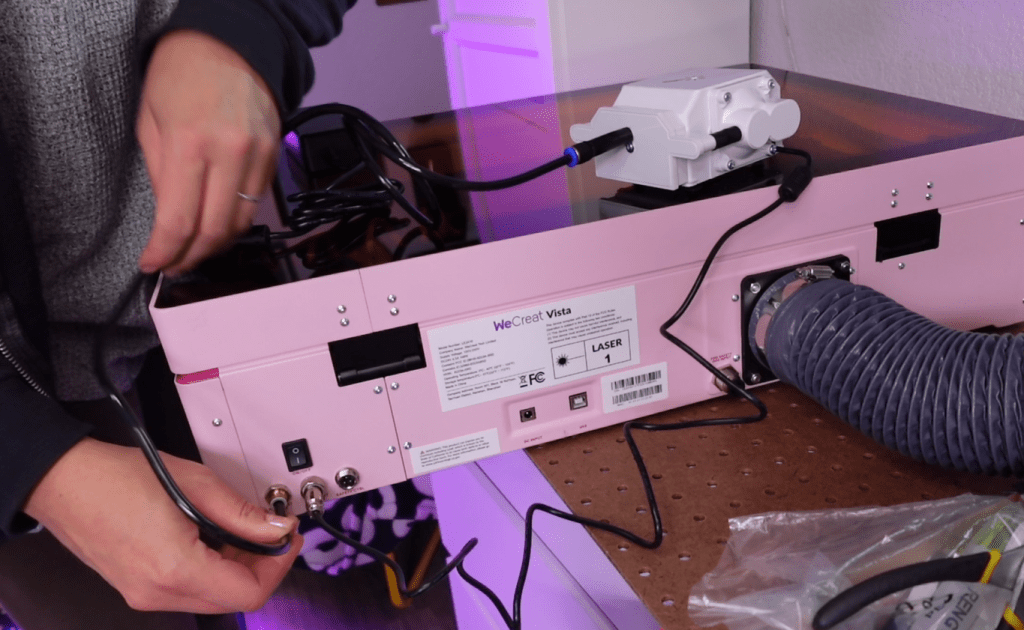
Once all these components are hooked up, place the air pump somewhere dust free and away from animals.

Be sure to plug in the power cable to an adequate outlet.
The exhaust duct will need to be attached to a window vent to additional exhaust system or air filter unit. I have mine piggy-backed in with my other lasers window vent.
Connecting WeCreat Vista Laser to a Computer
Make sure everything is plugged in, especially the USB, and switch on your computer. It will automatically install a driver.
https://wecreat.com/pages/softwareNext go to https://wecreat.com/pages/software and download the WeCreat Makeit! Software. Install and follow the prompts. You will need to make an account if you don’t have one yet.
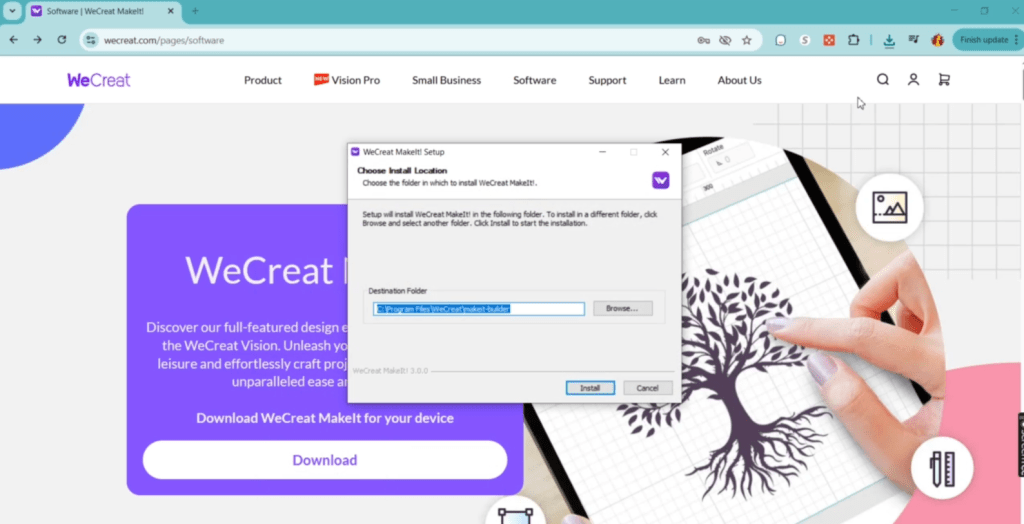
There should now be a shortcut on your desktop to start up the WeCreat MakeIt! Program.
The program reminds me a lot of the Silhouette or Cricut cutting machines. If you are familiar with those, you’ll be right at home. There is even files you can buy right on the homepage!
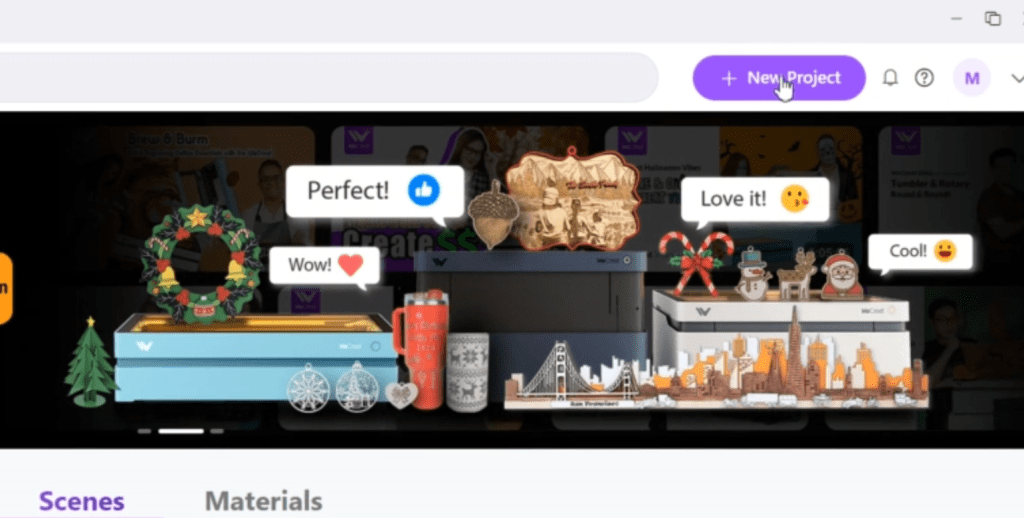
To start your first test cut, select NEW PROJECT in the upper righthand corner.
Find the Text Tool in the left-hand toolbar and click it.
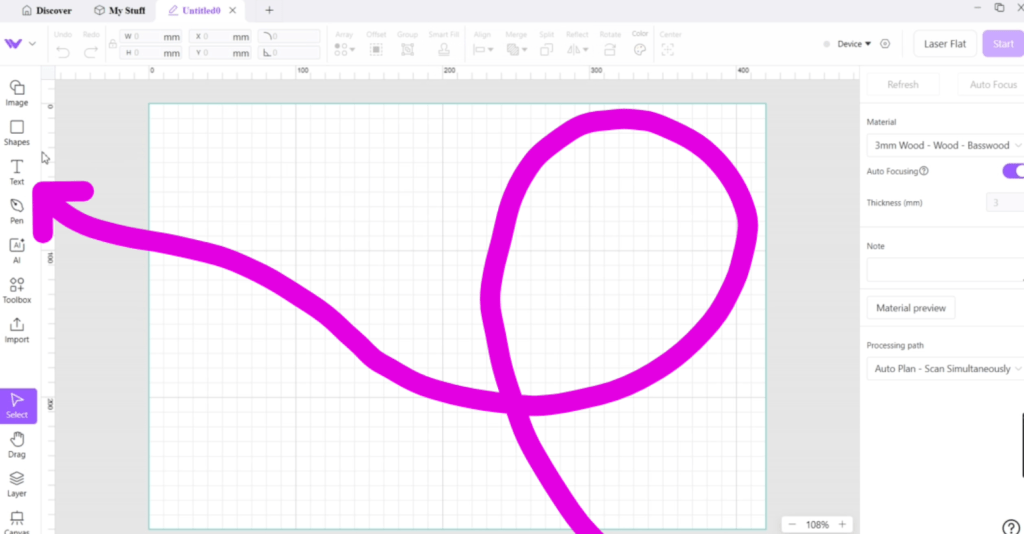
The word HELLO will automatically generate.

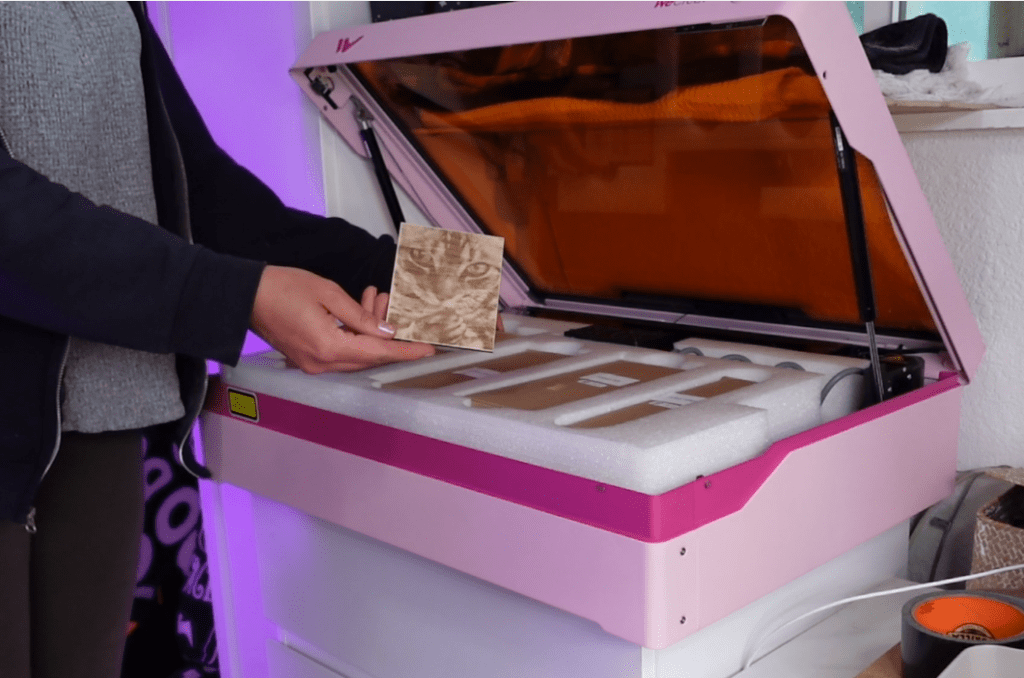
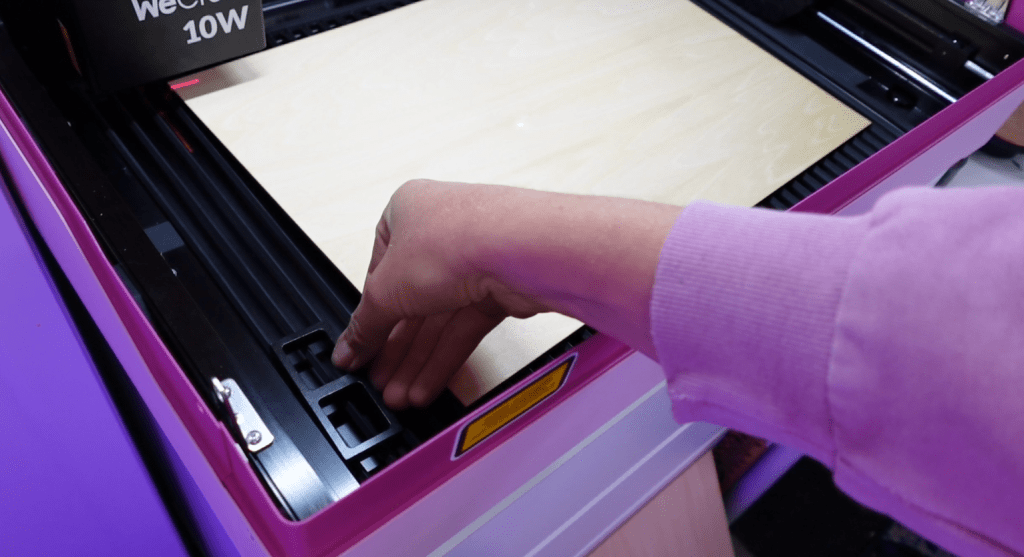
Open the lid and put in one of the basswood pieces that came came with the laser.
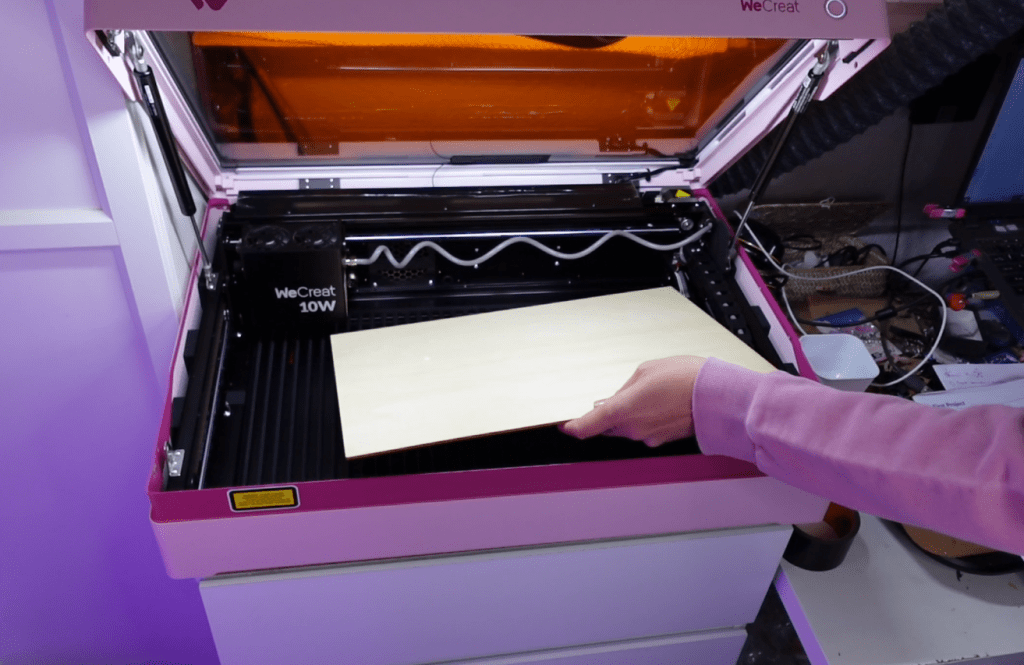
There is a rectangular block to put in the lower left corner of the laser bed so the entire board is seen in the camera.
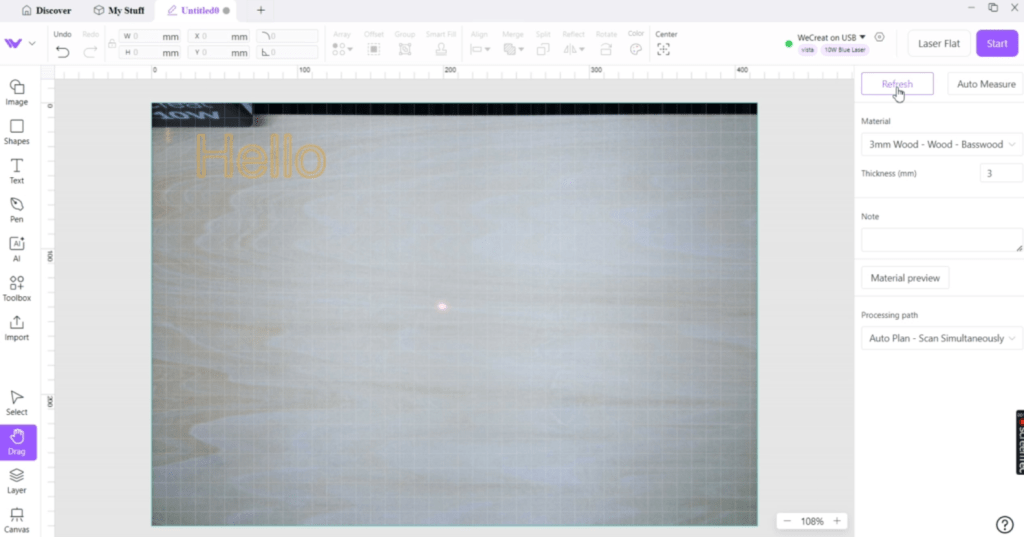
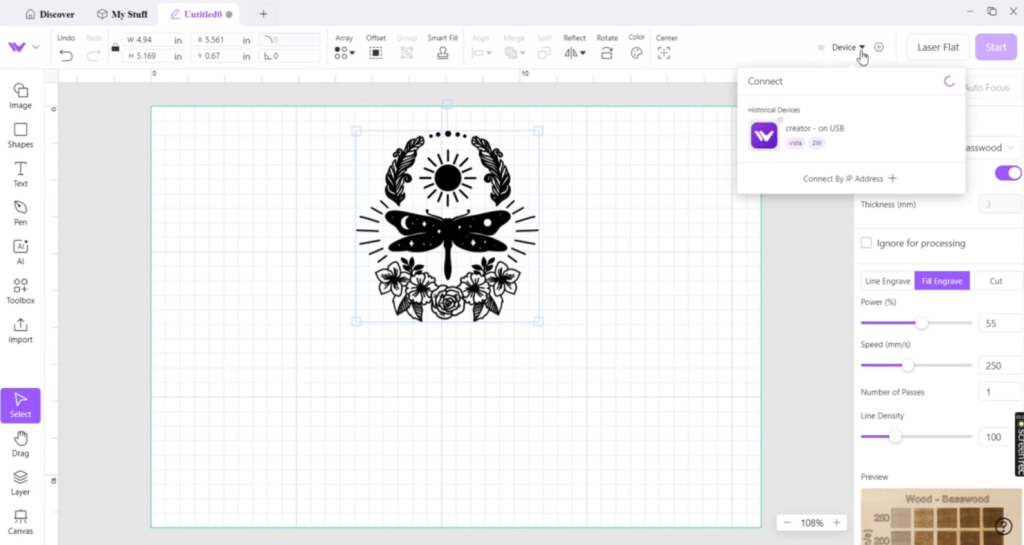
Keep the lid open and click the Refresh button to take a picture of the contents of your laser bed.
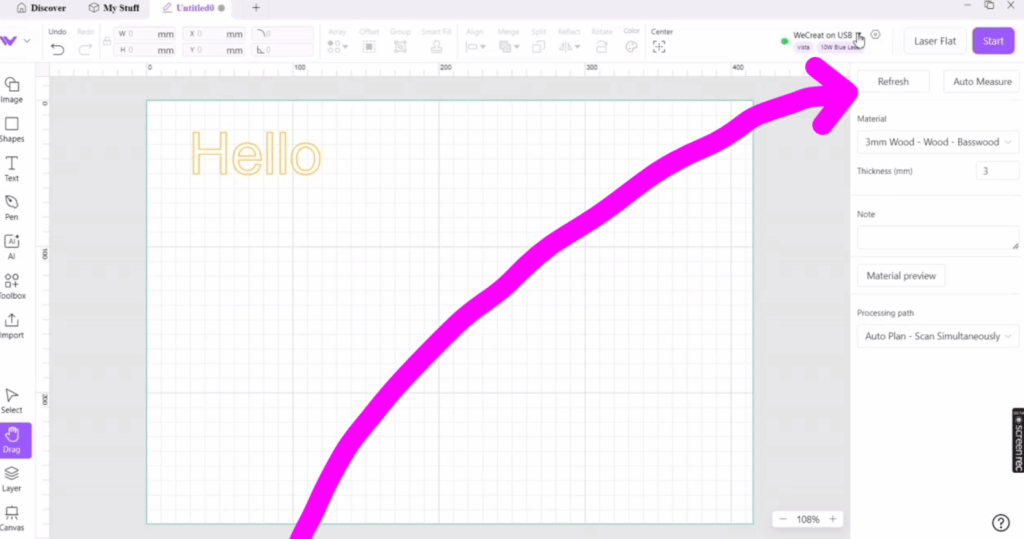
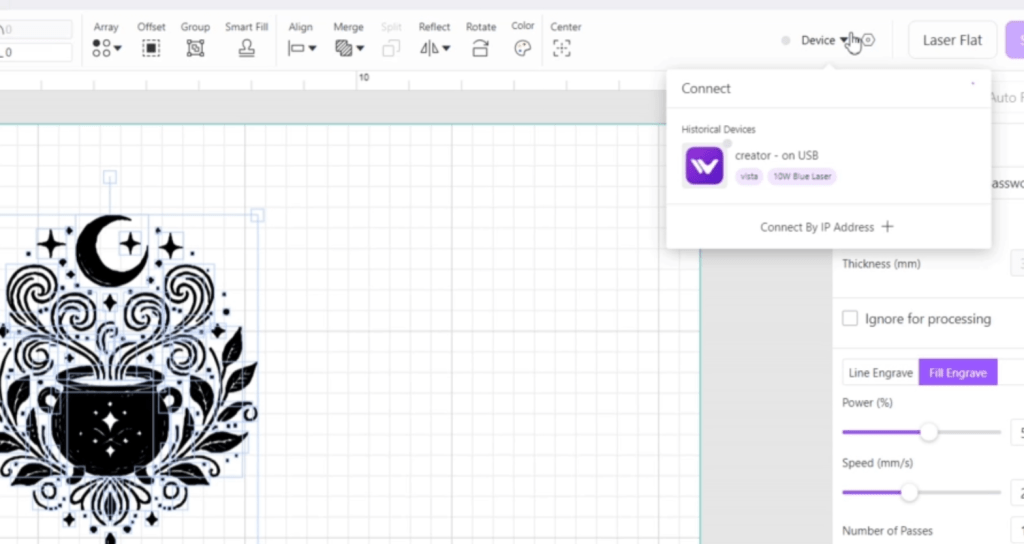
If you aren’t seeing the button, find the dropdown menu next to the upper right corner. If your laser is hooked up with the usb cable, it will say “WeCreat in USB”.
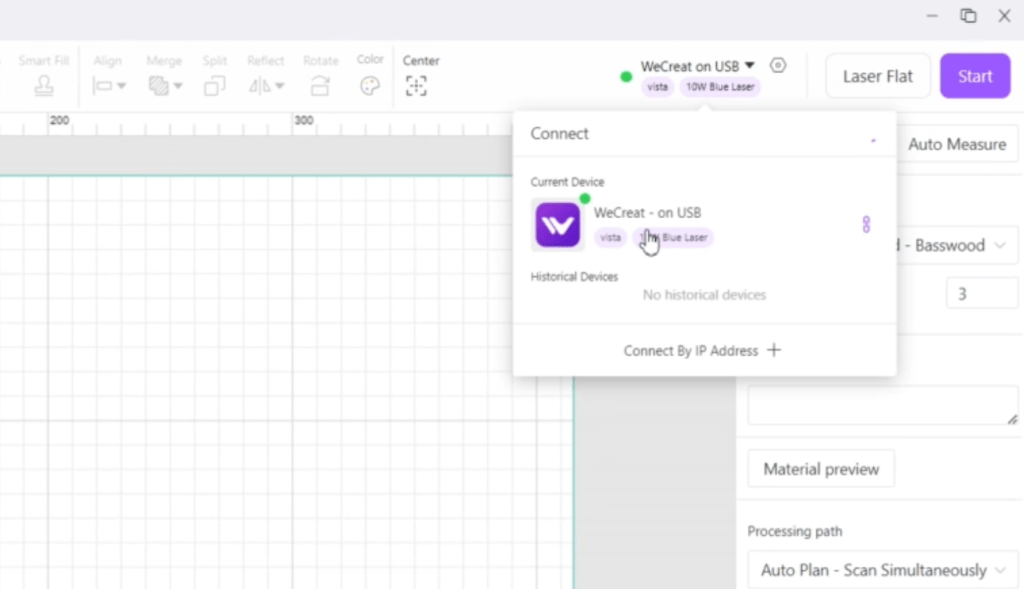
Select the dropdown and connect the program with your laser. The Refresh button will now be available.
Get familiar with the buttons in the left-hand toolbar. With the select button, you can move around the word to a location of your choice. With the camera function, we know exactly where it’s going to be!
Select the layers button to show the colors of the image. You can assign the function of this color on the right-hand bar. You can choose line engrave, fill engrave, or cut and assign it values.
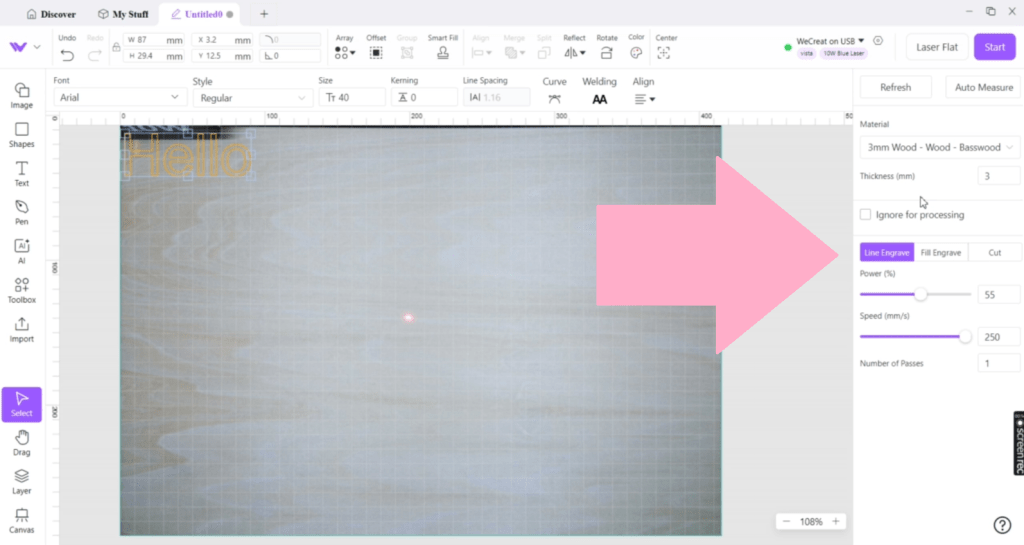
Under the Materials dropdown, you can find popular materials with preset values.

For this, lets do the fill engrave with the default settings.
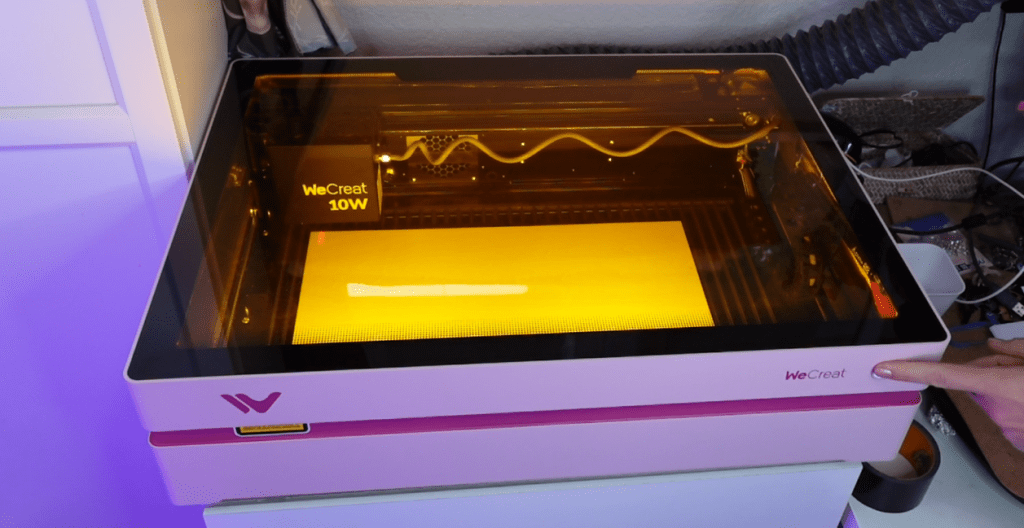
Click the START button in the upper right corner.

You will be prompted to close the lid and press the button. There it goes!
It’s easy to import svg files and cut out other fun designs!
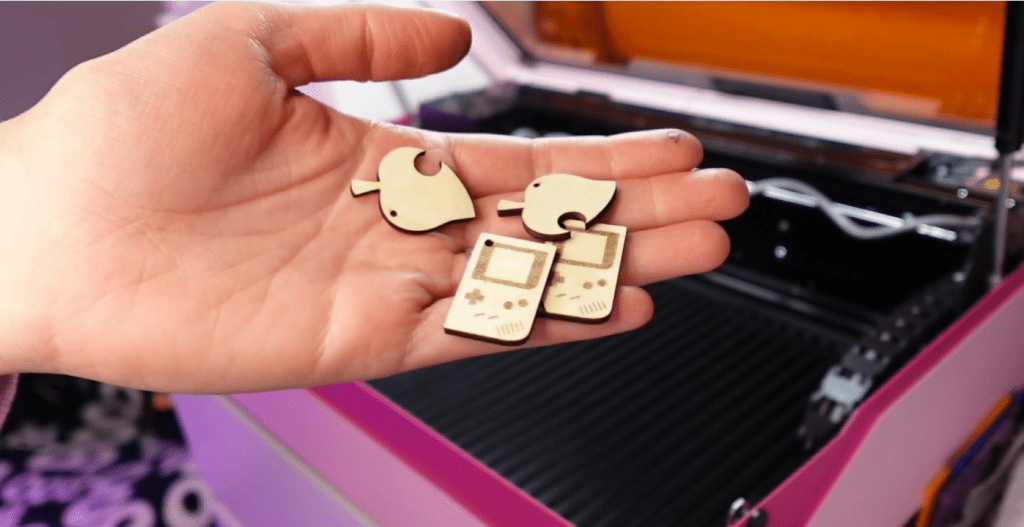
You can make these Animal Crossing and Gameboy pendants with my ready to laser files in my Etsy Shop!
How to Attach the Rotary to a WeCreat Vista

First, let’s attach the grips to the rotary. They screw on with the long screws labeled “extra parts” in the tool bag.
There are stepped legs and L shaped legs to choose from.
Turn off the laser and take off the laser bed grill.
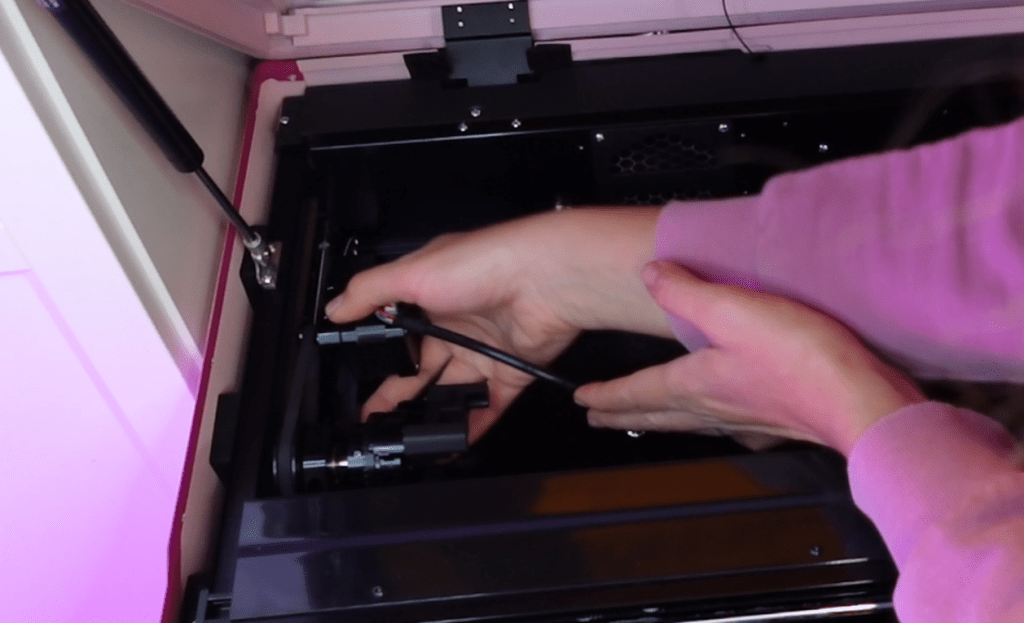
Pull the laser head to the middle and locate the 2 screws on wither side of the laser head box.
Mine have a bit of rubber wrapped around it. Rotate those in opposite directions until they spring out.
Rotate head and push in those screws and screw to re-tighten.

Push the x-axis down out of the way. Locate the 2 screws on the left hand bar under 2 pegs sticking up. Fit the rotary attachment on the pegs and use the 2 removed screws to screw the rotary to the side bar.
Plug in to the rotary plug outlet on the back wall.

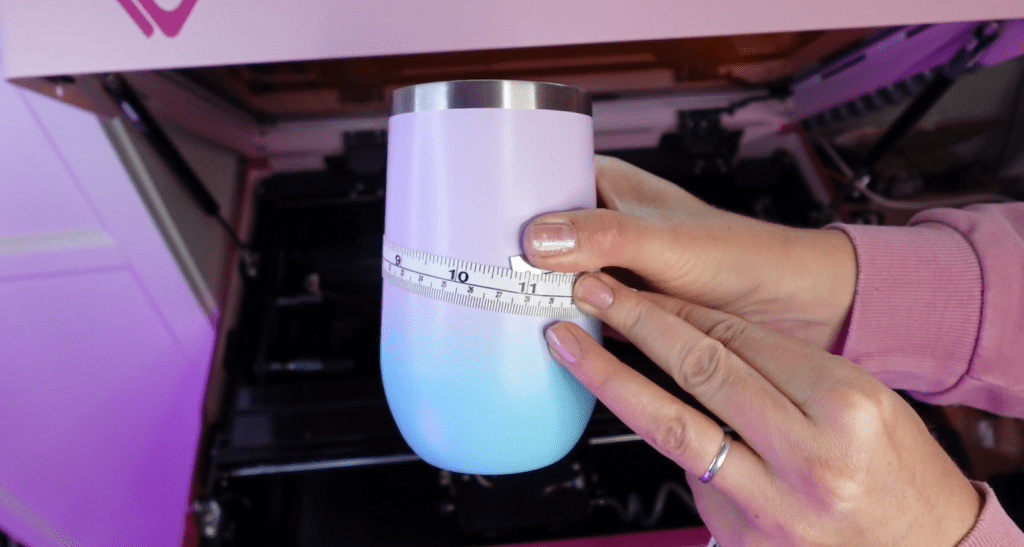
Use the tape measure to get the perimeter around your cylindrical item and write down.
Using the chuck key included in the tool bag, find one of the 3 holes to fit and turn the key until the rotary feet clamp down on your cylinder.
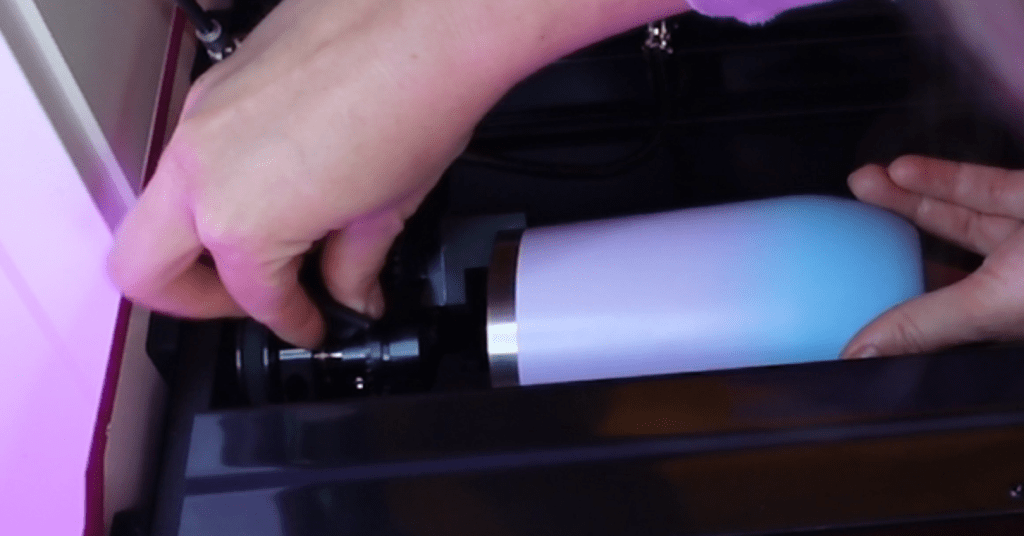
There is an additional holder to place under long objects. There is also a level for precision engraving.
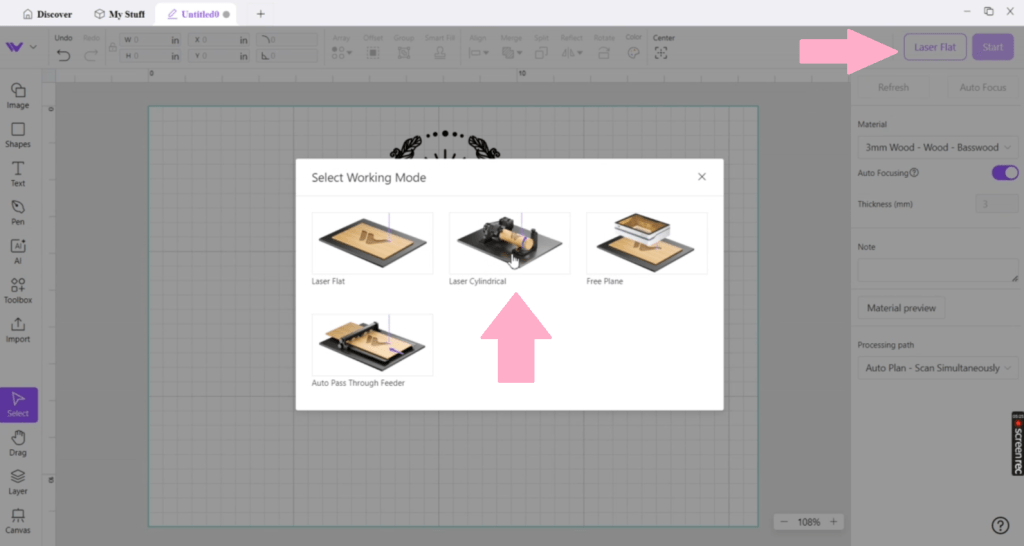
Switch on the laser and go to the MakeIt! program. Refresh the machine in the dropdown in the upper right corner. It will automatically know the rotary is attached.
Next to that, make sure to select “Laser Cylindrical”.
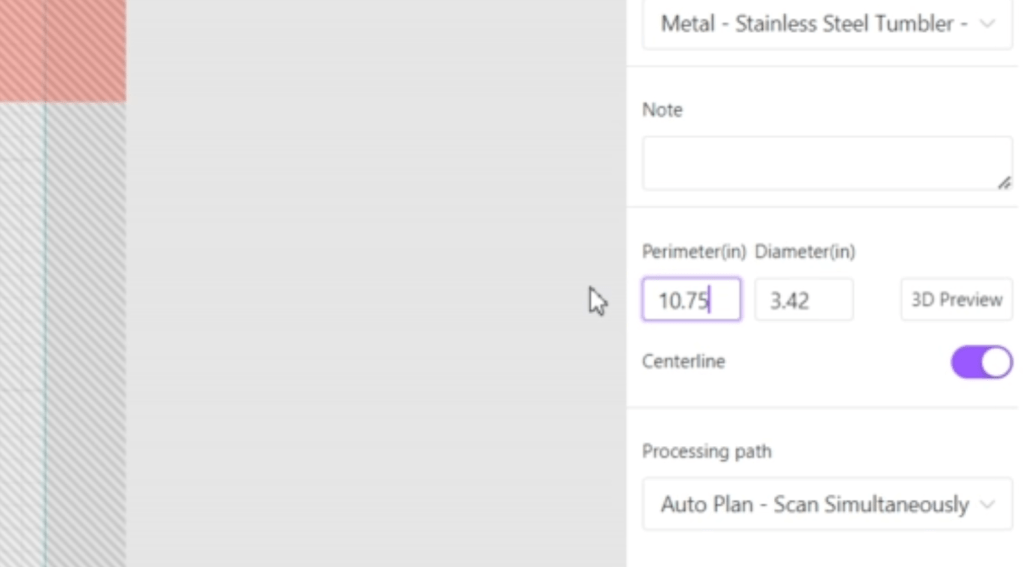
Select the type of material your object is made of.
There will be a prompt to input the parameter of the cylinder. It will calculate the diameter from that measurement.
Import your engrave file and set to your object. Long wrap images will exceed the sides of your object, but the laser is smart enough to know to wrap it around.
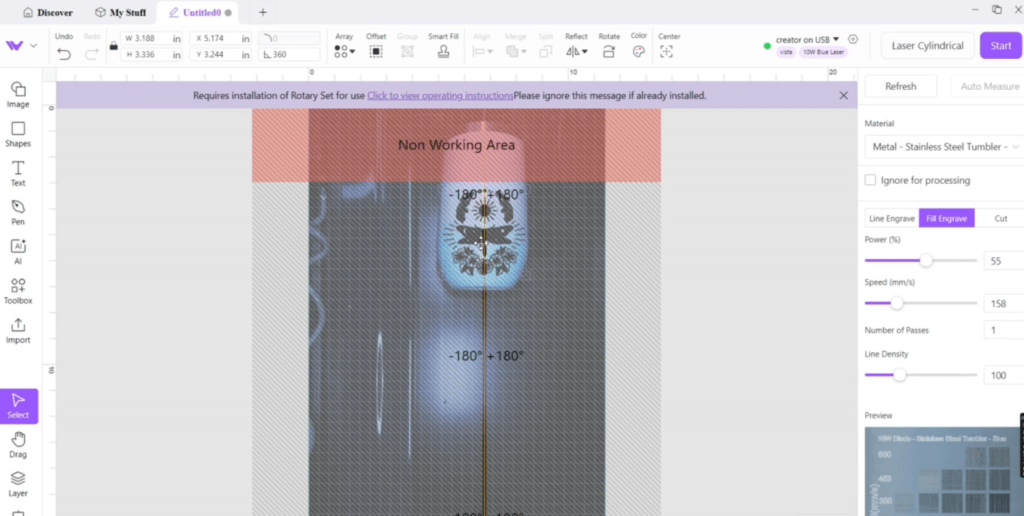
Set your engrave settings and send to the laser. Alternatively, you can press the “Frame” button to see where the image will be engraved before it starts.
If you are lucky enough to have sprung for the Rotary Pro attachment, there will be just a few steps to switch it over.
Installing the WeCreat Vista Rotary Pro Attachment
While the rotary attachment is unattached, remove the starter rotary head by unscrewing the 2 screws on the anchor plate.

Hold on to those screws.
Switch out for the new rotary head by placing in the 2 screws. Making sure the belt is wrapped back into place, set the new rotary head in the bar by aligning the screws.
Tighten the screws and install the rotary attachment just like the basic version!

You can now switch off the “Non Working Area of Rotary Head” in the MakeIt! settings and expand your laser-able area!
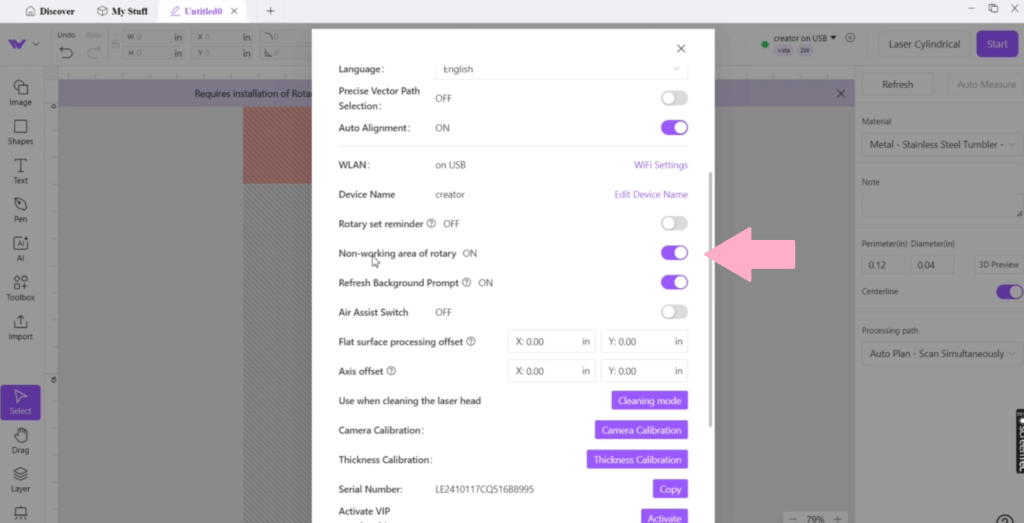
You can now engrave much higher on your objects and have more ways to hold onto new ones!

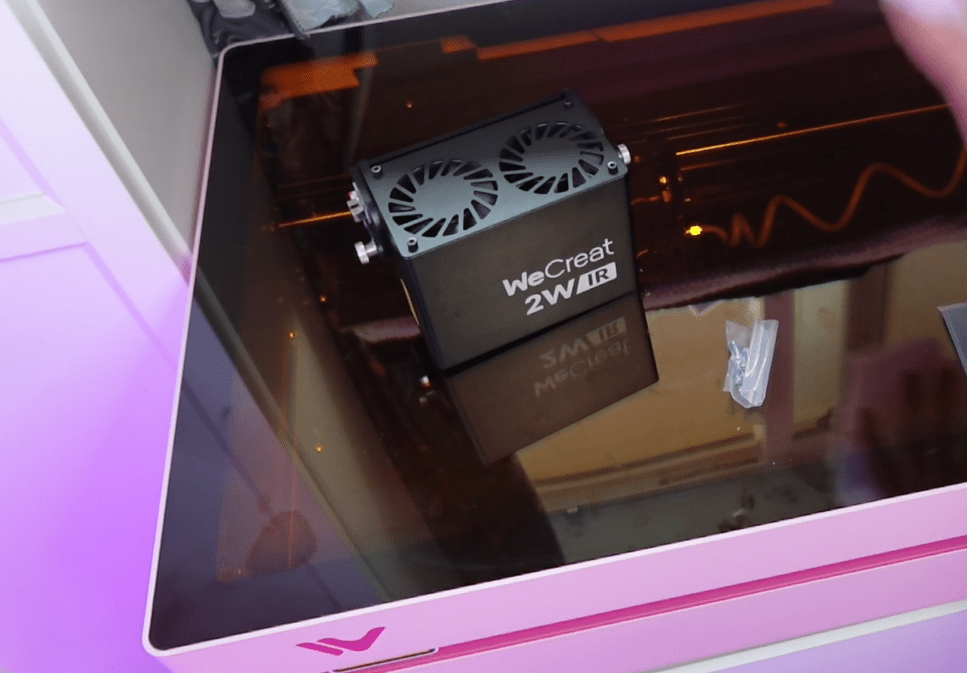
Installing the 2W IR (Infrared) Laser on a WeCreat Vista
Don’t be intimidated, this will be surprisingly easy!
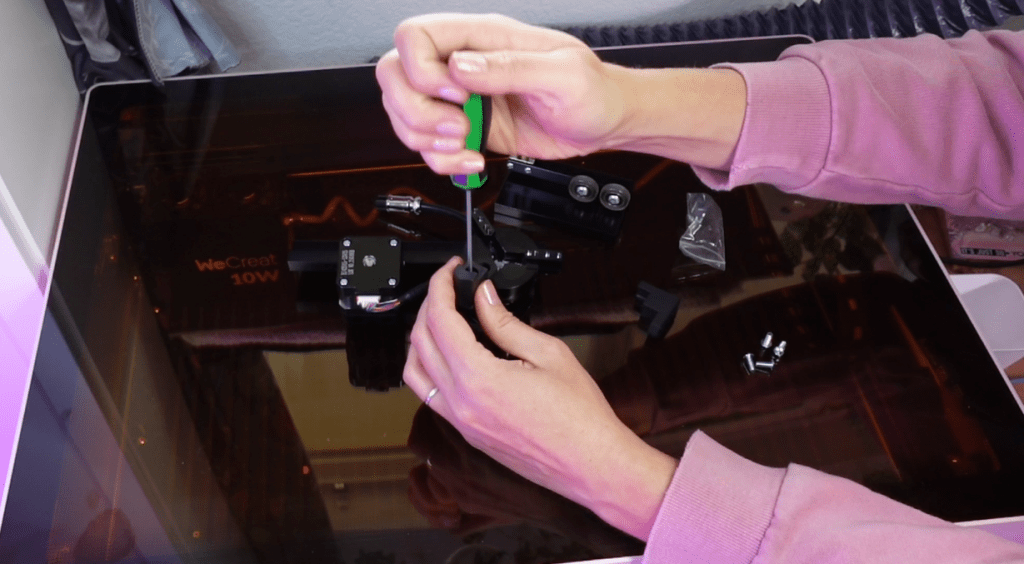
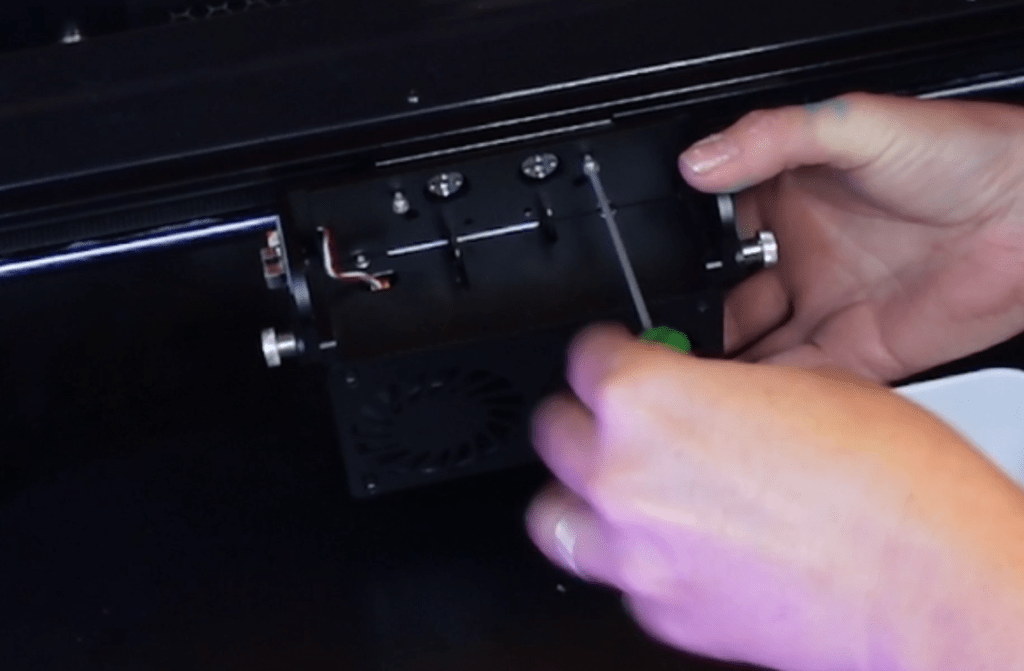
Make sure the laser is off. Move the laser head forward and unscrew the rotating screws to fold down the diode laser head to reveal the screws holding it to the bar. Screw back in to hold it down in place.

Pull out the air hose by pressing on the gasket and pulling the tube.
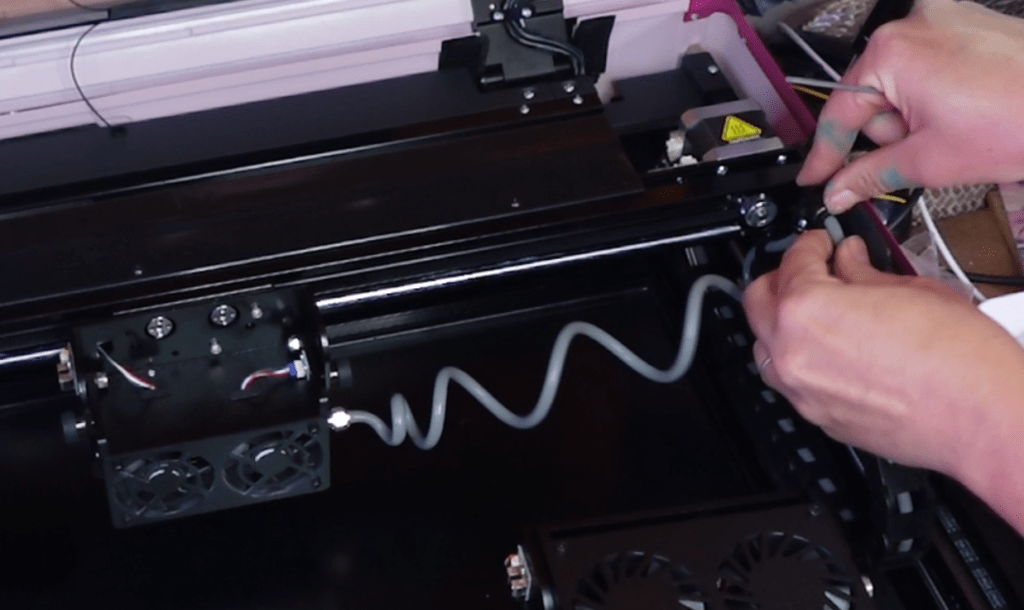
Unscrew the 4 screws holding the laser head to the x-axis.

Pull the x-axis bar forward while the laser head rests on the bed to expose the wire harness. Press the clip and pull to detach. it might be a little stiff. Wiggle gently to separate.
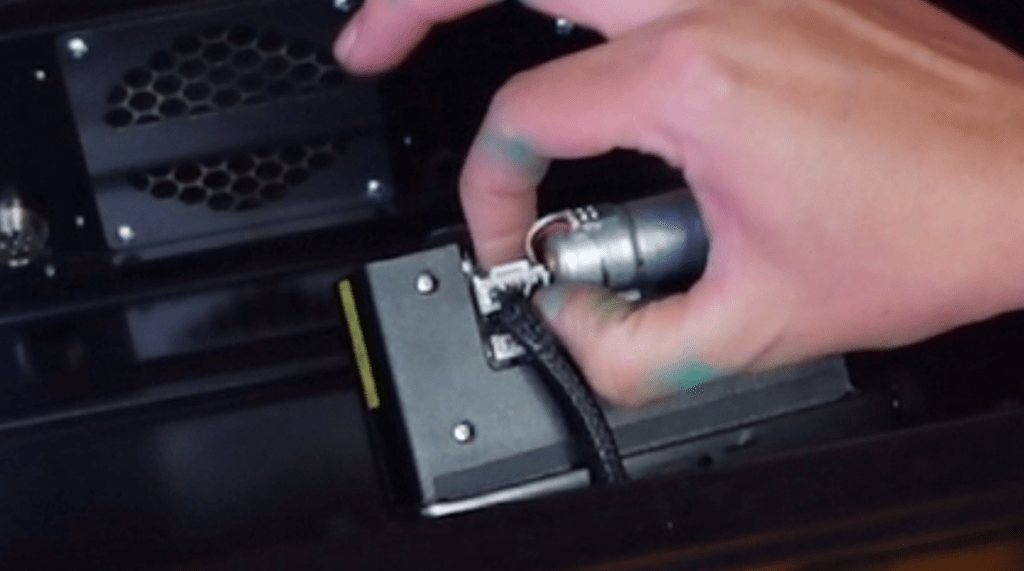
Attach the 2W IR laser head in the opposite manner. Plug in the harness of wires and push the bar forward.
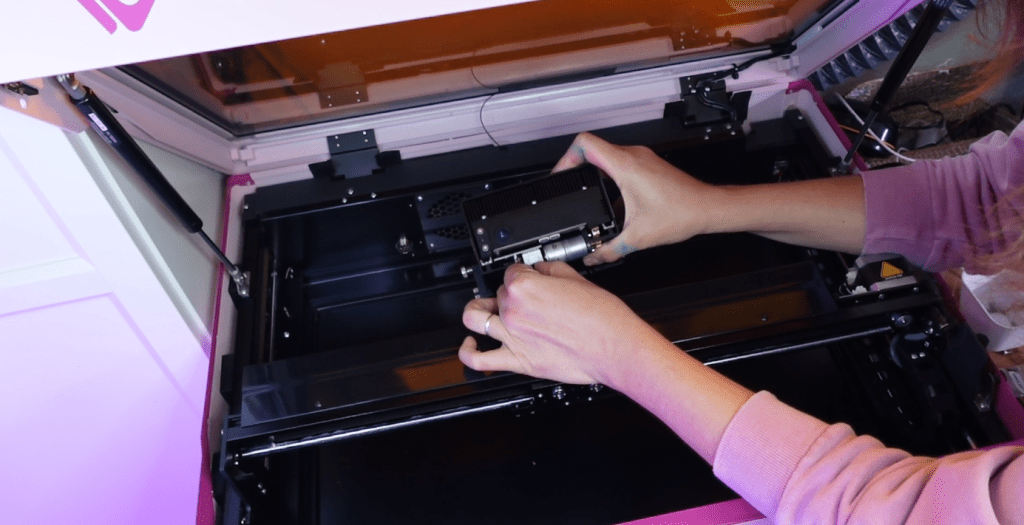
Lift the laser head to attach the same 4 screws holding it to the x-axis bar. There is no air assist hose for the infrared laser head.
Once it is plugged in and screwed into either the down or side facing direction, you are ready to turn on the laser!

The MakeIt! program will need to be refreshed and will know that the 2W IR laser head is attached.
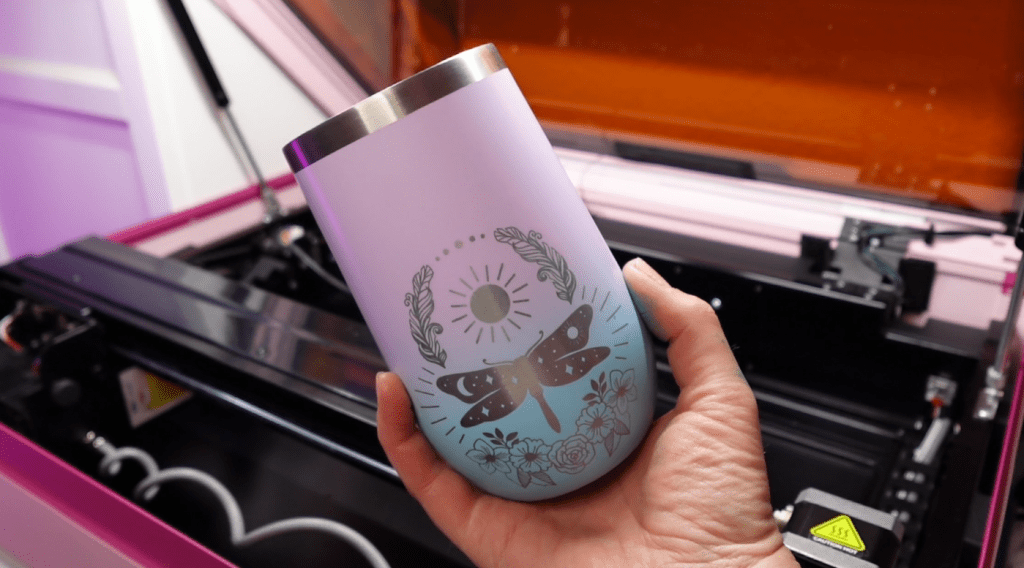
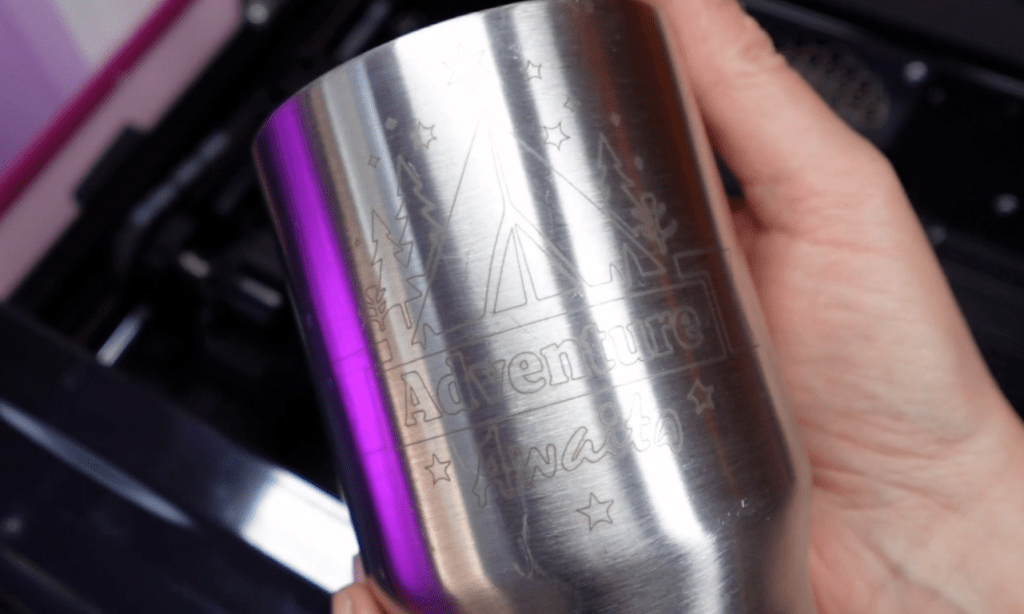
You can now enjoy the many features of this incredible laser head!
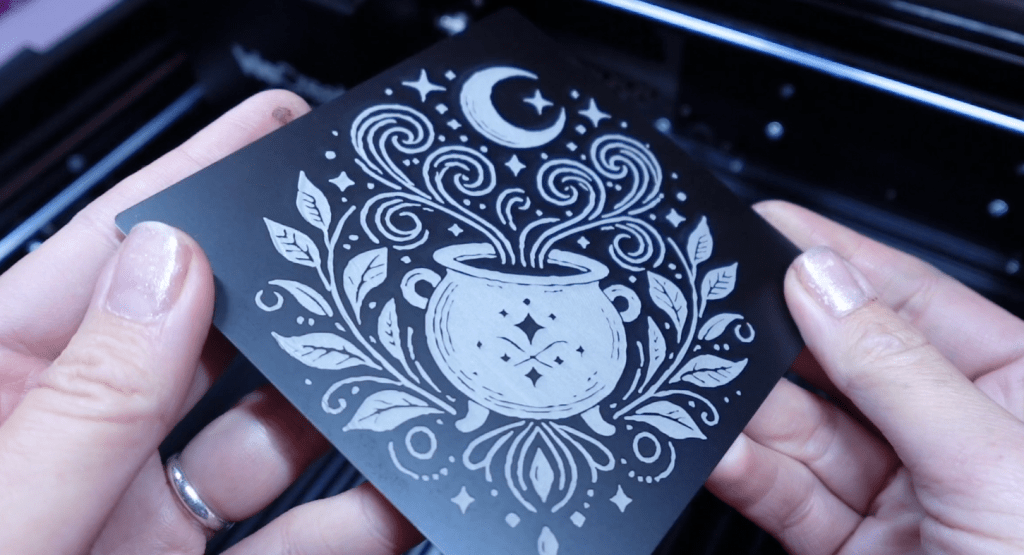
You can now engrave metals without the need for marking liquid and use it with new materials in the rotary, amongst many other features!
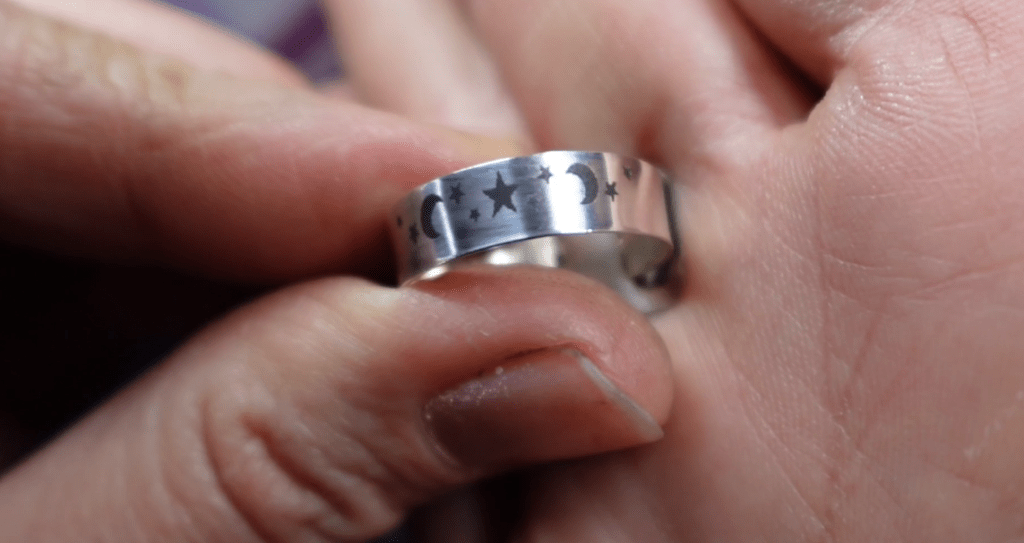
It can even engrave objects as tiny as this Sterling Silver ring!
Please let me know if you have any questions and I will answer them the best I can! Enjoy your new laser and – Happy Crafting!
Sign up for Creative Fabrica’s All Access Free Trial and enjoy 10 free downloads to kickstart your creative projects. Plus they’re having a Subscription Sale, so check it out!

Leave a comment