

Easy Custom Gifts & Product Idea!
10 Free Downloads Await! Sign up for Creative Fabrica’s All Access Free Trial and enjoy 10 free downloads to kickstart your creative projects.
Supplies for Project
⇢ CO2 & Diode Laser Compatible Acrylic & Wood (Save 10% with Code: LASERLADY)
⇢ Gorilla Clear Grip Contact Adhesive
⇢ Sharpie Oil Paint Pens
⇢ Gorilla Duct Tape
⇢ Novus Number 2 Plastic Polish
✨ Program – Inkscape
Laser Engraving Handwritten Notes and Drawings couldn’t be easier! Add personalized products to your catalogue or make unique gifts for your friends and family free and easy with a free program called Inkscape!
➕ Subscribe to my YouTube Channel HERE
Best Type of Drawing or Note
The best type of drawing or handwritten notes should be a nice bold color that contrasts the background well. It doesn’t necessarily need to be black and white, but that does help a little.
Once you have your image picked out, it’s time to digitize it. If you have a scanner, that would come in handy, if not – no worries! You can take a picture with your phone.
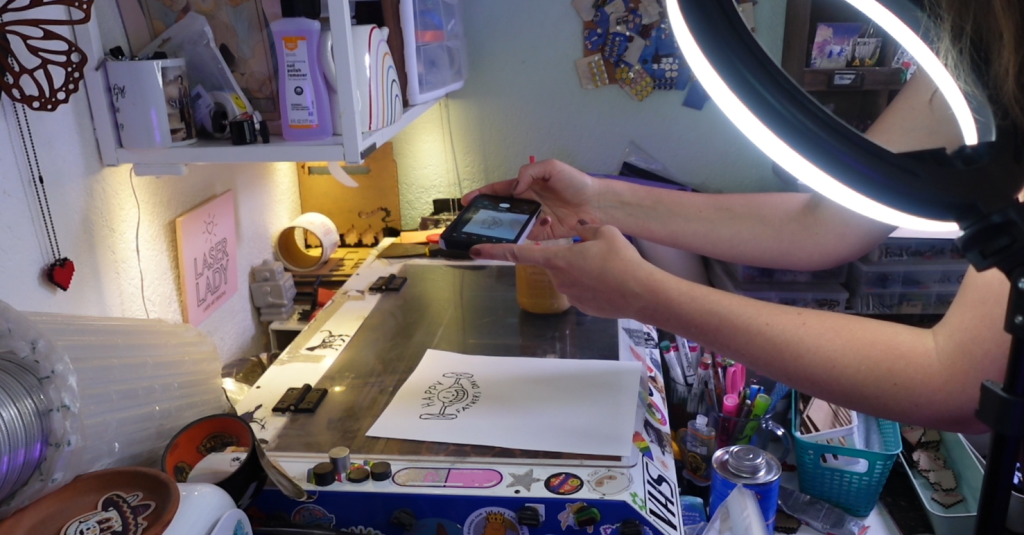
Make sure the lighting is really good, next to a window is best. Try out the flash function if that helps the contrast of your picture. We are not going for a pure white background, the focus is on what we want to engrave.

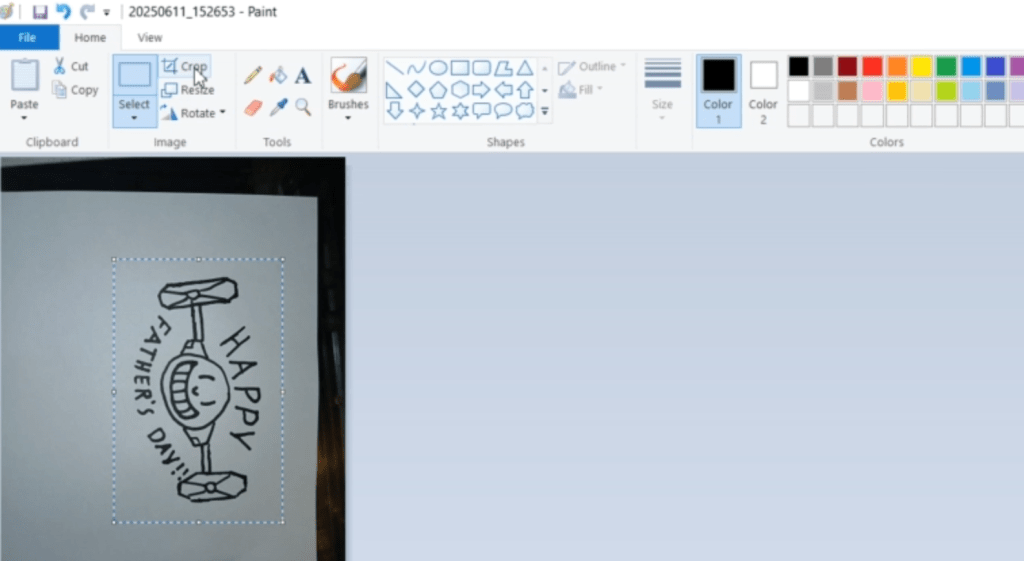
Once that is looking good, let’s get them on the computer. I am going to edit these down to size with paint. You could also do this on your phone before you put them on your computer, if ya fancy.
Time to open up Inkscape!
Turning a Picture into a Laser Engrave File
Start a new project page and go up to File and down to Import. Find your picture and import that in.
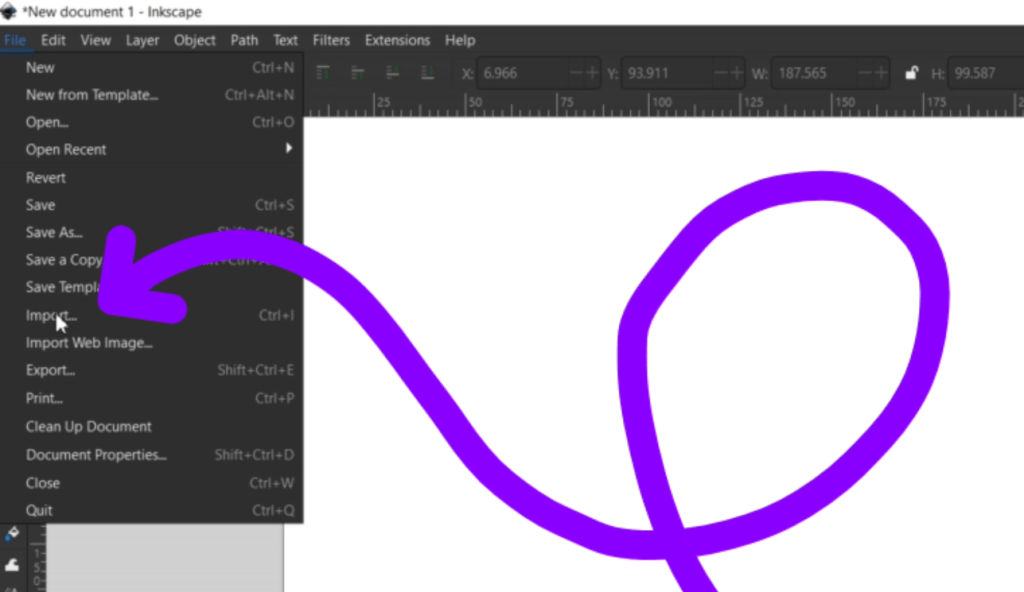
I left the import settings at whatever defaults it was already set to.

You can zoom in and out by holding the CTRL key and rolling your scroll wheel up or down.
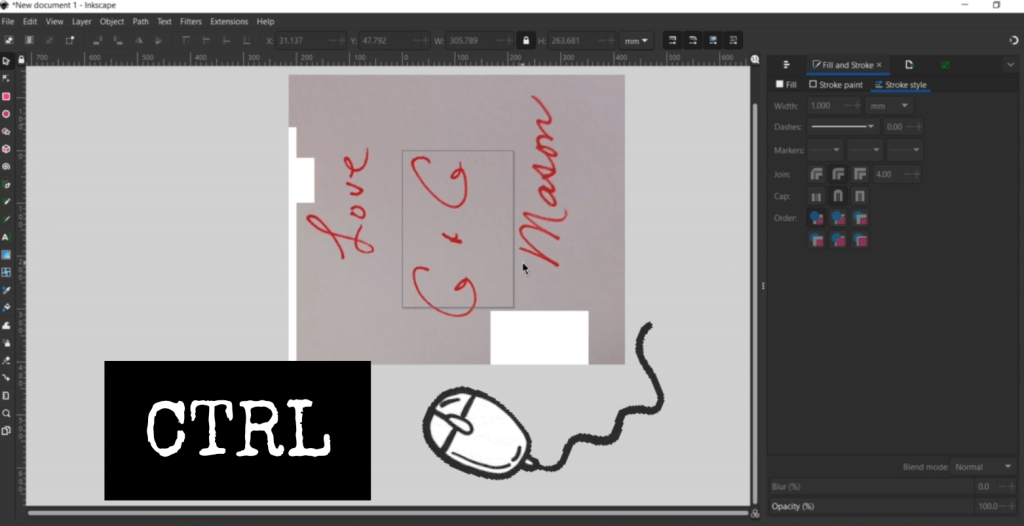
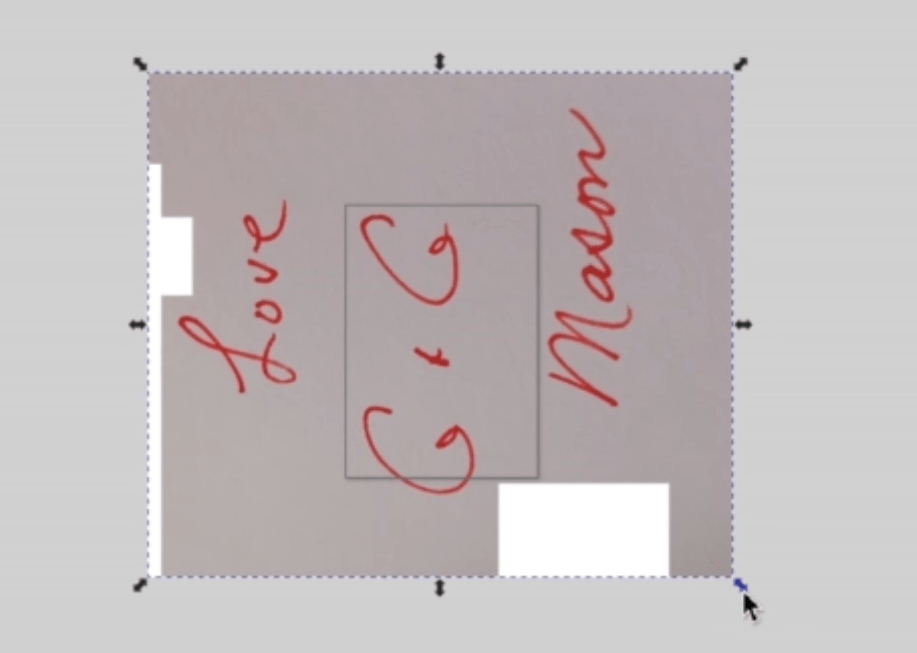
To make your image smaller, click on your image once and when the arrows appear in the corners, hold down that CTRL key again while you press and hold your mouse button and drag it in.
To rotate, click your image twice, the corner arrows turn into curves and you can rotate your image to where you’d like it. Hold down the CTRL key when rotating to snap your image in 15 degree increments.
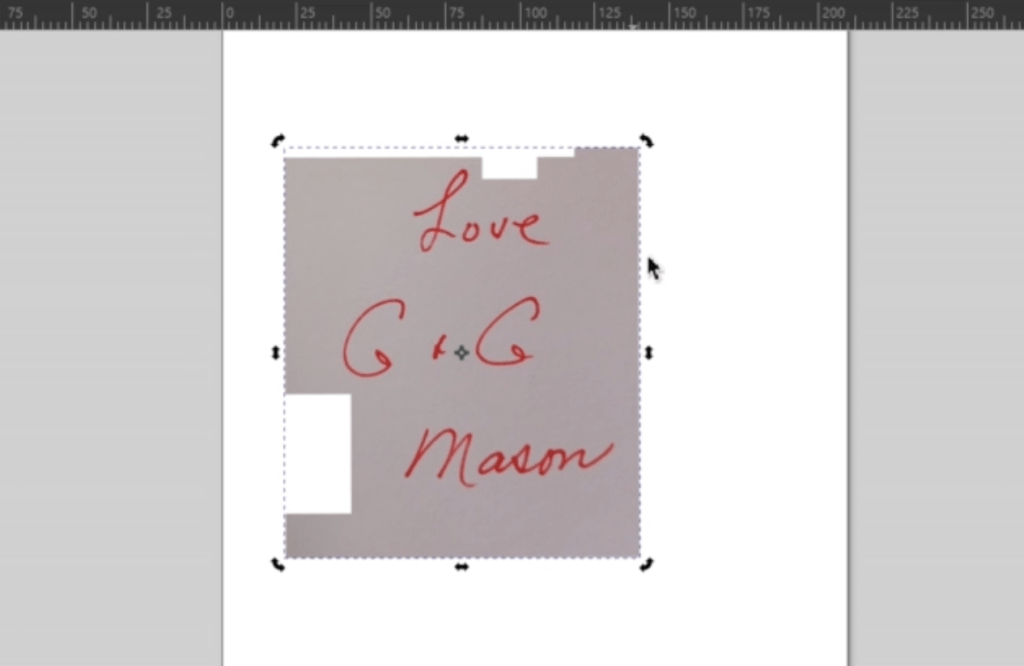
We can make it the exact size we want later, for now, get it so you can see the image and let’s turn this baby into a laser engravable file!
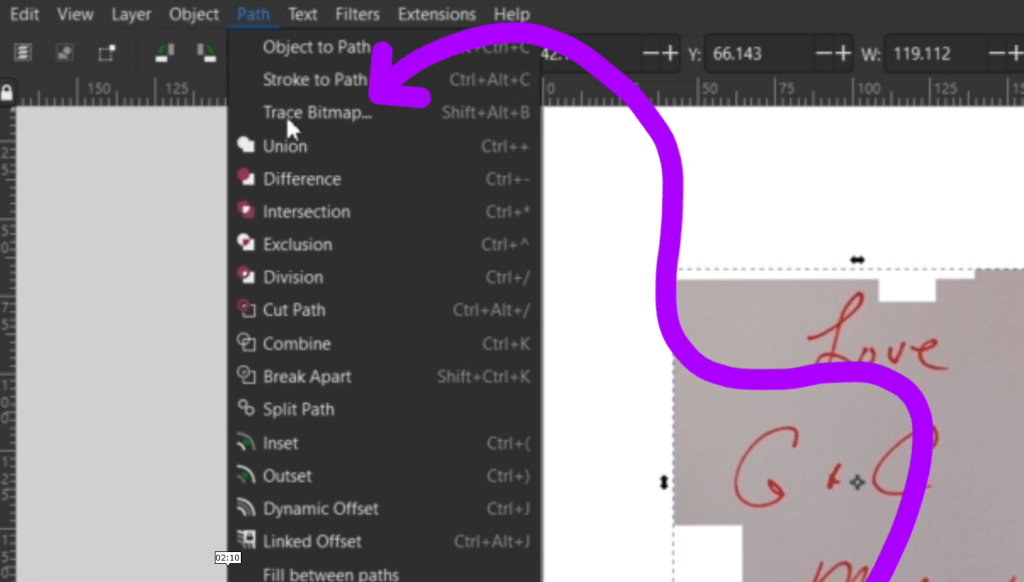
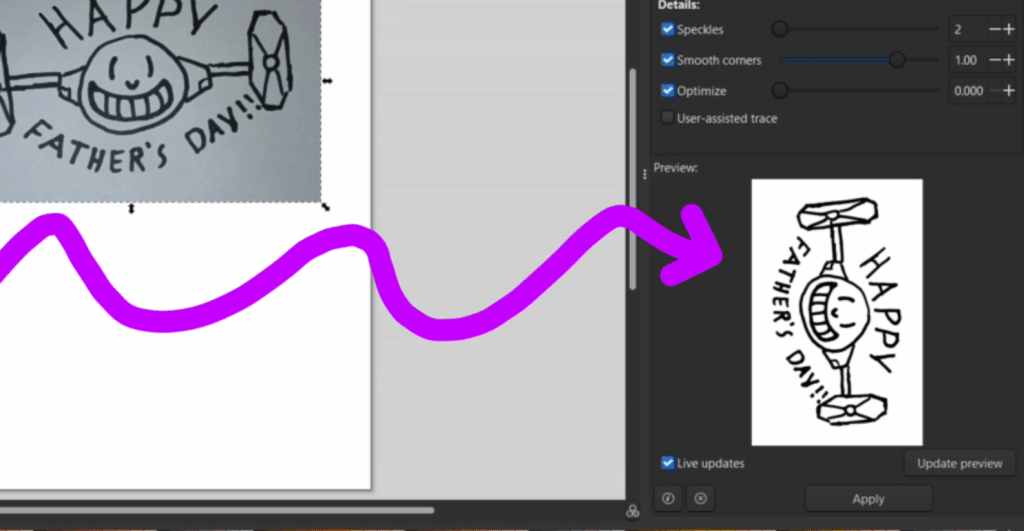
While your image is selected, go up to Path and down to Trace Bitmap. This will pull up a menu on the right side.
Make sure the Live Updates is selected in the bottom corner. Now you can see this little preview.
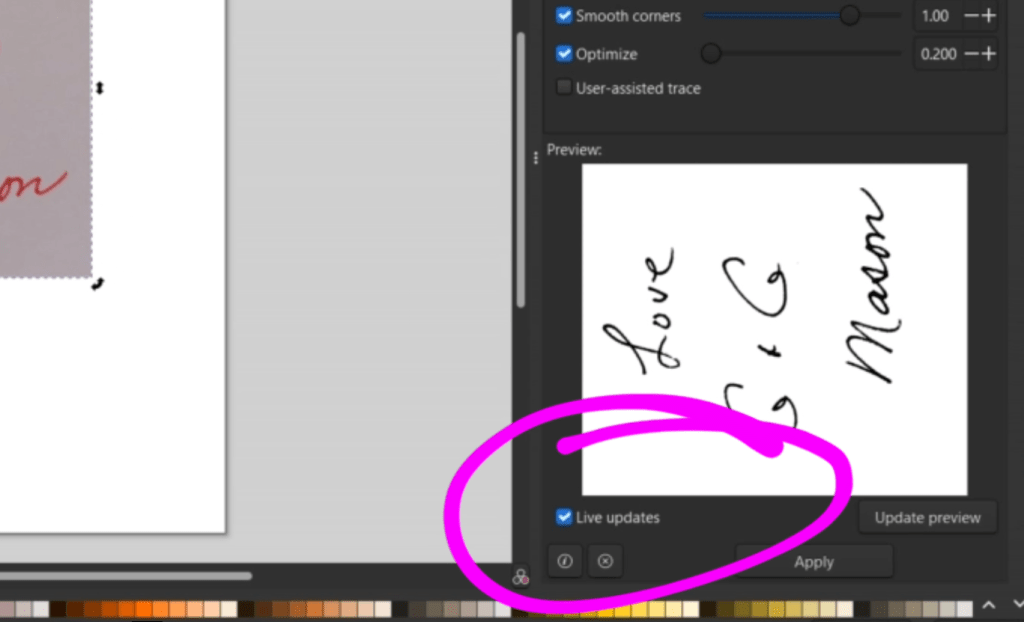
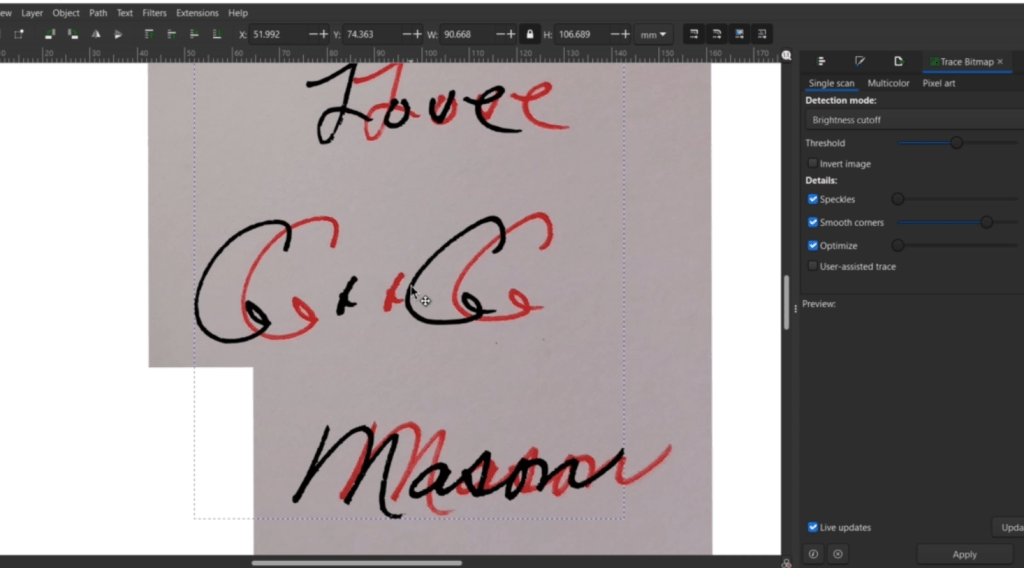
If your image is already pretty stark and contrasted, the preview should look good! If you have some thin lines, fiddle around with the sliders. What the program is doing, is essentially tracing our image. Sliders like Speckles will get rid of little dots and the Smooth Corners slider will make our vector outline a bit more smooth.
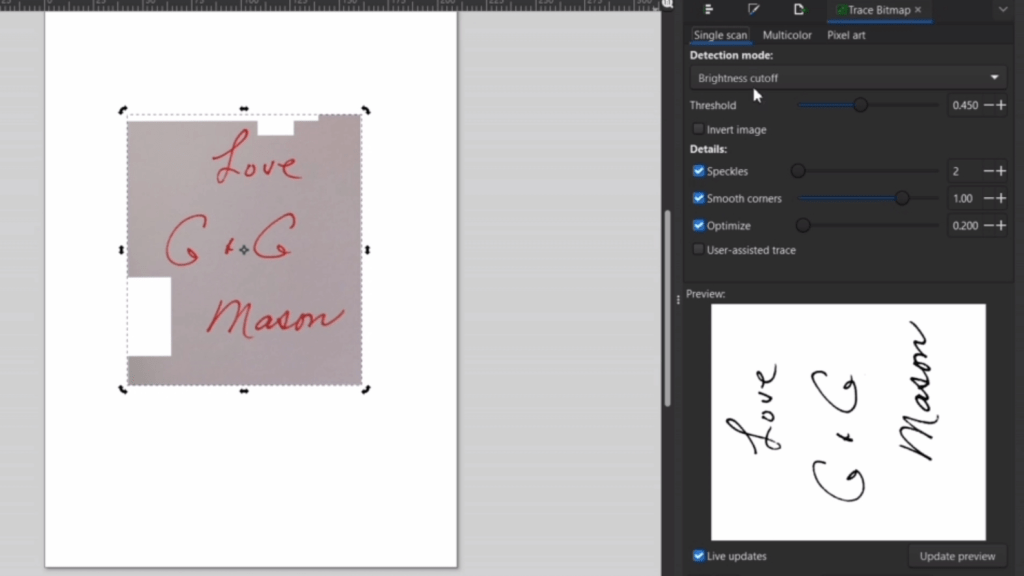
Once you think it is looking pretty good, click Apply and it will generate the image over your picture. It’s that easy!
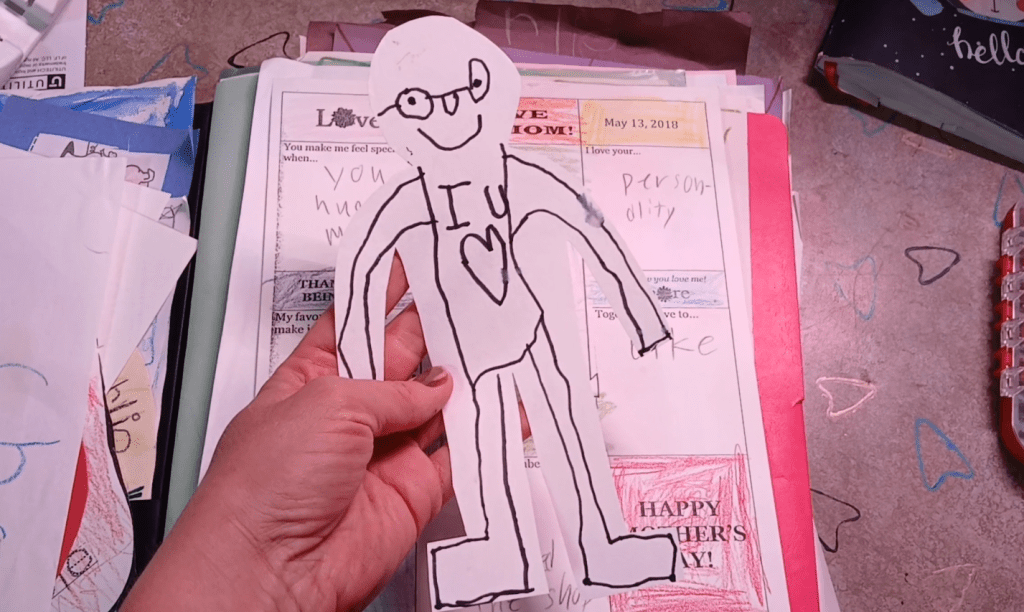
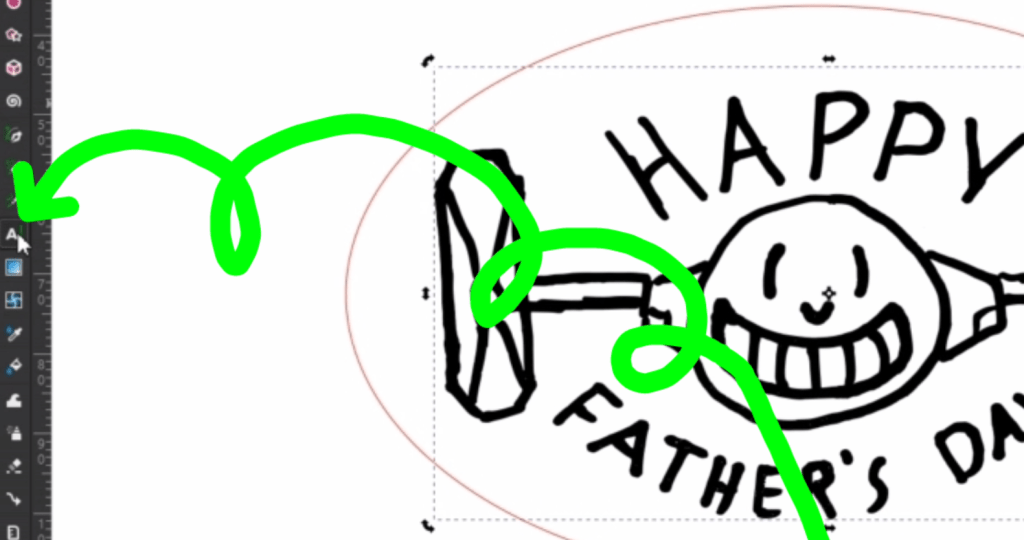
I had my son draw this out for Father’s Day with a Sharpie and a white piece of paper. And we go through the exact same process of with the Trace Bitmap function.
Things like this make a really fun activity for kids, or anyone really! Seeing your art on a laser engraved thing brings a smile to anyone!
Creating Quick Shapes for Cut Lines in Inkscape
Now to make the cut lines for our new vectorized images.
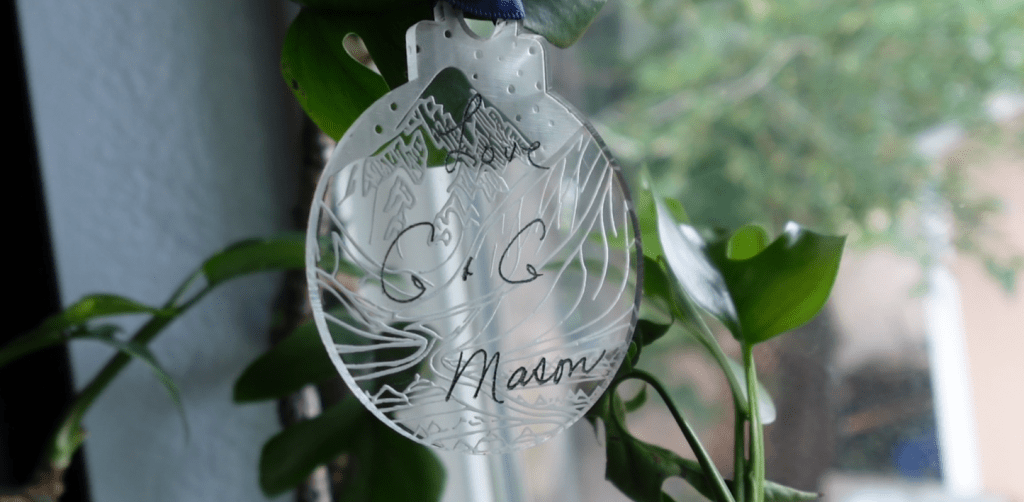
For my Grandmas signature, I want to make this an ornament. I have entire videos on how to make more complex shapes to laser cut, so watch those next!
For the ornament, I just make a circle with the circle tool in the left bar.
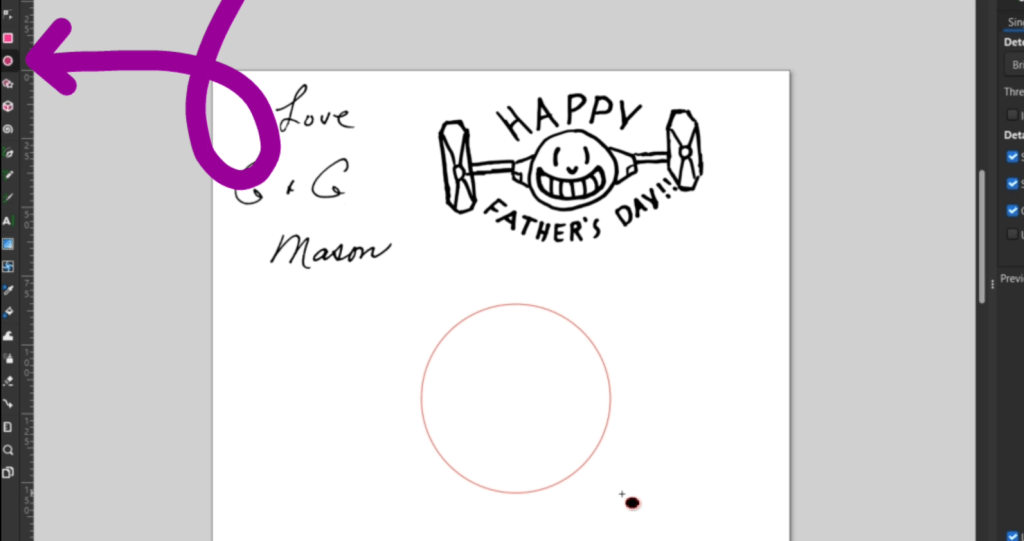
To make it a perfect circle, hold the CTRL key when you drag it out.

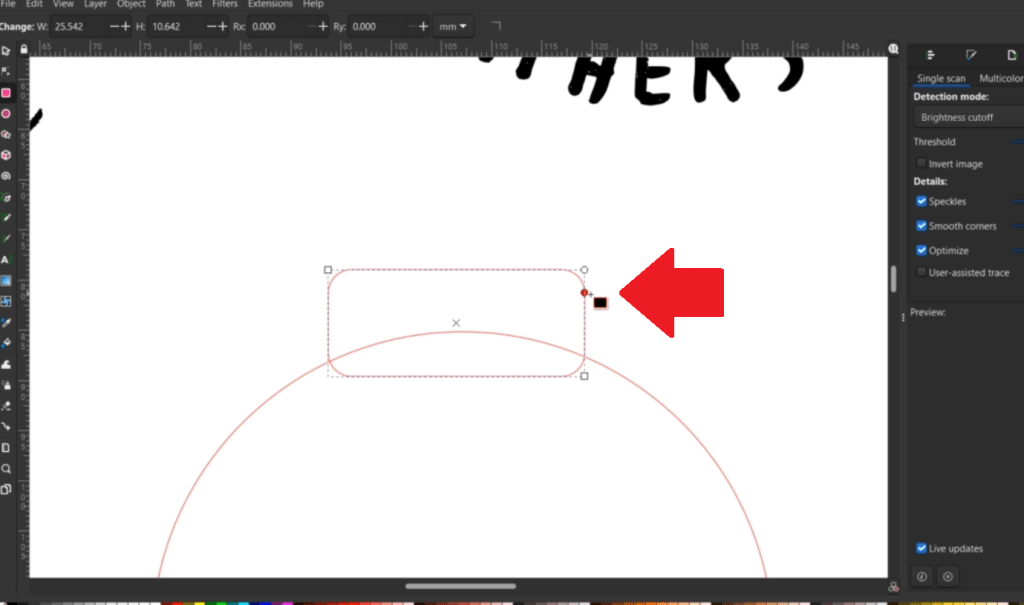
I then make a rectangle on top and drag the circle in the upper right corner down to make the edges rounded.
Then I get 2 more circles on there.
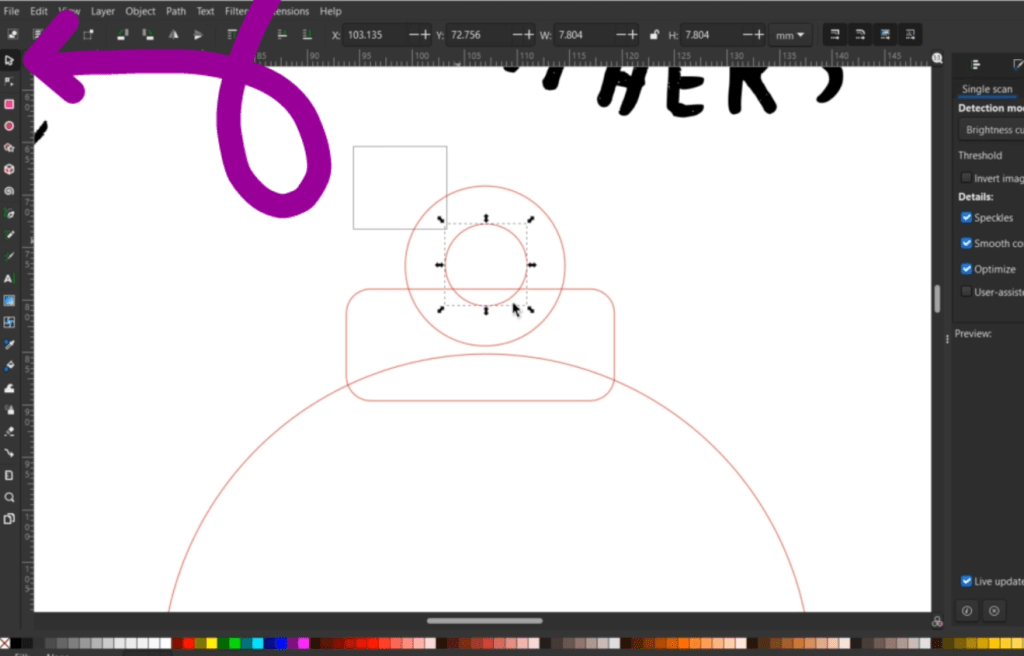
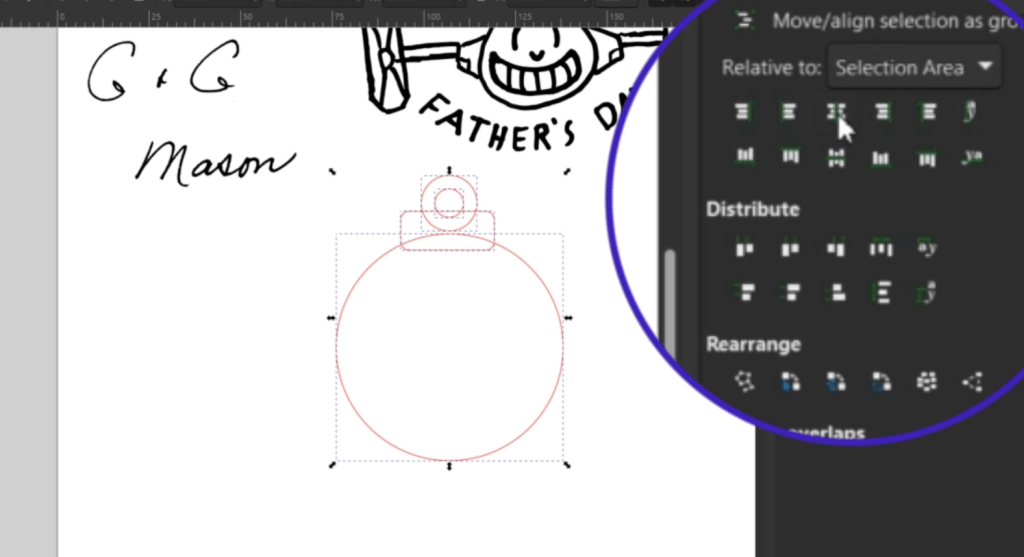
Using the arrow selection tool to select the two smaller circles, I go up to the Object dropdown and down to Align and Distribute to open a bar on the right.

I can then use the alignment tools to align with circles and rectangle together vertically.
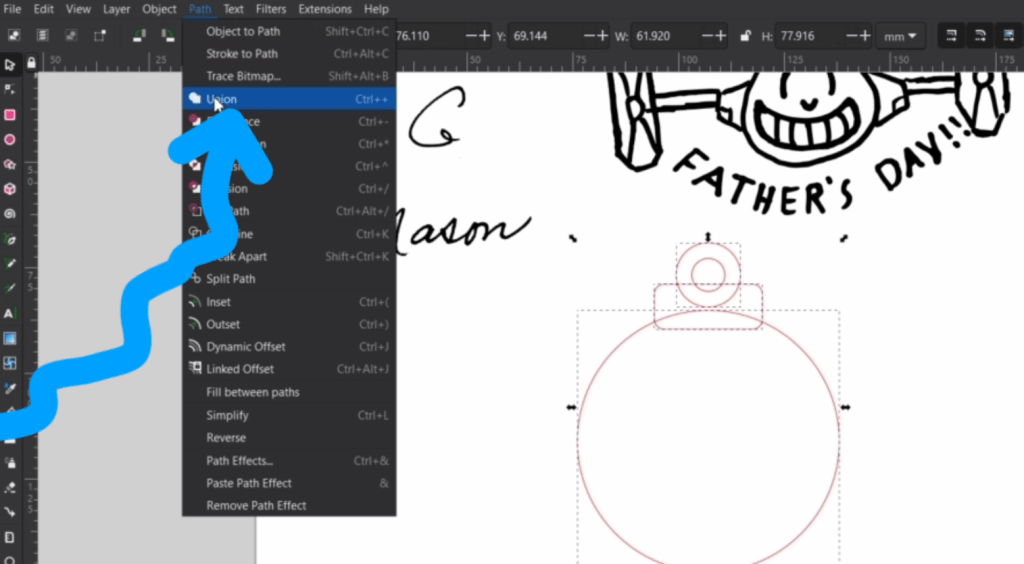
Select the outside shapes by clicking each shape while holding the SHIFT key, and not the smallest circle, I go up to Path and down to Union.
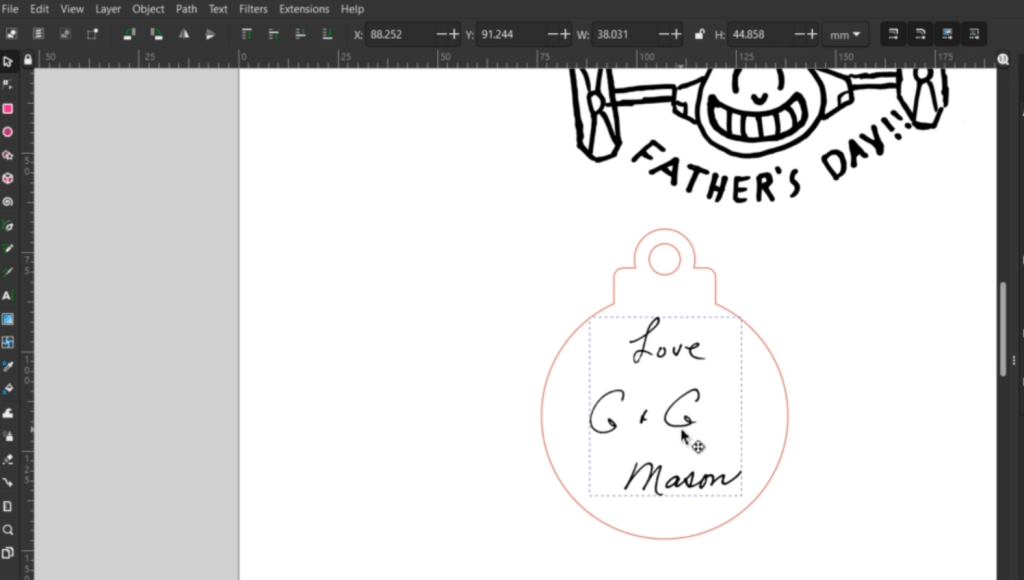
Then, I put the signature in the ornament where I’d like it to go.
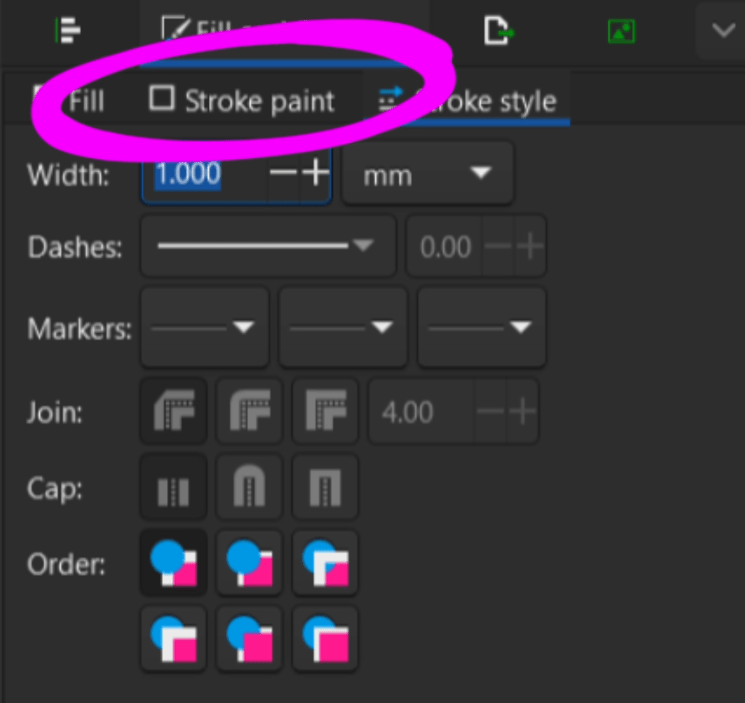
Before you save your svg file for your laser program, make sure your lines are set. Go up to Object and down to Fill and Stroke to open up the setting on the right side bar.
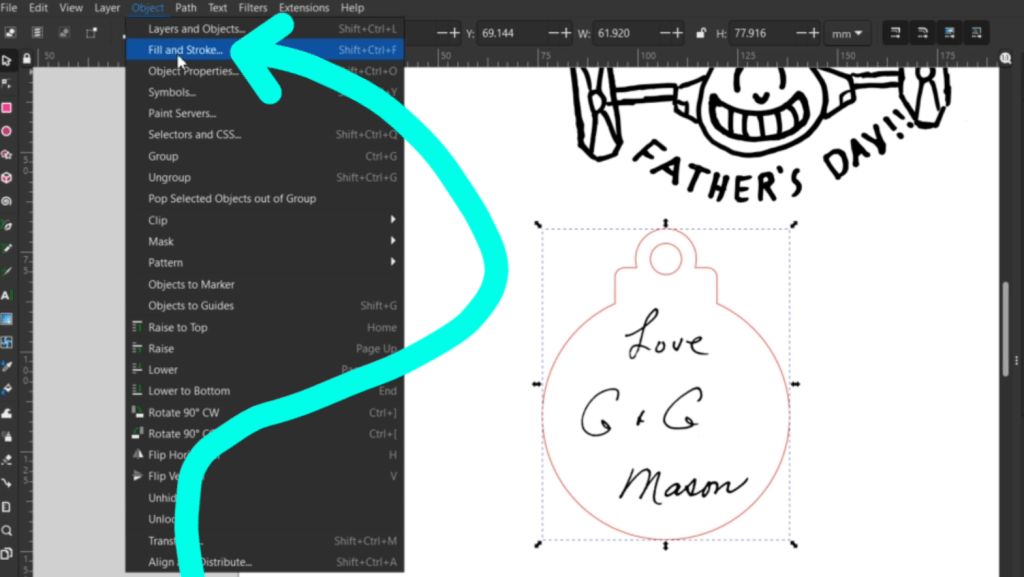
My laser program likes my cut lines to be Hairline, so I select my lines and select that.

You can also choose line colors in the Stroke Paint tab.
For the silly Tie Fighter my son drew, I’m just going to put an oval around that. I fiddle the image into place. Now I want to put a year on this. Put a date on anything kids do, I always say.
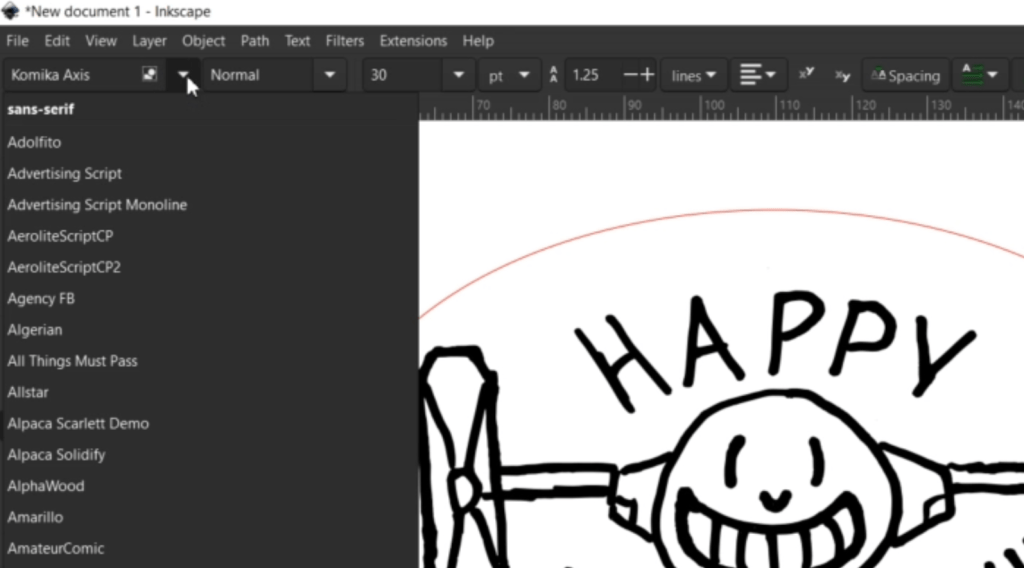
Selecting the text tool, I type out 2025.
You can change the text before or after writing in the text dropdown box in the upper left corner.
I shrink that down just like we did at the very beginning with our picture by holding CTRL and sliding in a corner. To rotate, just click 2 times to make the corner arrows curve and rotate.

Now’s the time to make sure things are the size we want with the sizing box in the upper bar.

Export these as SVGs or whichever file your laser program likes best.
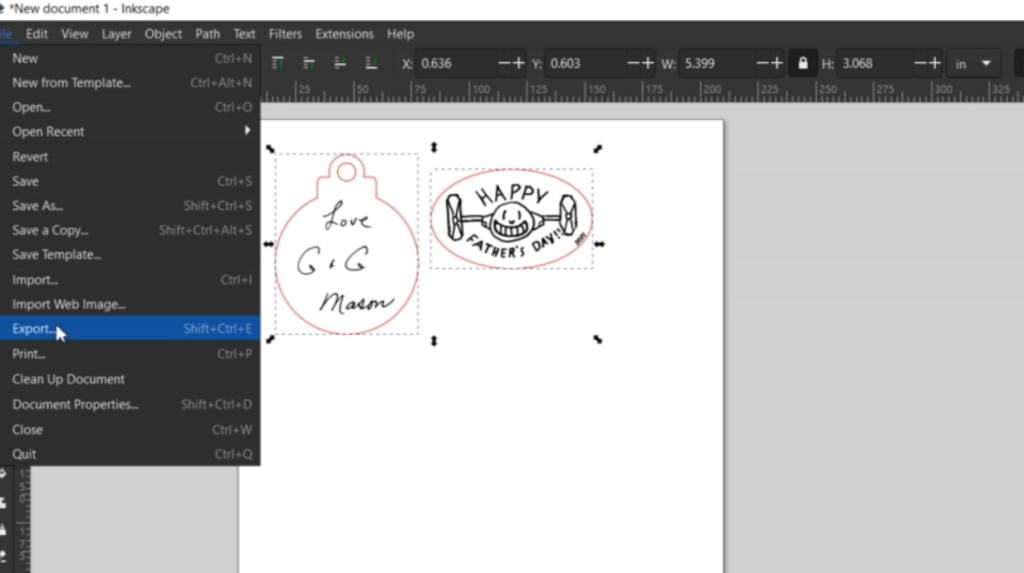
Bing bang boom! Let’s laser these out and see how we did!
Laser Engraved Magnet and Ornament
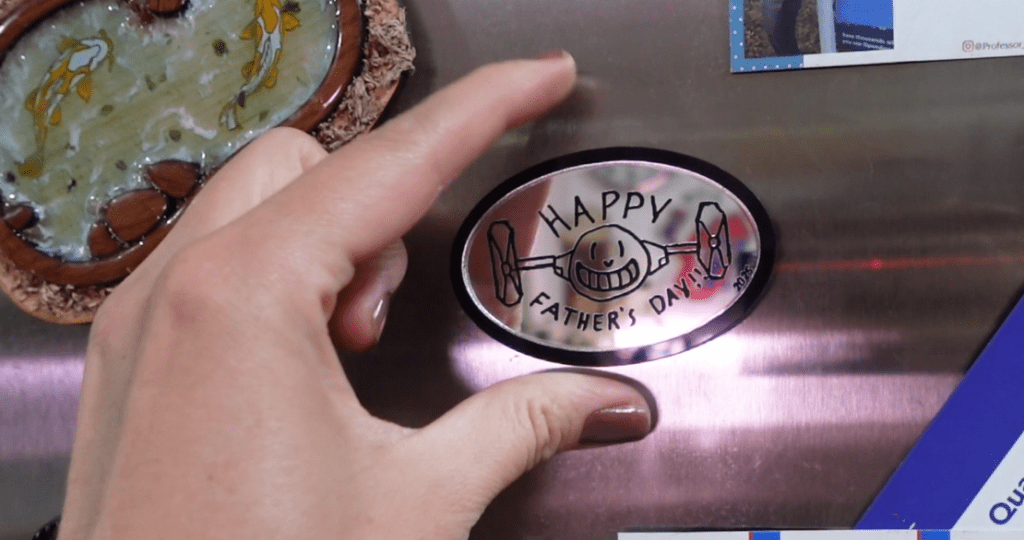
For the Father’s Day gift, I am going to make this a magnet. After I forgot for a while, I remembered and flipped the image because I am engraving it on the backside of mirror acrylic.
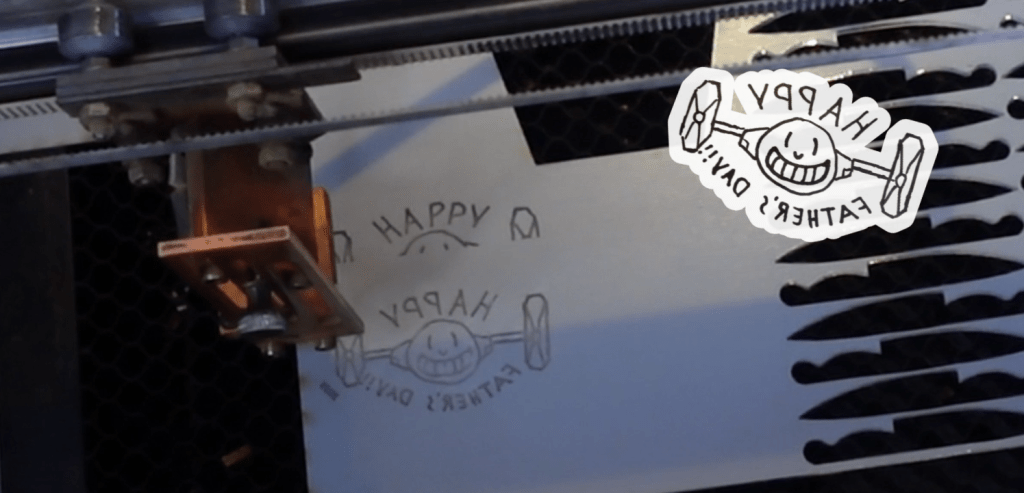
This way, when seen from the front, it will be right side around.
After it’s done engraving, but before it cuts out, I went in there with a little bit of black acrylic paint and squeegeed that in the engraving.
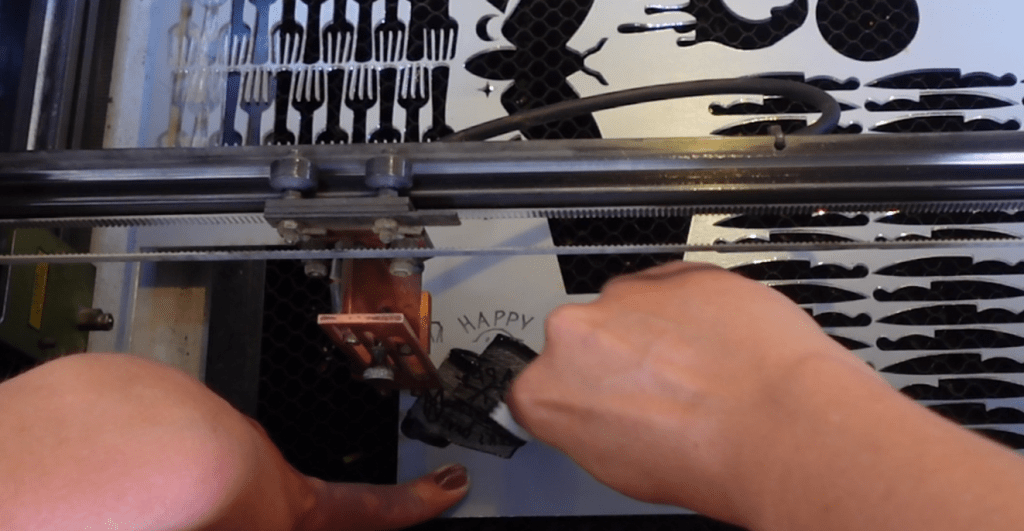
If you give this a try, make sure you don’t wiggle around the acrylic, or the cut will be off. This is optional but a great technique when you have a lot of pieces that need paint, so keep that in mind.
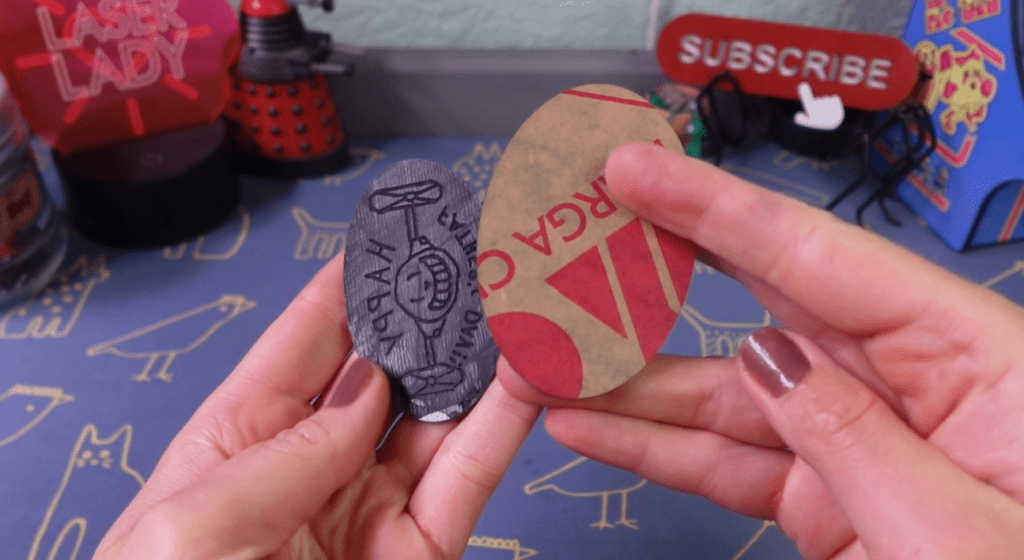
I also cut out a slightly larger oval from 1/16th in plain black acrylic to attach the mirror layer to give it some depth.
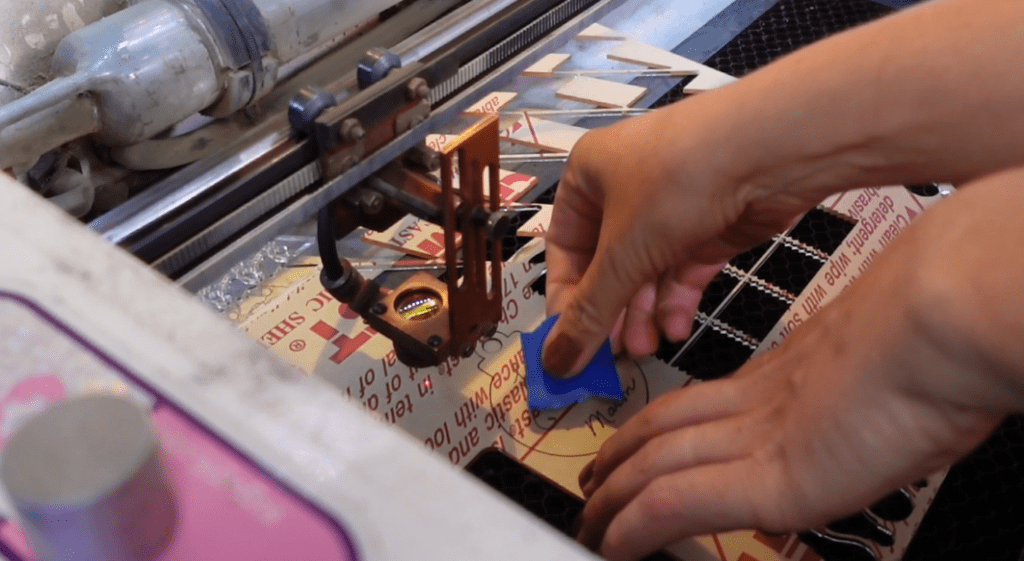
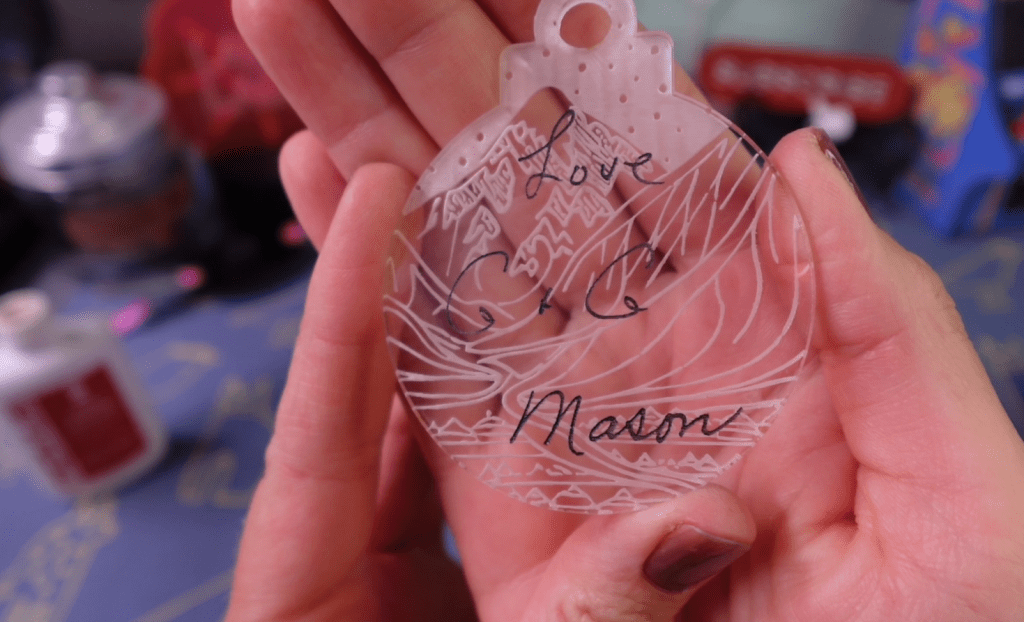
As for the ornament, I engraved the signature on one side of basic clear acrylic. I then used a bit of tape to flip it around to engrave the other side!
I ended up finding a winter scene on Creative Fabrica to engrave on that other side. There are lot’s of resources on that website, check it out if you ever get a chance.
Now that everything is engraved and cut, let’s quickly finish up the pieces and see the final look!
To finish up this magnet, I could use either this 5 minute epoxy or contact cement. I made a whole post on the best types of adhesives, but- spoiler alert! – either of these will work. I decided on the contact cement to attach the mirror to the black acrylic and a magnet to the back of that.
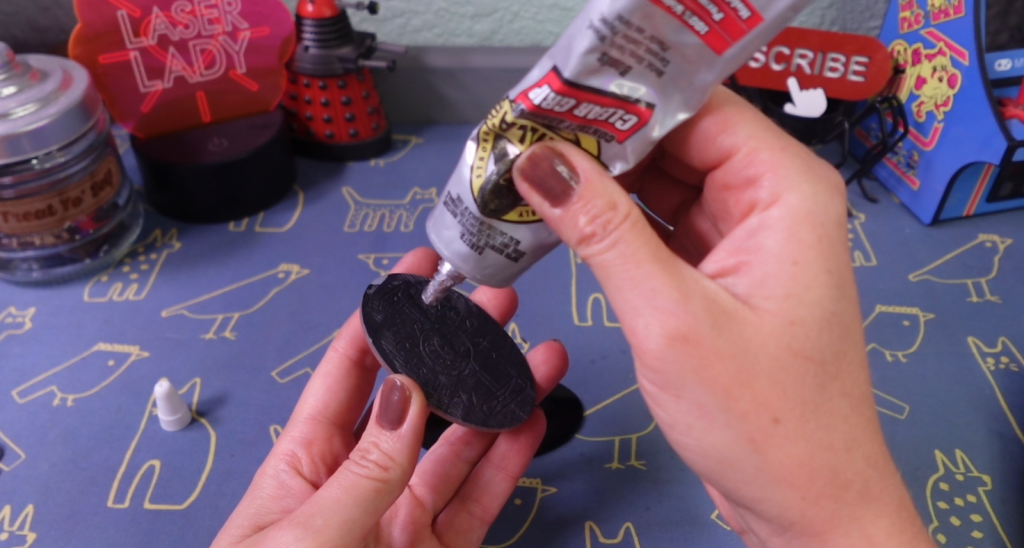
We’ll need to wait a little bit for that to dry before I reveal it.
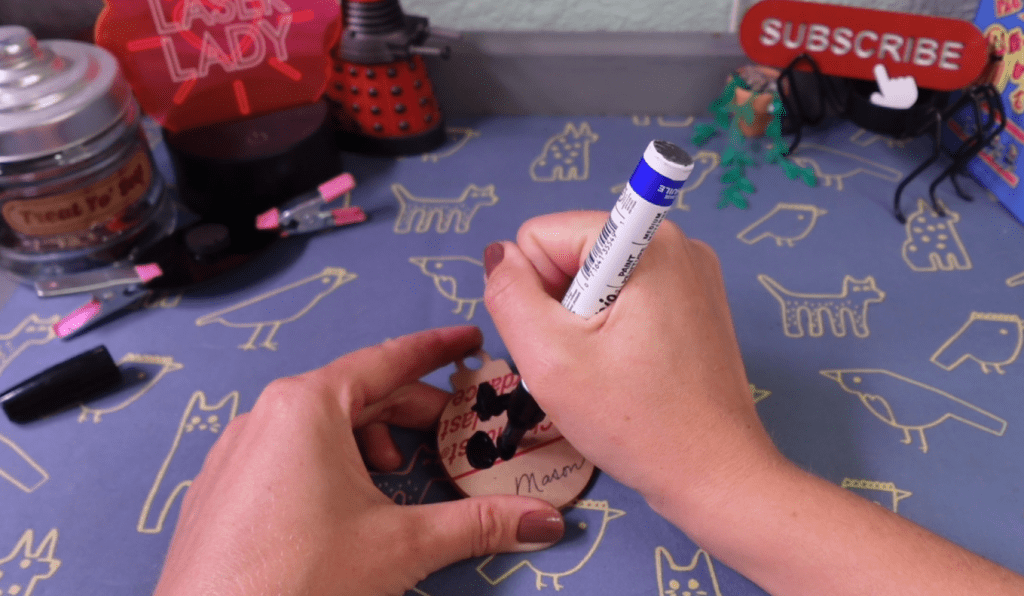
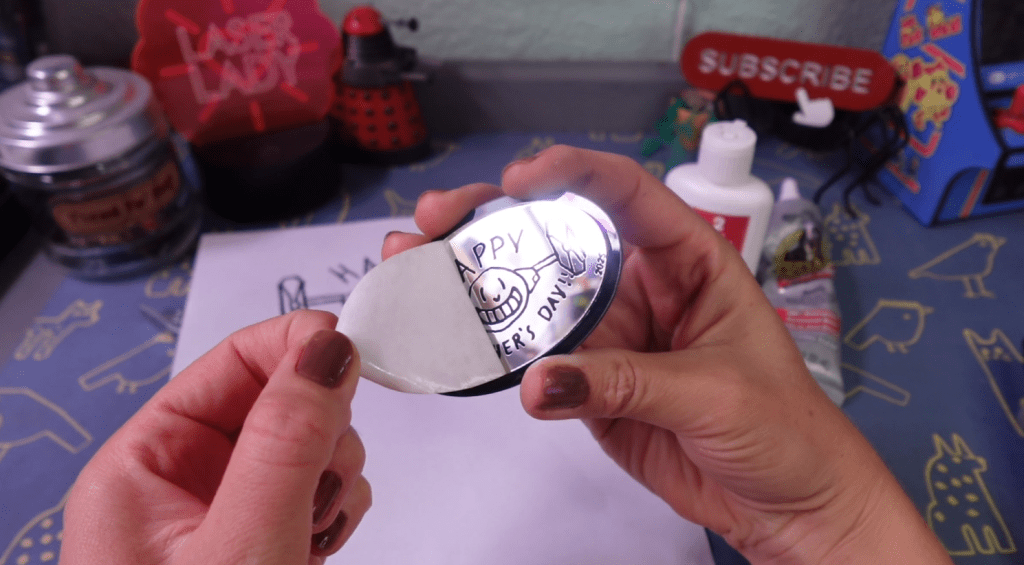
While we wait, let’s fill in the ornament engraving with a paint marker. I could have painted this when it was still in the laser, but I probably got distracted.
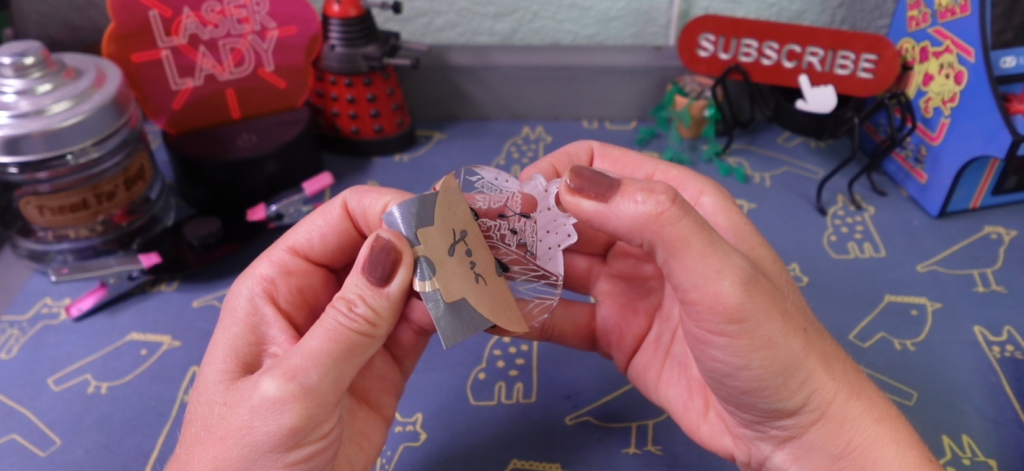
After a moment for that to dry, I used some heavy duty duct tape to get all the masking off. A lot of Gorilla brand stuff going on, I’m not sponsored or anything, I just plain like the stuff!
I still need to buff this to a nice shine and Novus #2 Plastic Polish is perfect for this. It’s beautiful and shiny and will remind me of my G & G for years to come!
Now to reveal the magnet! Oooolala!
The shine of the mirror is a lot of fun and I just know this will make a great present for Father’s Day!
Don’t forget about my blog post going over all these steps in detail, so you can take your time with it!
There are a lot of techniques to master on Inkscape and once you get the hang of it, it gets easier and easier. If you’re ready to learn more then check out these 5 Laser Projects that Everyone should know how to make in Inkscape.
Happy Crafting!

Leave a comment