

The CO2 Laser You Need to Master Acrylic is a Monport.
Supplies for Project
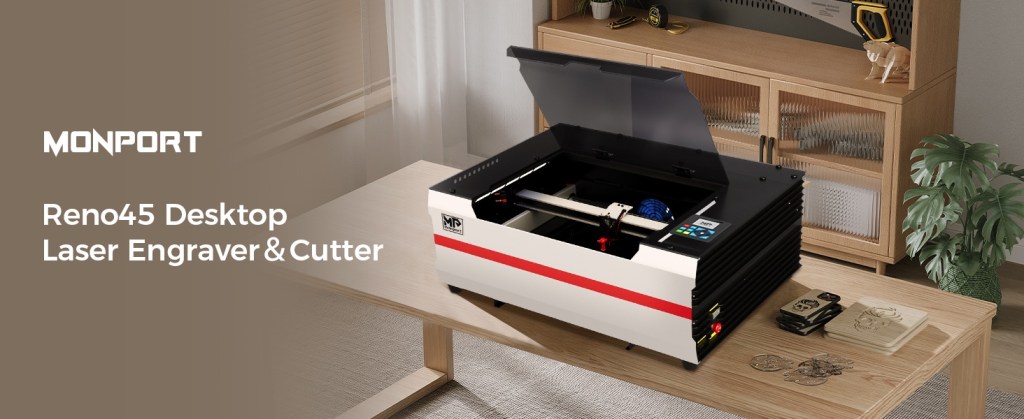
⇢ Monport Reno 45W PRO Vision CO2 Laser – SAVE 8% with code LASERLADY
⇢ Extra Duct Fan Exhaust Unit
⇢ Extra Wide Masking Tape
⇢ Gorilla Duct Tape
⇢ Sharpie Oil Paint Pens
⇢ Weld-On #3
⇢ Weld-On #16
⇢ Aleene’s Jewelry & Metal Glue
⇢ Novus Plastic Polish
⇢ Gorilla 2 Part 5 Minute Epoxy
Download Laser Lady’s FREE Convenient PDF of Click-able Links of my Supply List!
I’ve been making a living off my acrylic-based laser cut jewelry business since 2014 and I’m gonna be straight with you. If you want to become a master of acrylic, the first thing you are going to need is a CO2 laser! Sure, diode lasers can cut SOME colors and types of acrylics, but if you want to expand into the realm of unlimited acrylic possibilities, then CO2 is the way to go!
Today I’m going to share with you a treasure trove of tips that will increase productivity, inspire new projects and most importantly – save you time. Actually, all those are true, but VERY most importantly – impress the hell out of your customers. 😉
Let’s dive in!
➕ Subscribe to my YouTube Channel HERE!
How Diode & C02 Lasers Work
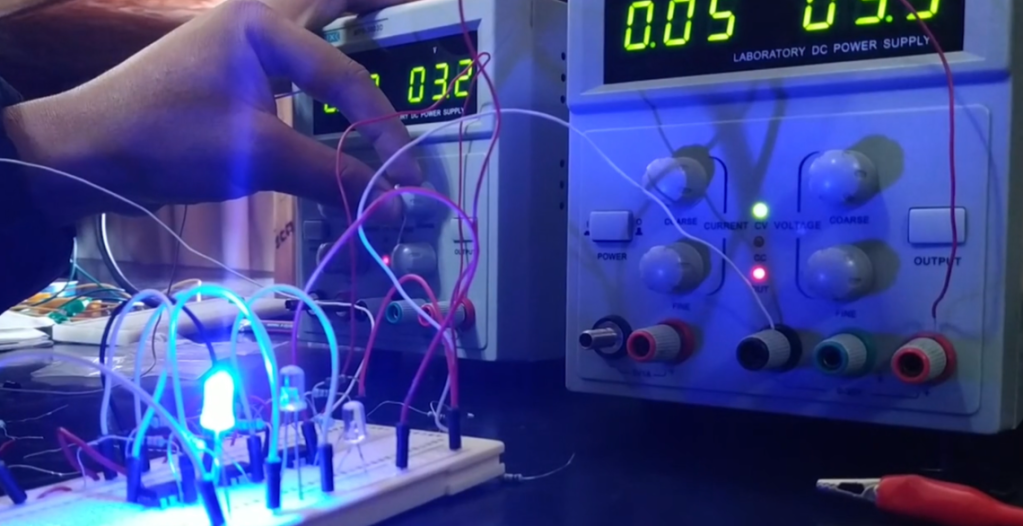
Simply put – Diode lasers create their beam when an electrical current passes through a fancy pants semiconductor that multiplies photons, which is then intensified by mirrors and shoots out and burns your materials in beautiful ways! BUT! Because it’s kind of like a super big blue light spectrum LED (Light Emitting Diode), when you try to cut or engrave something clear, it just disperses the light and then nothing happen.
The way CO2 lasers create their magical engraving and cutting beam is with a tube that is filled with carbon dioxide (CO2), nitrogen, and helium and then gets energized by an electric current. This energy causes the CO2 molecules to emit light in the infrared spectrum.
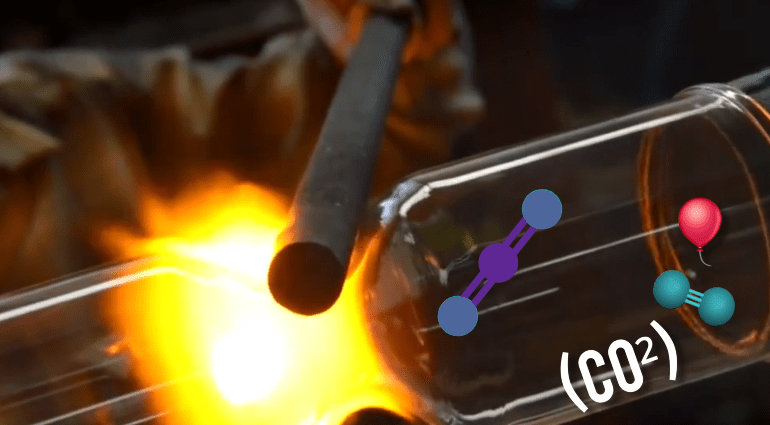
The light is then directed and focused through mirrors and lenses to produce a powerful and precise laser beam for us to play around with!

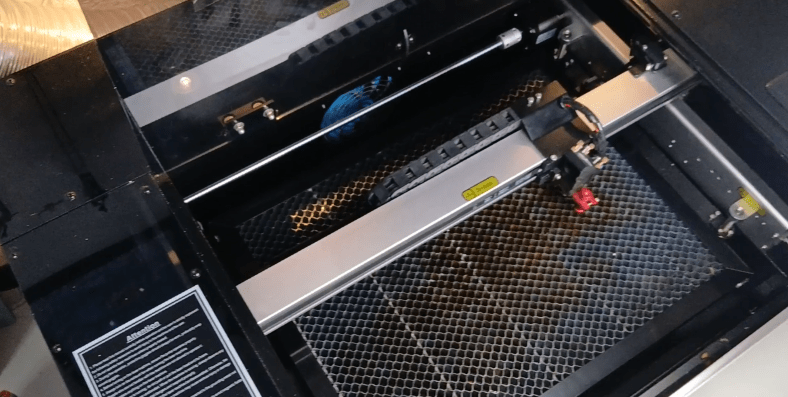
I just recently got myself this brand new Monport Reno 45W PRO Vision CO2 Laser, and oh boy! I wish I had this when I started! A huge thank you to Monport for making this video possible! Now, let’s go over some of the basics of Acrylic and then dive into some super fun time saving tips!
The Must-Know Basics of Working with Acrylic
The Two Types of Acrylics
There are two types of acrylic you can get your hands on, and it’s important to know the difference so your laser projects turn out perfectly.
Cast Acrylic: is made by pouring liquid acrylic into a mold. It engraves beautifully with a frosty, white finish, but the cut edge is often a satin, not a polished, flame-polished edge. It’s the go-to for engraved plaques, signs, and awards. Personally, this is pretty much the only kind of acrylic I work with.
Extruded Acrylic: Is made by a continuous extrusion process. It cuts with a shiny, flame-polished edge, but the engraving is often clear and not as crisp or frosty. It’s great for display stands and such.
Master Your Power and Speed
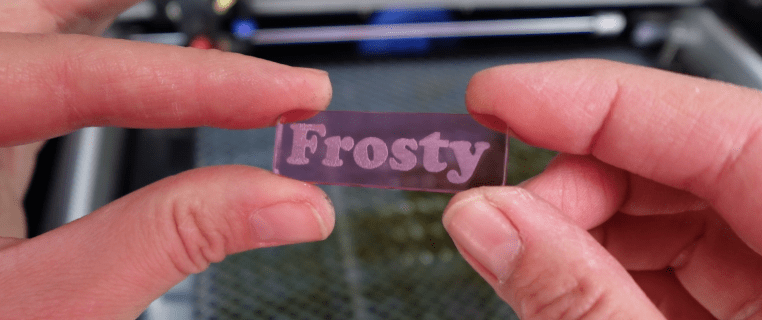
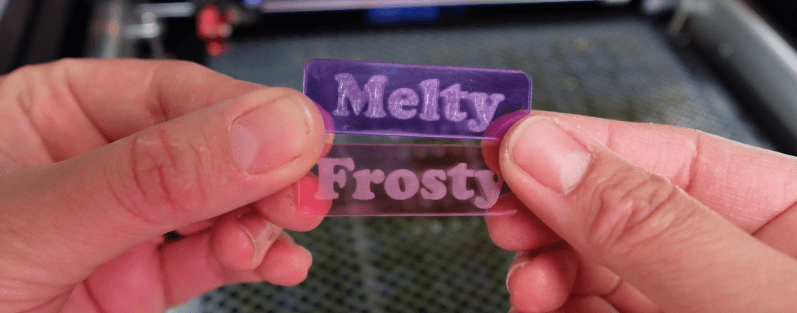
The goal is a clean, single-pass cut. Too much power or a slow speed will melt the material, creating a gummy, melted edge. Too little power or too much speed won’t cut all the way through.
Trial and Error is the only way around this. Whether you use Lightburn or some other program, each laser has its own quirks, and any material preset may need to be tuned in.
Air Assist is a MUST
A strong, consistent air stream blows away debris and prevents tiny fire flare ups, which can cause melt marks, warping or charring.
Most CO2 Lasers come with an air pump, like the ones you can get for a fish tank, but what is really cool about this Monport Reno Pro, is that the air pump is inside the laser body! Having to deal with less tubes and cords is very appreciated!
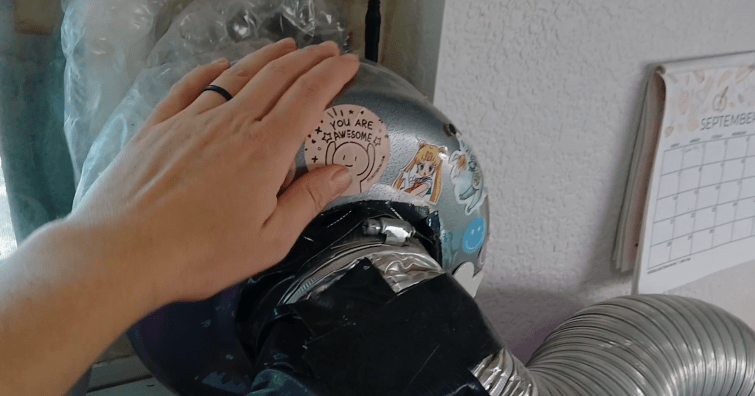
Of course, along with the air pump blowing out, an exhaust system is crucial to keeping your lungs free of all these fumes! This unit has a fan that bows out, and I also have an additional fan that super sucks. If you need more suction power, check this mega duct fan out!
The “Single Pass” Rule
For the best results, always try to cut through the acrylic in a single pass. Multiple passes can reheat the material, leading to a rough or cloudy edge. If you are trying to get through a very thick material, you might have to go around an additional time.
Try to figure out the setting for 2 passes, rather than 4-5. If a material is too hard to get through, make sure it is a material thickness your machine is actually capable of.
My Monport Reno here says it can cut 15mm acrylic and 12mm plywood in one pass, but it will surely take some testing to perfect the settings needed.
Focus, Focus, Focus
Proper focal distance is critical. An unfocused beam will scatter the beam, resulting in a wide, melted cut that doesn’t go all the way through, or an engraving that looks like you made it with a magnifying glass on a sidewalk.
My old laser had a focus ruler I needed to use. This one is equipped with a magnetic assisted focus, which is kind of fun to use, and you’ll never lose any little focusing rulers. Which is great!
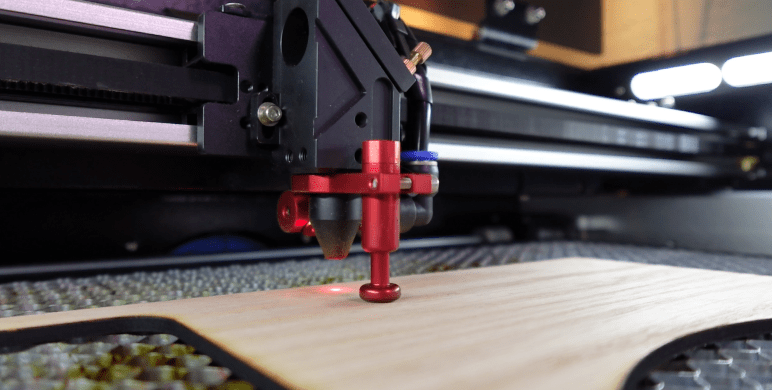
Just be sure to always focus before you start a job. There’s nothing more disappointed than seeing that your project didn’t cut all the way out.
Elevate Your Materials
Use a honeycomb bed or stand the material on small pins to prevent “flashback,” which is a reflection of the laser beam off the bed that leaves marks on the bottom of your piece.
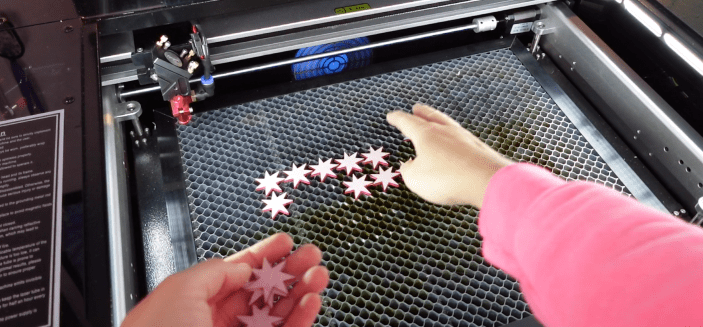
If your honeycomb bed is getting a whole lot of residue on it, spray it down with some Mean Green and take it to a car wash and use their power washer to clean that sticky sucker!
Going Beyond a Simple Engraving
This is a great jumping off point to dive straight into everything you need to know to engrave like a pro! Get some paper handy, you’re going to want to take some notes! (Or save this video so you can watch it again later!) 😉
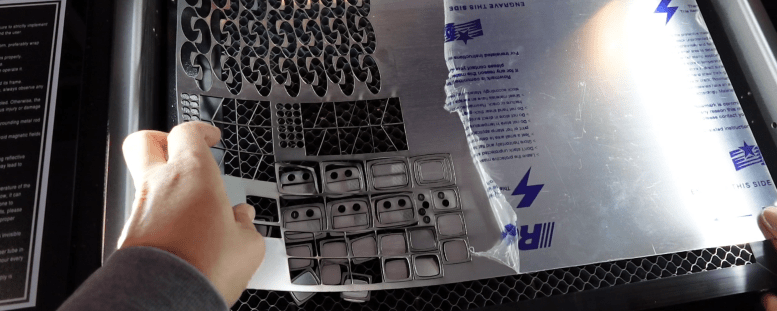
Should You Leave the Protective Film On or Off?
The protective film on acrylic sheets is usually your best friend. There’s a few reasons to leave it on, just like there are a few reasons to take it off!
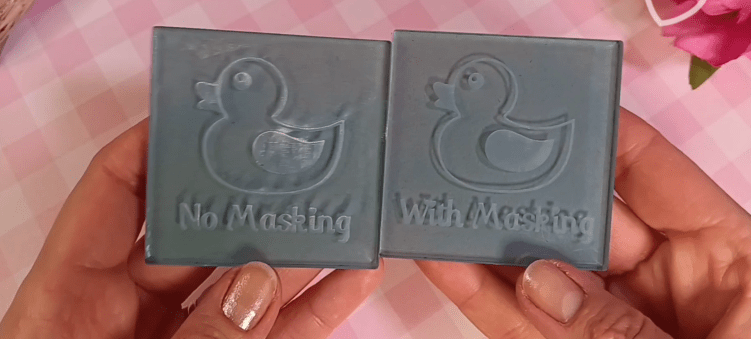
Having some sort of masking on both sides during cutting and engraving can prevent scratches and residue buildup from the fumes and smoke.
If you engrave something with the paper on, we can achieve these 3 awesome things:
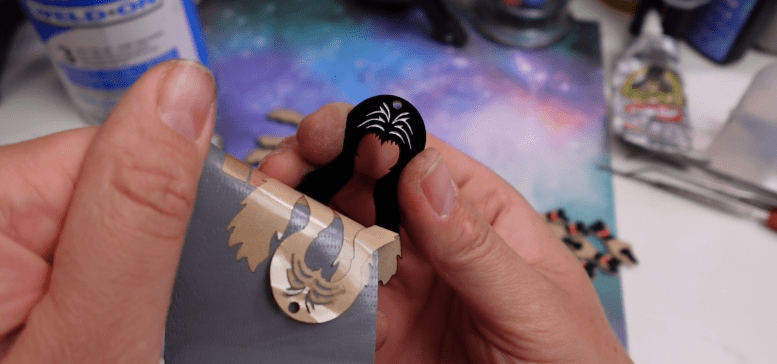
- You can fill color in while it’s still inside the laser. I find using a little piece of paper as a squeegee a helpful replenishable tool. This is great for so many things, especially small, hard to handle pieces.
- If you wanted to fill the piece with a few colors, you could then do that, let it dry and then take off the masking afterward. Easy cheesy.
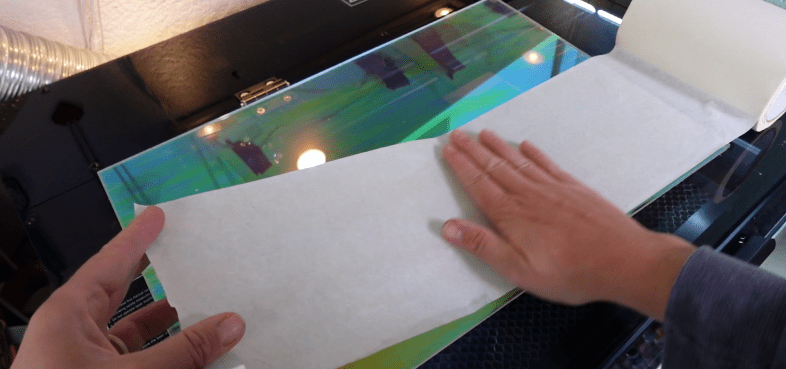
- If you just wanted the engraving plain, then the masking will keep the residue off the surrounding area, so you won’t need to polish it up later. When an acrylic sheet has a plastic film on it, I will always replace it with my own super wide masking tape. This not only helps to keep the edges of the cut smoother, but then I can also engrave the material more evenly.
Hot TIP! If you want to get the masking off easier, use a bit of super duty duct tape! Even if you have bigger pieces, use a bit of tape to start an edge up. This will save your fingernails from damage.
Perhaps you want to engrave and cut something that is a bit too complicated for keeping the masking on.
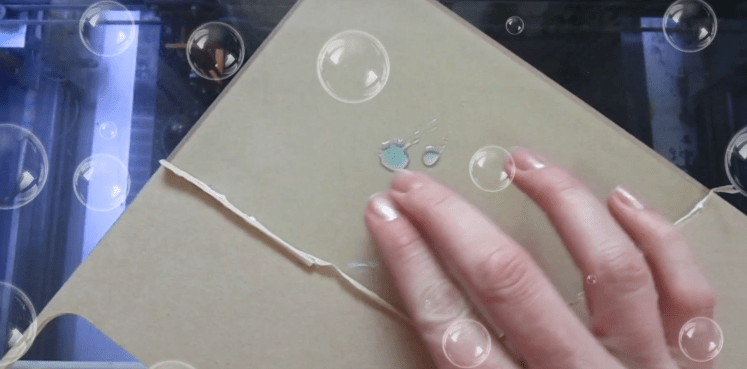
Next Hot TIP! Put regular dish soap on your acrylic before you engrave it. After it’s done you can then wash off the soap, along with all the residues!
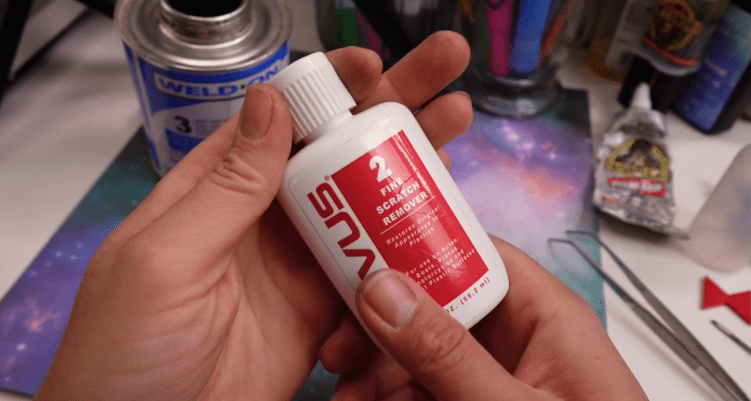
Need to Polish the engraving or cut edges? You need Novus #2 Plastic Polish! It’s formulated to polish up your acrylic pieces perfectly, so long as you use a scratch free cloth!
Frosted Engraving Look
If you want a classic frosted or “frosted glass” engraving, you must use cast acrylic. Don’t be afraid of really low or fast settings! Just because this baby can do really deep engravings, doesn’t mean you always should.
Practice with higher speeds, this one tops out a 600mm per second, and lower power settings so the laser just barely etches into your acrylic. Lighter engravings are also easier to clean up than deep engravings.
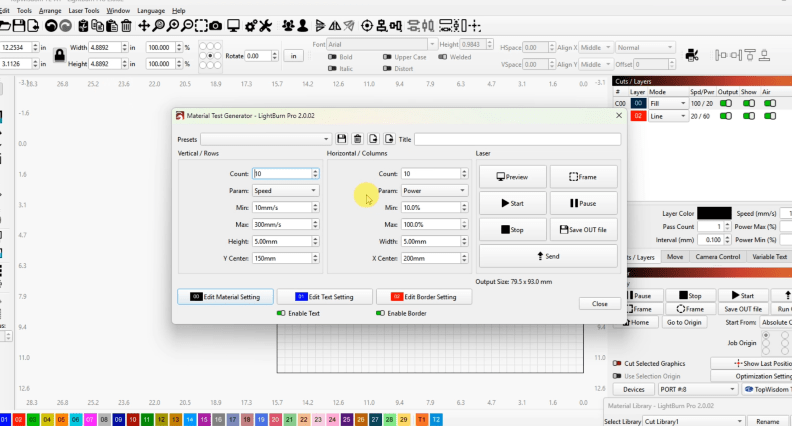
Programs like Lightburn have a Material Test function to help nail down settings even faster!
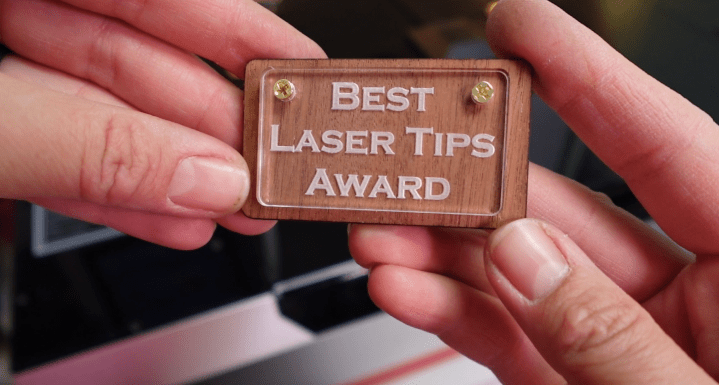
The “Reverse Engraving” Method
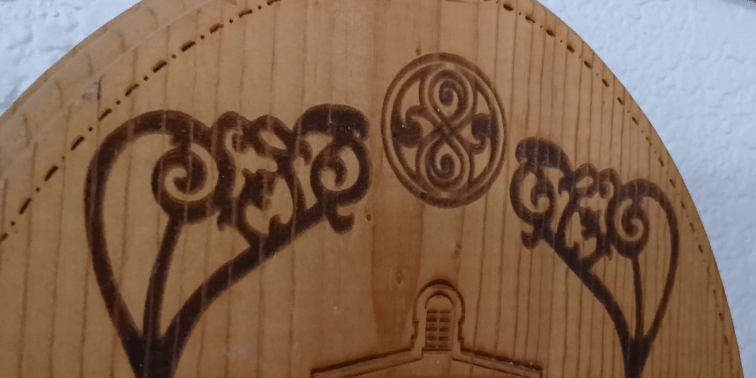
For a perfectly smooth front surface on a clear plaque or sign, engrave the design mirrored on the back of the acrylic. When viewed from the front, the design is perfectly legible, and the surface is smooth to the touch. These look particularly great with a wooden background.
Try it out on the backside of mirror acrylics as well! Thanks to the power of CO2 Lasers, mirror acrylics, you engrave or cut it face up or face down with ease! Mirror acrylics are one of my favorites to work with!
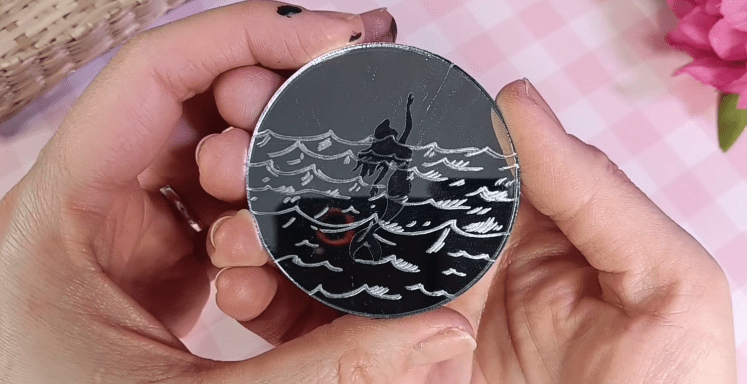
It can be hard to glue to other pieces, so do check out my “Best Glues for Mirror Acrylics Video” post for that!
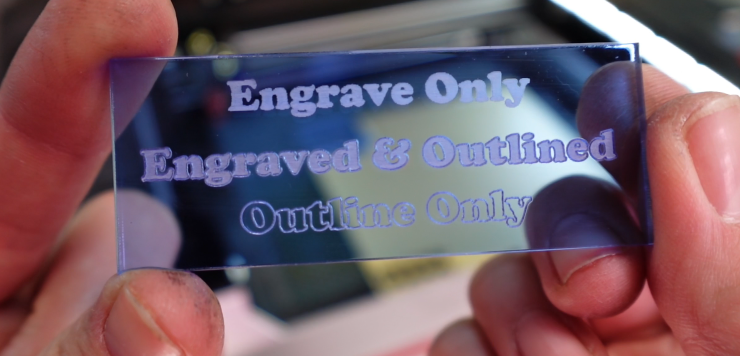
Engrave With a Cut Line
Sometimes a thin line is what we need to get super crisp edges to our engravings, or to add to our designs!
Using a low power / high speed cut line, set to just score your acrylic can enhance an engraving and give it a whole new look.
You can also use these etched lines for finishing techniques, like separating the masking for spray painting certain areas.
What Glues to Use

Adhesives depend on the project! Here is a quick list for my favorite ways to stick acrylic to other materials:
- Acrylic to Acrylic: Use Weld-On #3, #4 or #16. 3 and 4 are water thin solvents that basically melt the 2 acrylics together, forming a super strong bond. #16 is a thicker viscous goo, that is great for bigger projects.
- Acrylic to Wood: For small projects, I do like me a nice cyanoacrylate monomer as much as the next guy! Super Glue! This Aleene’s Jewelry & Metal Glue is my inexpensive go to. You could also try liquid nails or E-6000 type of adhesives for bigger projects.
- Acrylic to Metal: Again, super glues work well for small projects. If we’re going big, contact cements (like this Gorilla Glue Contact Adhesive) are great. Or dabble with some 2 part epoxies! These can cure fast and won’t alter the metals finish.
My Best Acrylic Advice
There are so many more techniques and fun things to dive into, so do subscribe. I aim to teach you everything I’ve learned over the last 11 years of doing this in a professional setting.

My very best advice for you if you want to expand your laser business, or start one, is to invest in a CO2 laser. I love diode lasers, I have a couple of them myself and you’ll see them a lot here on my channel, but if you want to go all in, you need the speed, power and material capabilities of a CO2 laser.
If you are in the market for one, I HIGHLY encourage you to check out Monport Lasers. Apart from my Reno 45w Pro Vision Laser, with the fancy magnetic focus and the camera cuz I’m fancy, they also have many other sizes and wattages!

I primarily make jewelry, so this 12×16″ cutting area is perfect for me, but they have machines literally twice the size and at an incredible price!
This laser can grow with you, and Monport as a brand can help you grow.
I mean it! If you get one of these lasers and stick with me, we are going to make some money!
If you are looking for a little direction as to what you want to make with your laser then check out this post next. I go over my top 5 selling products that you can copy and profit from.
Happy Crafting!

Leave a comment