

8 Challenges to Expose Which Laser is the BEST

✨ Supplies
⇢ WeCreat Lumos Portable Laser
⇢ WeCreat Vista FlipLaser
⇢ Portable Fume Extractor Box
I’ve spent a few months with both the Wecreat Lumos and the Wecreat Vista FlipLaser, and I thought I knew what they were capable of. But after putting them through these 8 grueling challenges, the results have me rethinking everything.
This isn’t just a review; it’s a head-to-head, point-by-point battle across 8 common questions people have been asking. Which one is faster? Which one is more versatile? And which one has the most potential for profits?
Well, I’ve got the answers and the battle starts now!
➕ Subscribe to my YouTube Channel HERE
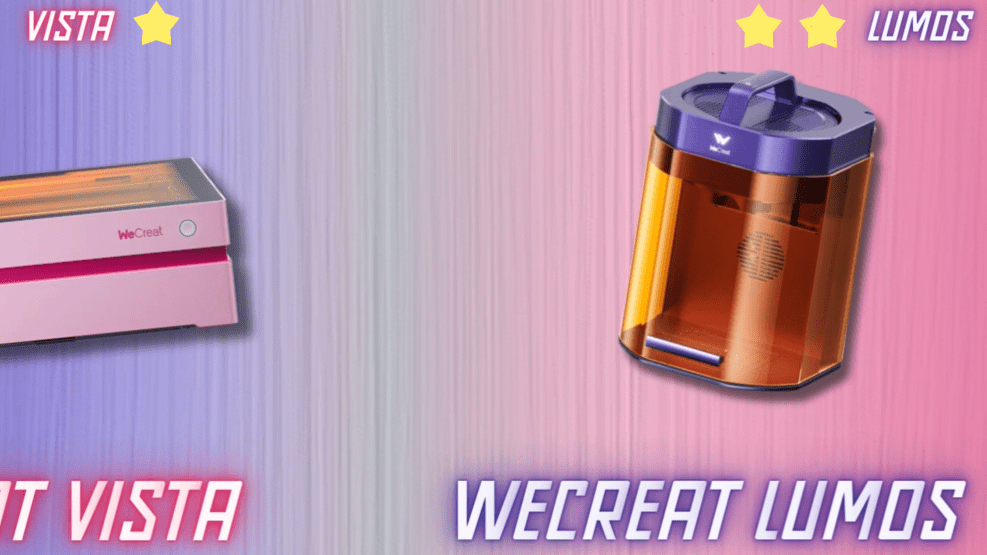
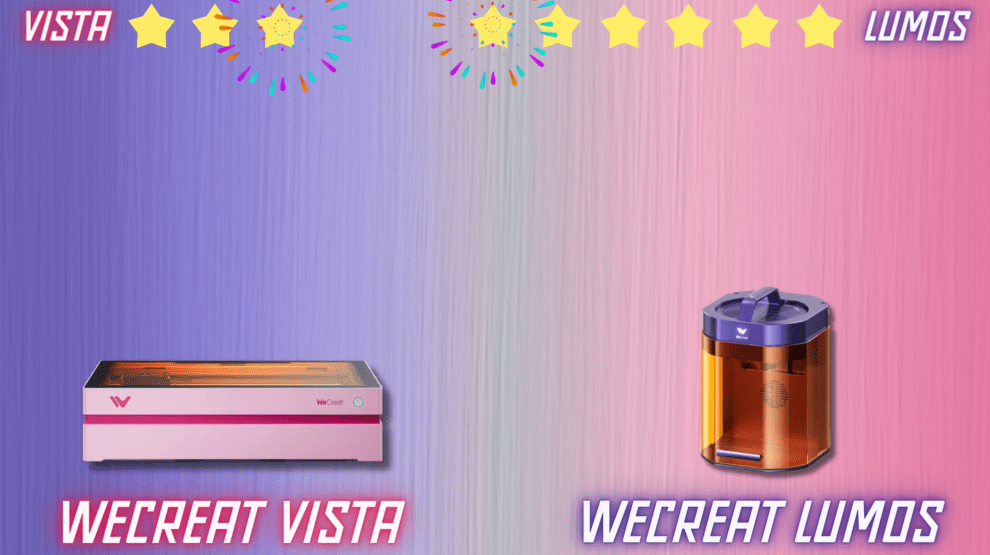
WeCreat Vista VS WeCreat Lumos
WeCreat Vista FlipLaser Key Features
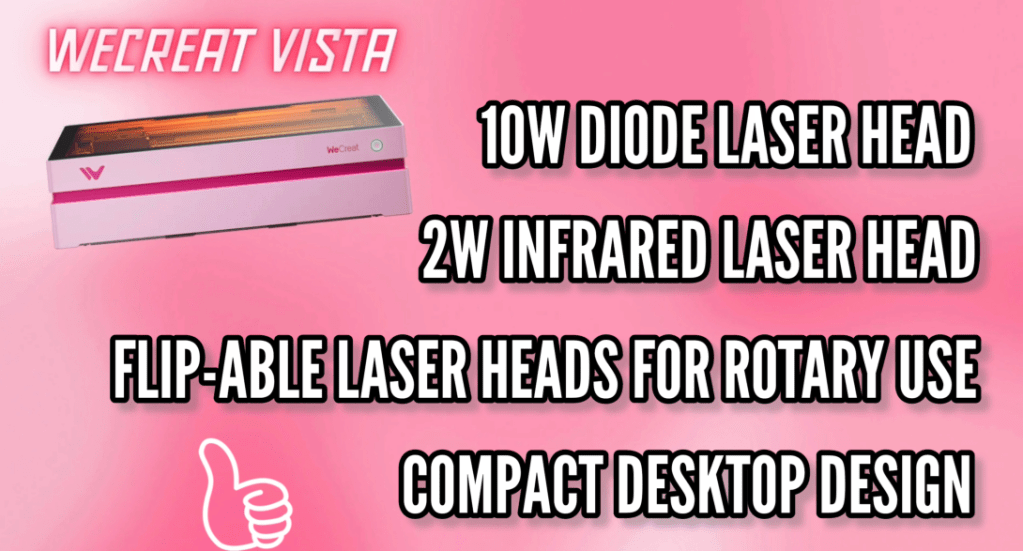
The Wecreat Vista FlipLaser is a Compact, powerful laser machine designed for crafters and is ideal for personalized gifts, home décor, apparel, accessories, and more.
10W Diode Laser cuts and engraves wood, acrylic, leather, painted metal, glass, fabric, and more.
2W Infrared Laser engraves metals and cuts laser-safe vinyl—perfect for jewelry and fine details.
The ability to flip down either of its 10W Diode or 2W Infrared laser heads increases your project library with flat cut products as well as cylindrical items, all while keeping an extremely compact profile of just 6 inches.
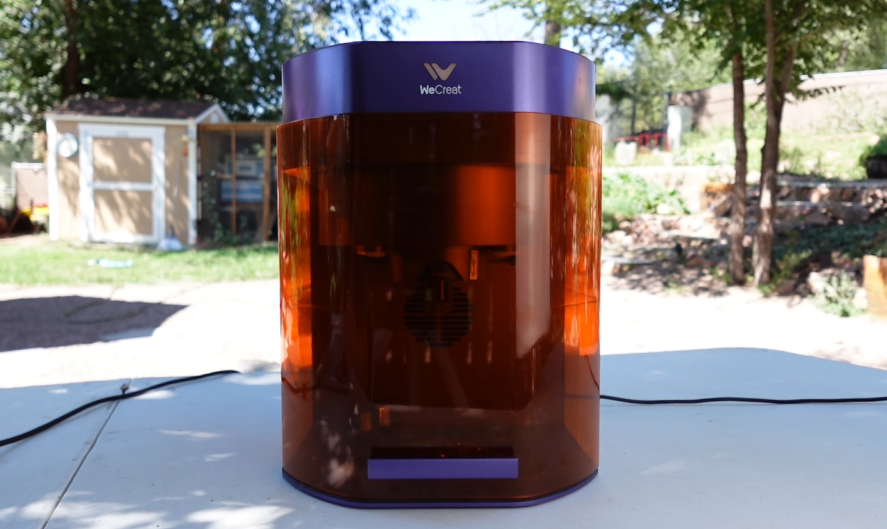
WeCreat Lumos Key Features

World’s first portable laser engraver with a 3W Infrared + 10W Diode encased in a single module, no manual switching! It’s designed for metal marking, cutting, and engraving across a wide range of materials along with being compact and beginner-friendly—ideal for creators, crafters, and small businesses.
The Lumos provides ultra-fast, high-precision engraving with vivid colors and deep detail along with auto-focus, HD camera preview, and framing tools for accurate placement.
It is the perfect size and weight for mobile engraving at events or craft fairs.
1. The “Big Job” Challenge
Now this one might seem a little obvious because the We create Vista is obviously bigger, though it might surprise you that the Lumos has a unique extension bed!

This simply plugs into your Lumos laser and immediately extends your laser-able space by just over 20 inches! Using the WeCreat MakeIt! program makes it even easier. And what’s so cool about this extension bed is you can actually pair it with the Rotary and extend your Rotary ability length as well.
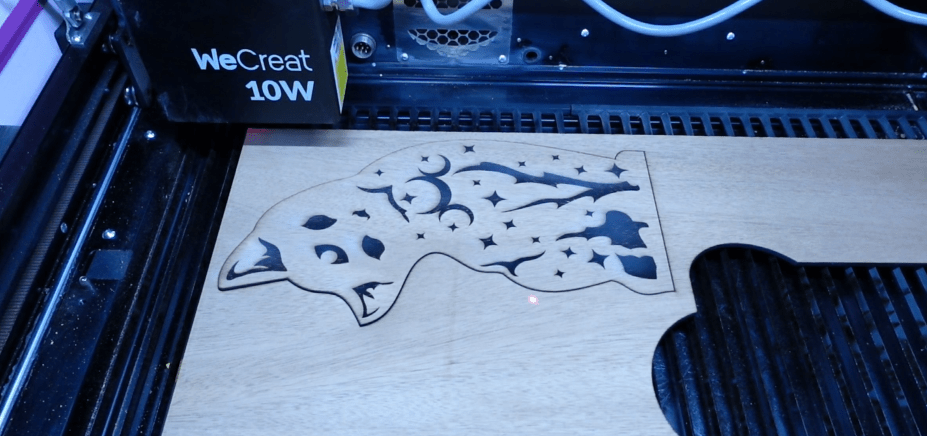
I’m going to be making a little bit of a secret. Let’s cut it out with my Lumos. I like to go over my cut lines on a low power and a couple of passes.
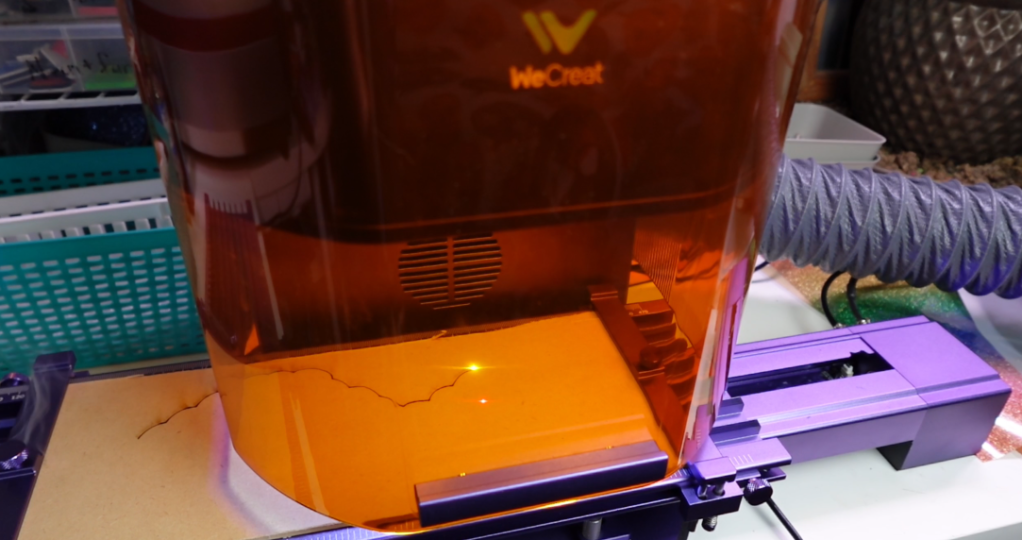
Of course, to suck up those fumes, I am using my Portable Fume Extractor Cube. Highly recommend this.
The WeCreat Vista of course cuts out this MDF like butter. The only difference so far in the cuts is that the Lumos has a little bit crispier of an edge.
Now let’s take it outside to paint.

With just a few coats of spray paint and some watered down glue and glitter, they are done!
Have you been able to guess what these are? Gummy worms! Why not?
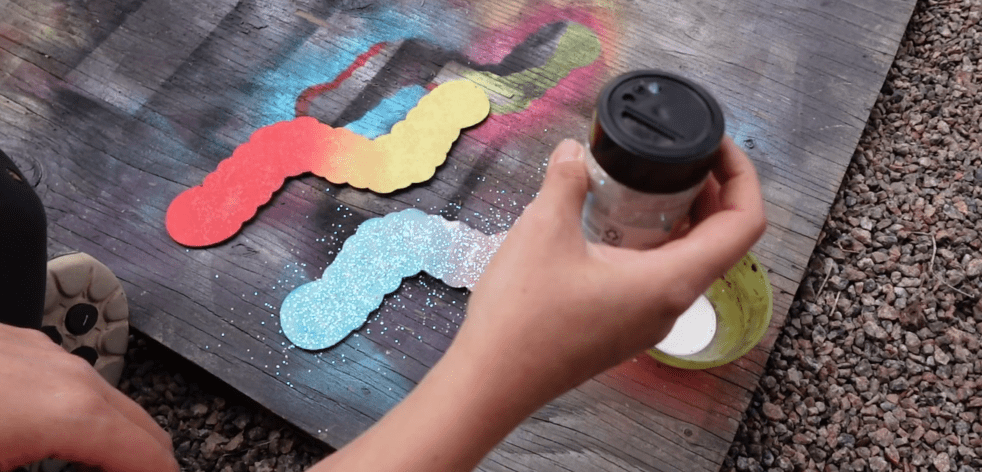
I believe the extension slider for the Lumos is best used for making smaller projects in bulk. You can also engrave with the extension bed and a whole bunch more, but obviously we cannot get the same height as with the Vista.

I must say you can’t really tell which gummy worm is from which laser. Even though they turned out exactly the same, I am going to award the big project points to the Vista.
2. The “3D Object” Challenge
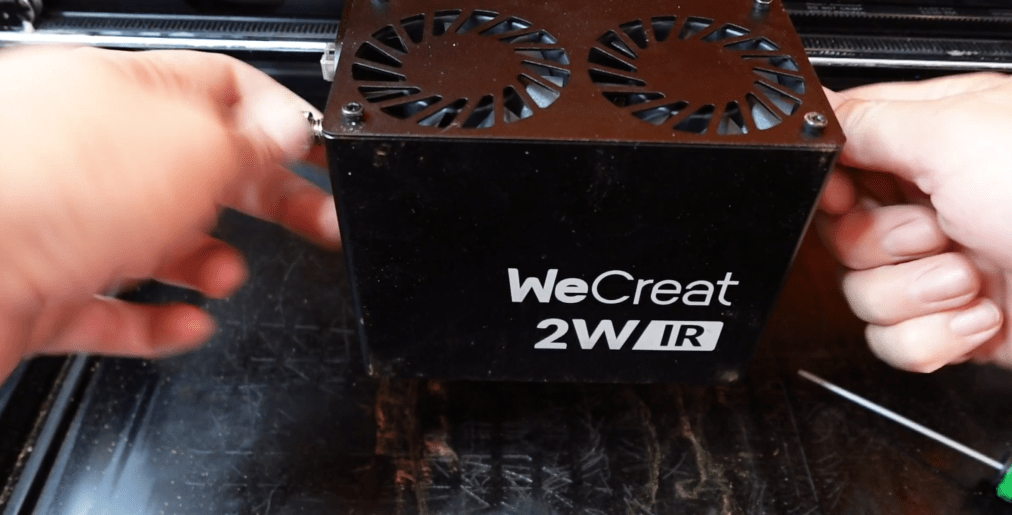
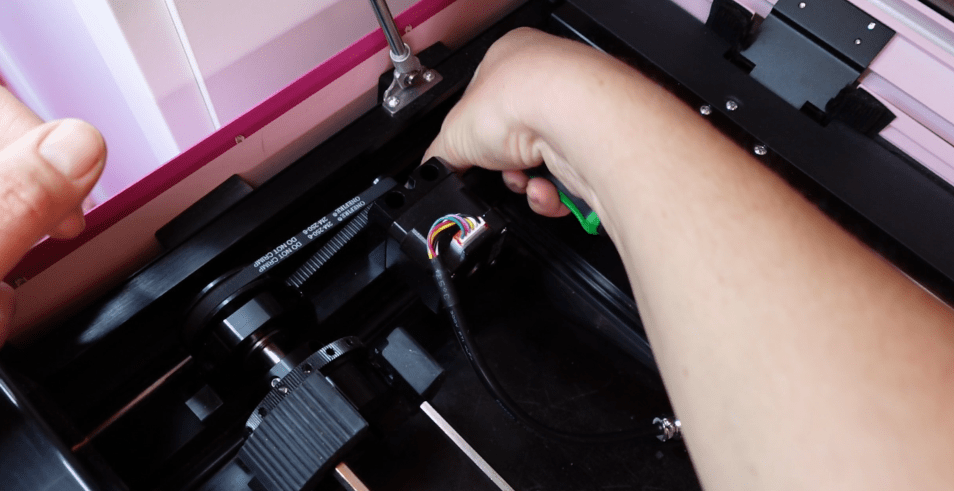
Let’s see who can engrave a concave surface the best. The first thing I need to do is switch over my Wecreat Vista to the infrared Laser head.

You just literally unscrew the four screws, unplug the air assist and ribbon cable and then plug in the 2 Watt infrared laser head and screw it on. Boom done.
I needed the Infrared laser head so we can engrave these nice concave metals spoons.
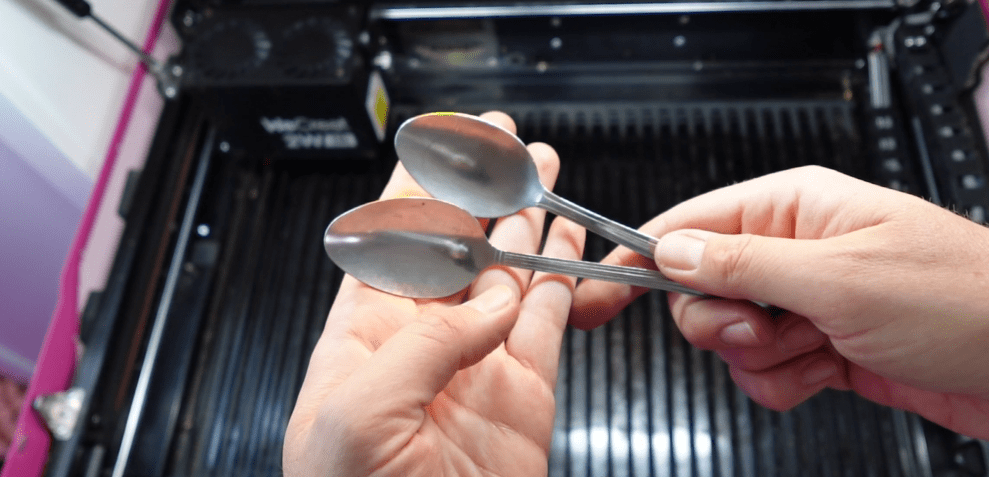
I just get it all snuggy in the laser by rising up one end of the spoon and taping it down so it doesn’t move around anywhere when engraving.
I try to guess the middle focal range of the tallest point and the lowest point of the engraving.
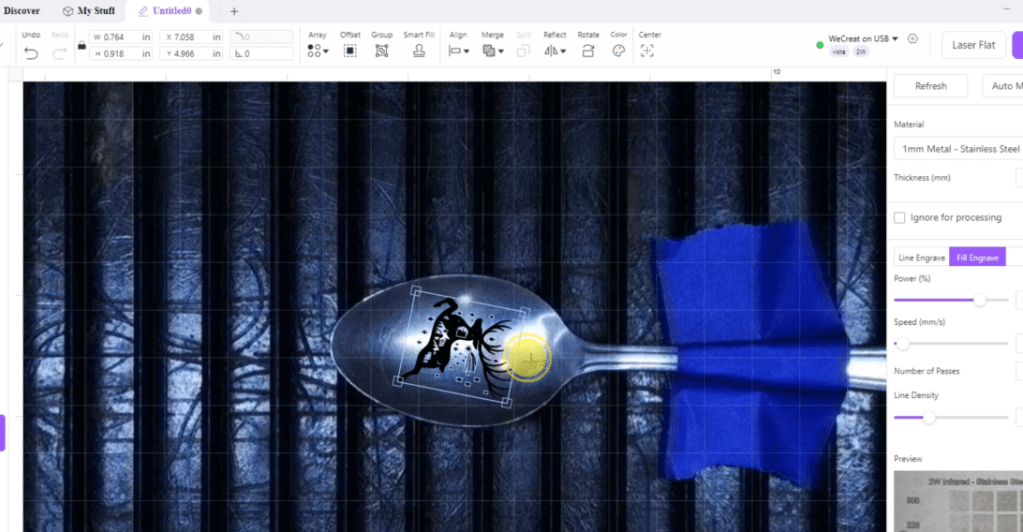
The settings are for a pretty deep engraving, let’s see how it did. It looks a little bit light and on the right side it got a little bit discolored. Though, you can see the detail is still really defined.
Not too bad, but not what we were going for.

In the Lumos, I also propped it up and made sure I am focusing it to the midpoint of the top and bottom of my engraving area. Using the exact same settings for the Vista, let’s see how it turned out.
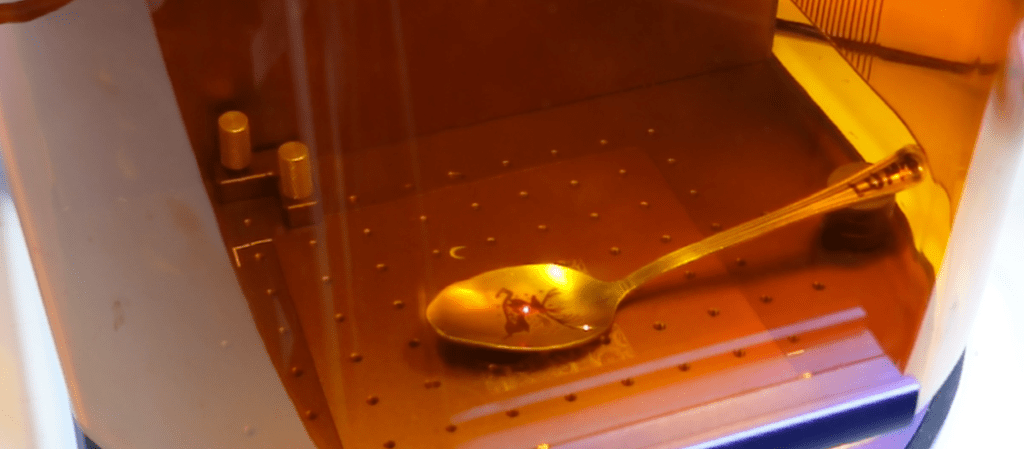
It only took a couple of minutes. So far it is seeming much darker and I’ve gotta say it looks amazing no matter at the top or bottom area of this shape.

I think we have a clear winner, even though both are quite detailed. The darker, better engraving is the Lumos.

3. The “Color Engraving” Challenge
Now obviously the WeCreat Vista is just plain not capable of color engraving, so far at any rate.
So, we can go ahead and award the point to the Lumos, but we have to at least see how good it can do with color.
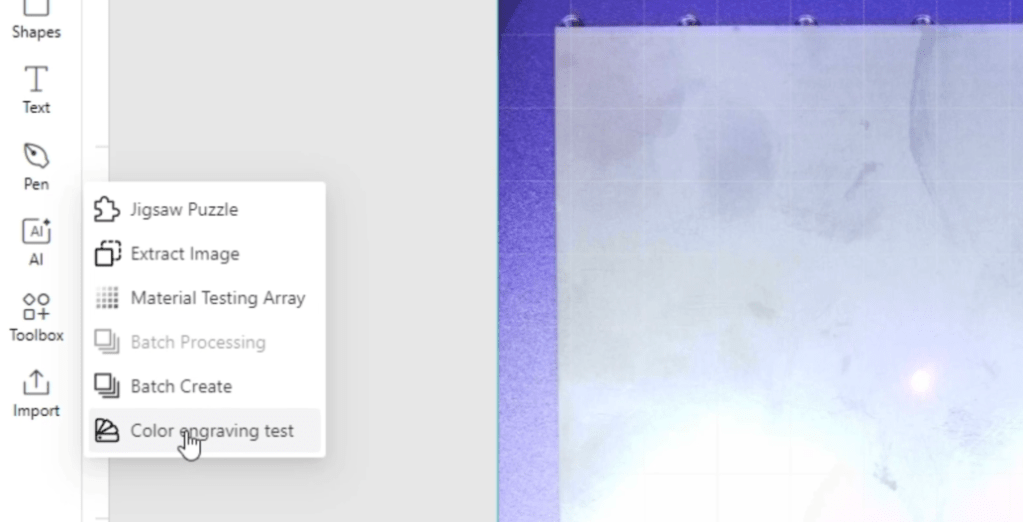
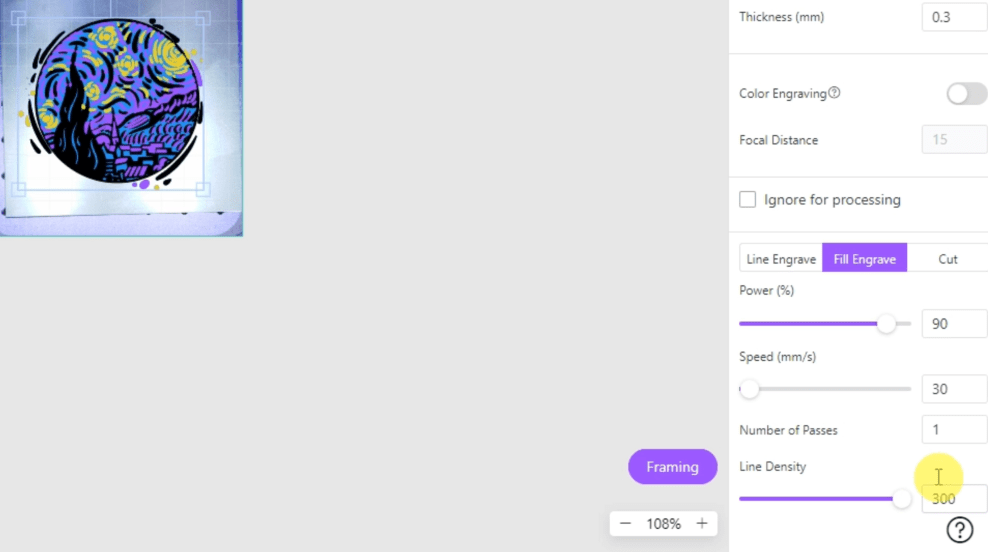
Here is your Quick Guide to Color Engraving with the wecreat lumos.
First, get some stainless steel and focus it. In the makeit program, find the toolbox and select color engraving test. start engraving to find the focal distance number you like. select that in the makeit program and engrave a color array. you now have the speed and power settings you need to achieve color engraving. Make sure you have your engraving file set to the colors you want and press the start button! Depending on the size of your project, you’ll have a colorful engraving in no time. You can also engrave colors on titanium and even bronze! follow me for more laser tips!
The process is pretty simple. You just choose your stainless steel or other appropriate metal material, stick that into the Lumos and start the color array process.
It is going to engrave a selection under a specific focal distance. You pick one of the colors that you like, and you engrave a color array.
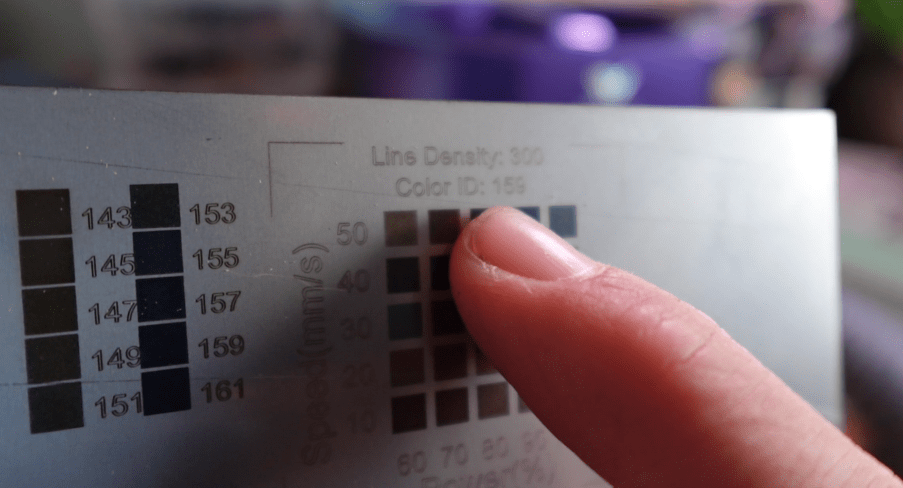
With this color array you use the specific speed and power settings chart to set your design to those specific colors. Make sure you have the Color Engraving Toggle ON with your focal distance number and get started engraving!
Depending on the size and design it might take a little bit of time.
You can achieve amazing designs, especially with small things like jewelry, which happens to be one of my favorite things to make.

As you can see, the color is quite amazing, so congrats to the Lumos for that point.
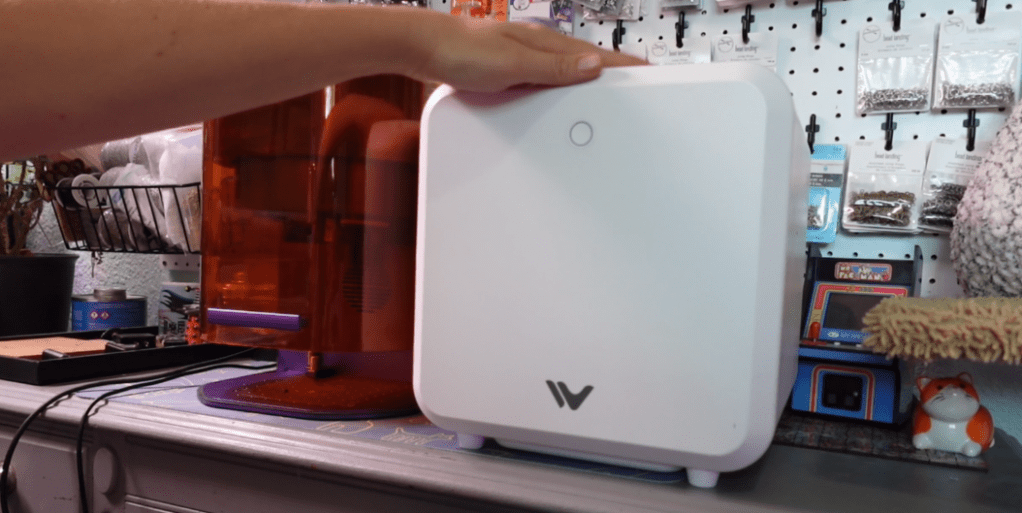
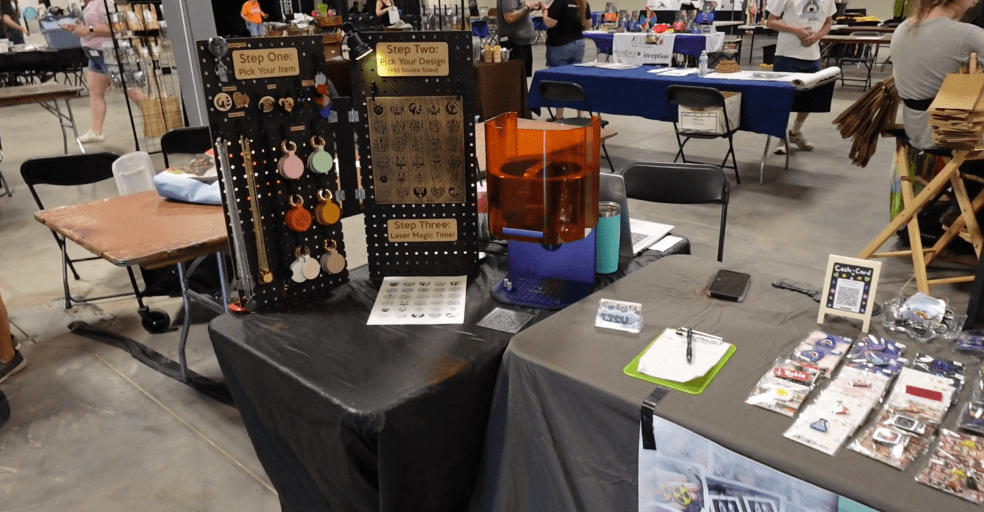
4. The “Portability” Challenge
If you want to do on site events like craft fairs, which one is easier to transport and set up? Well, I think we all know the answer to that, and it’s going to be the Lumos.
But to be quite honest, you could set up the Vista anywhere so long as you have the ability to do so.
However, the Lumos is obviously designed for exactly this and it’s actually something I have done before!

But that’s not all! When I took this to a cat convention not long ago, I found that making blanks with my WeCreat Vista came in super handy for the Lumos at the event.
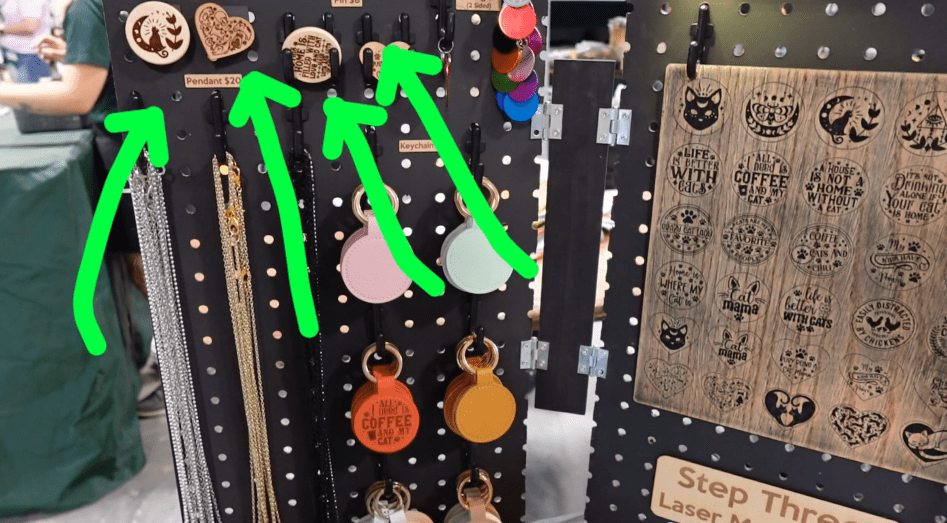
So, with their powers combined, it made for a very successful convention!
But of course, we’re going to have to award the point to the Lumos again.

5. The “Cylindrical” Challenge
Let’s call this the Rotary race, people!
Now this one’s going to be tough because I have a Rotary for the WeCreate Vista, which I have used extensively!
I have made ceramic pots engraved for cat grass as well as metal tea containers and tumblers galore, of course.

But the Lumos has a Rotary attachment as well, which can be paired with the extension bed making long cylindrical items available for engraving with ease.
So even though I can’t compare these side by side, I think we can conclude this one’s a tie.

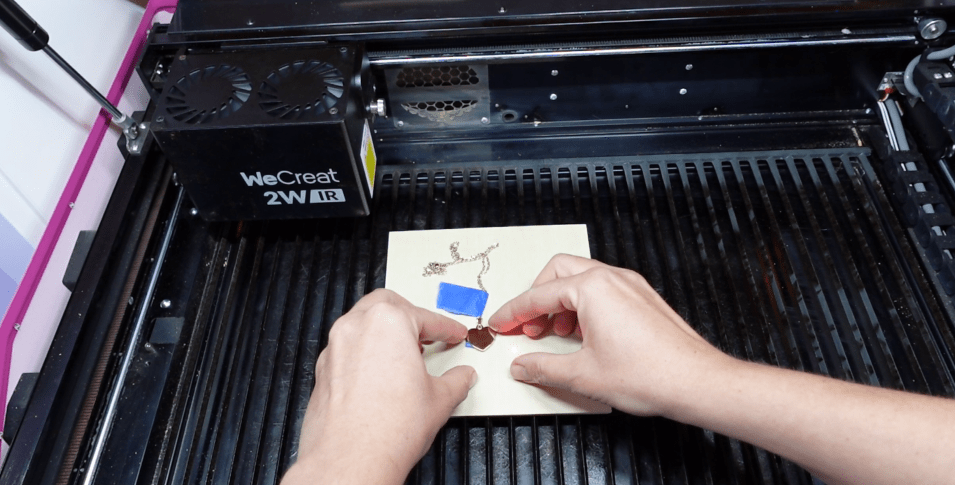
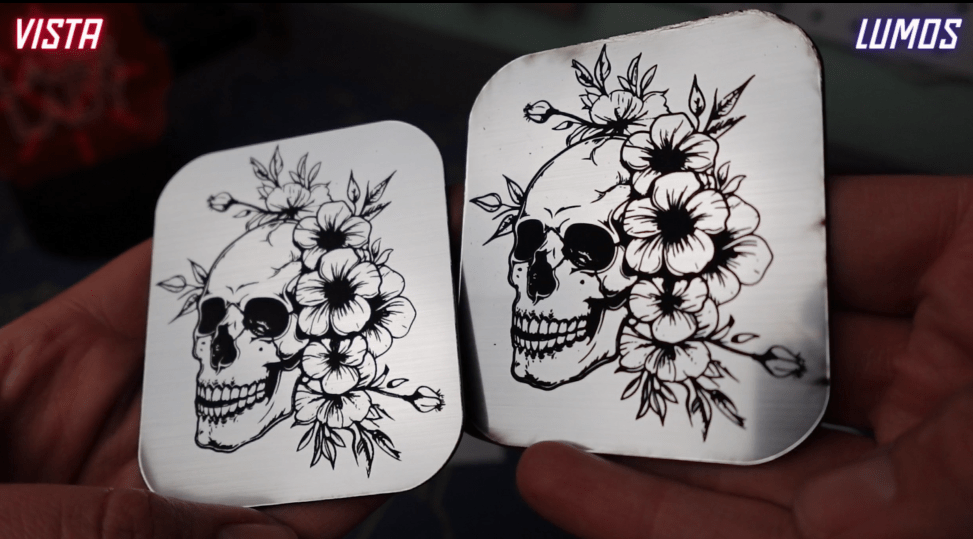
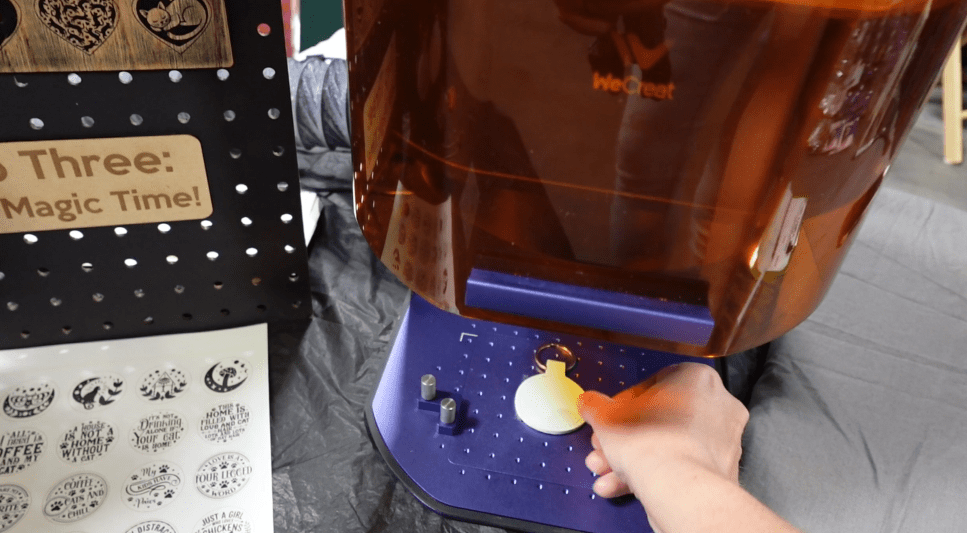
6. The “Fine Detail” Challenge
Let’s see how intricate these babies can go!
Honestly, this is my most anticipated challenge. We will be using these extremely small stainless-steel, rose-colored, heart shaped pendants for fine detail using an intricate and adorable cat design.
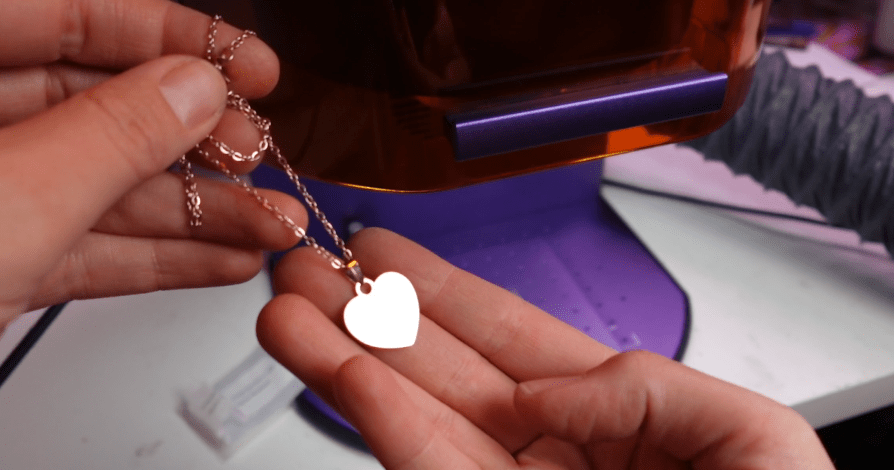
Let’s see how the Lumos handles it! Using the Make It program, we’re able to get it perfectly aligned with our settings.
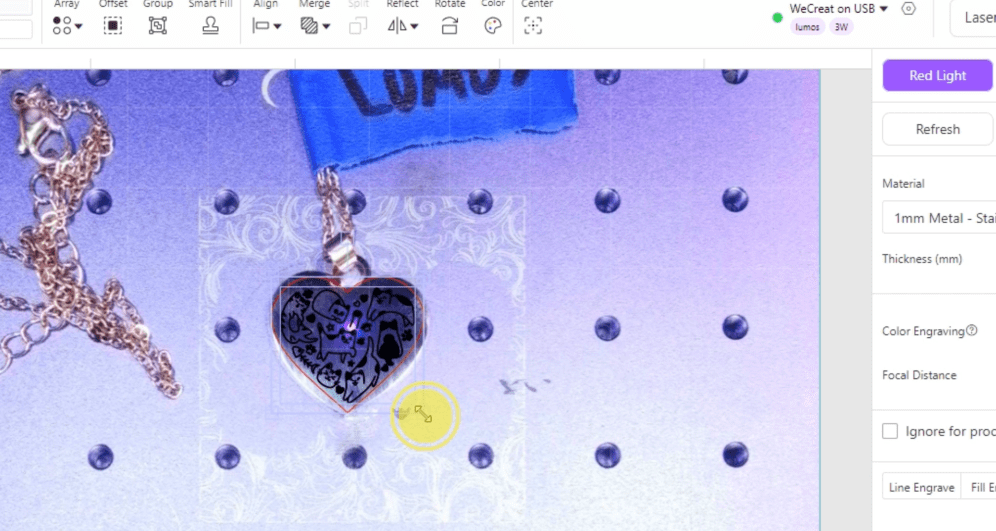
Making sure we are on the red light setting, let’s get to engraving.
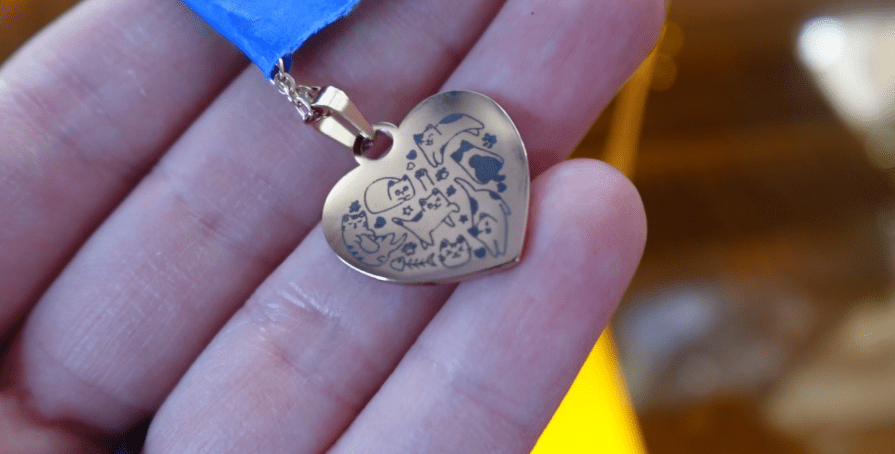
Here it is engraving in real time. One thing I like about the Lumos is after engraving, it goes over the edges with a vector line which really makes the design pop. This is a feature that can be turned off if that’s not your thing.
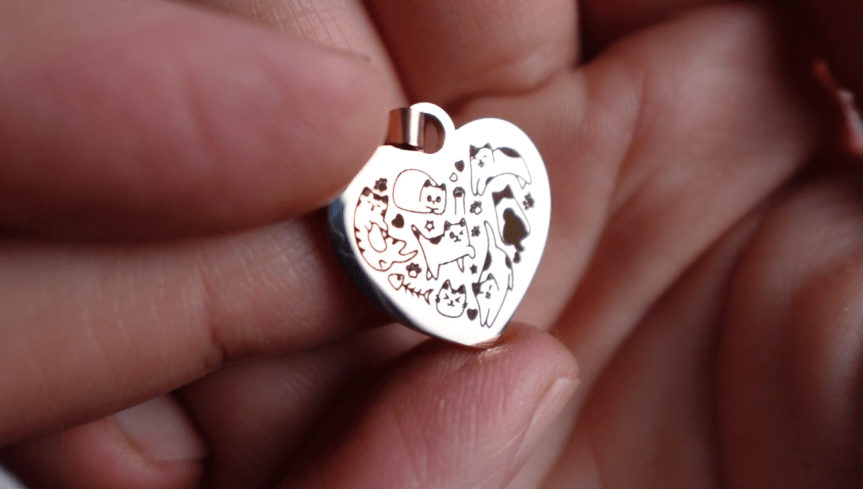
I think it turned out extremely detailed, extremely defined and super dark. And adorable, of course.
Now let’s try it with the Vista. I’m going to put a piece of wood in there, so the pendant has somewhere to lay on. I did put a piece of tape underneath the pendant, so it doesn’t wiggle around too much, also.
As you can see, it turned out pretty good with the same settings.
It was a little misaligned and that is just because I need to align the camera, which is an easy enough setting to fix for these petite projects.
Compared next to each other, even though the Vista is very detailed it’s not nearly as dark. We can thank the 3 Watt infrared laser head on the Lumos for its amazingly deep engraving capabilities.
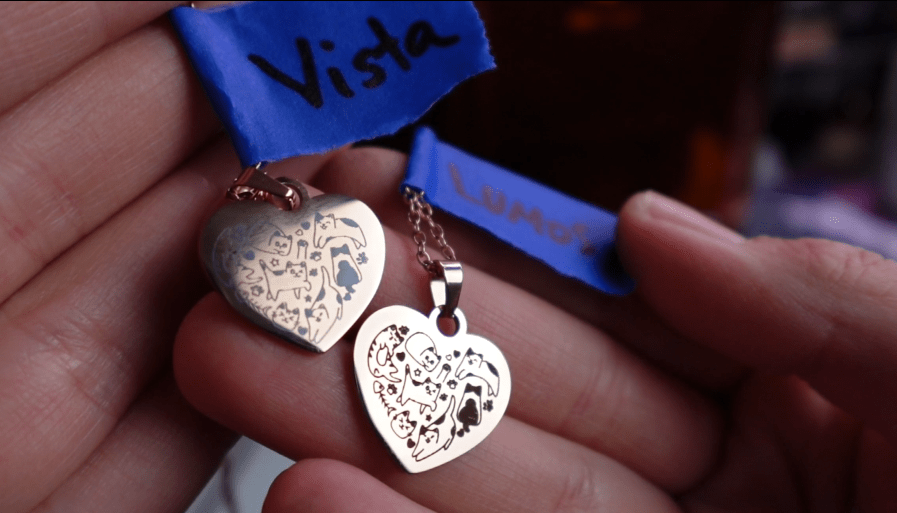
So, we have to award the point to the Lumos again!
7. The “Materials” Challenge
What can these lasers laser? We could be doing this all day, so let’s just choose a few popular materials and compare their abilities with the same settings for both machines.
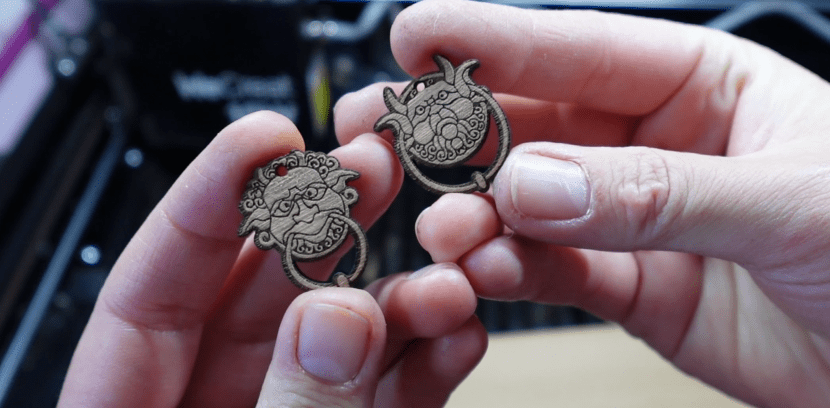
First, let’s try to engrave and cut out some wood. These earring pendants turned out beautifully.
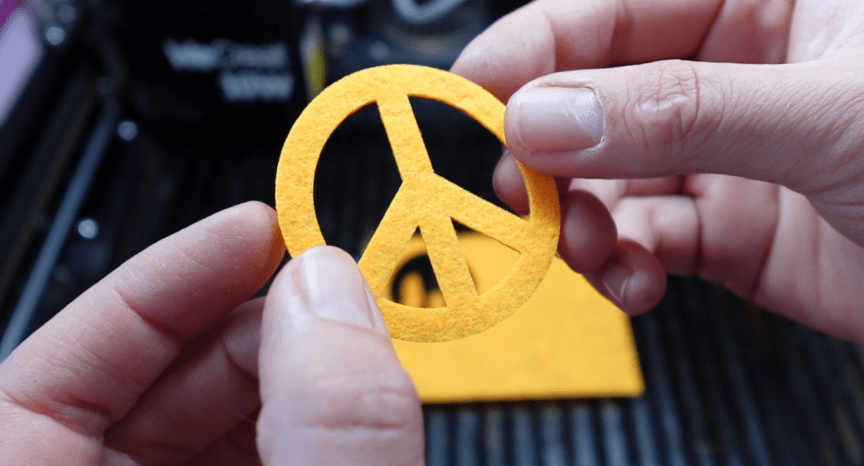
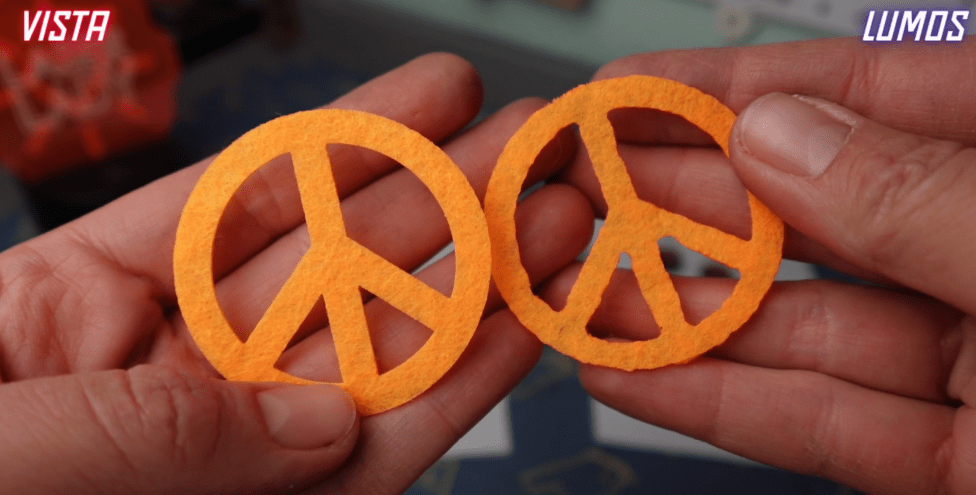
Next up, we have felt. Laser cutting felt helps seal up the edges, which I’m a big fan of.
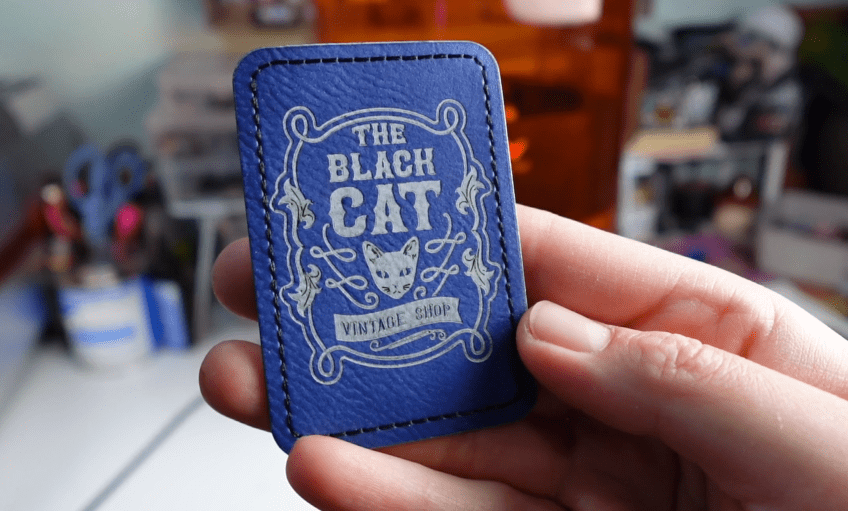
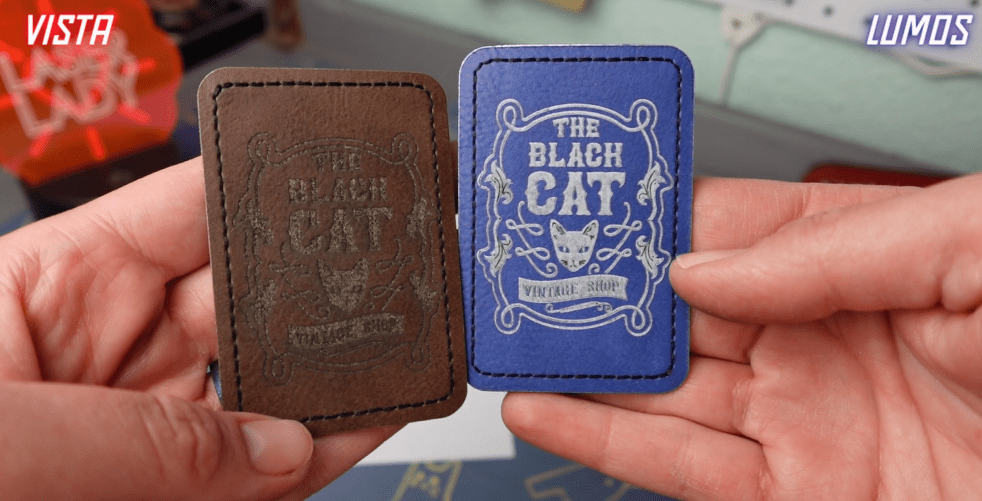
Now we have a vegan leather sticker patch, which engraved pretty good on the Vista, it’s just hard to see the contrast. I have a blue one for the Lumos. The engraving turned out much lighter, probably just because of the color of the patch.
Next up, one of my favorite materials is a 2 toned acrylic. We have brushed silver on top and black underneath so when you engrave it you can see all the amazing detail.
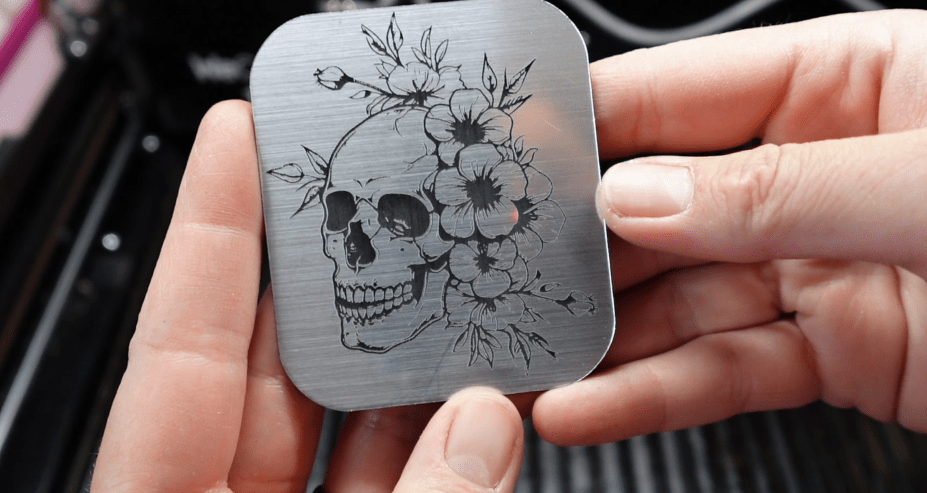
I just cut a little piece for the Lumos, and the engraving is very precise, but it was a little crispy around the edges.
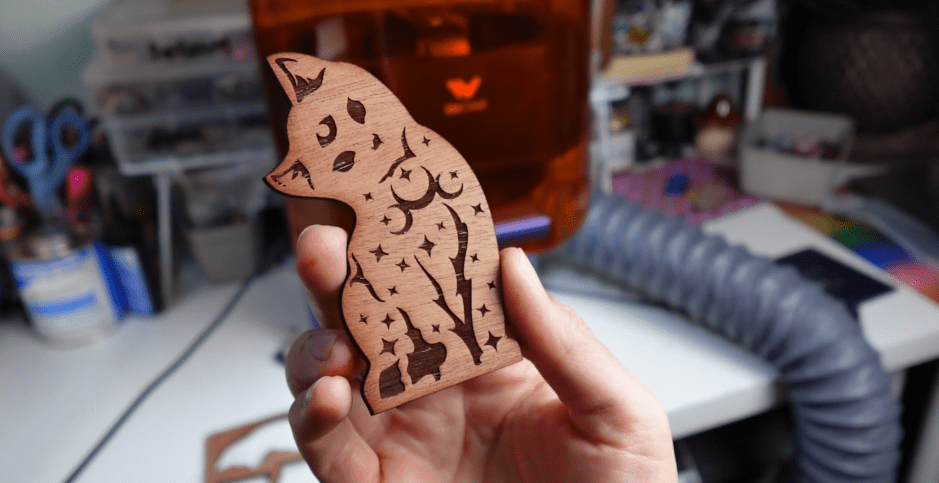
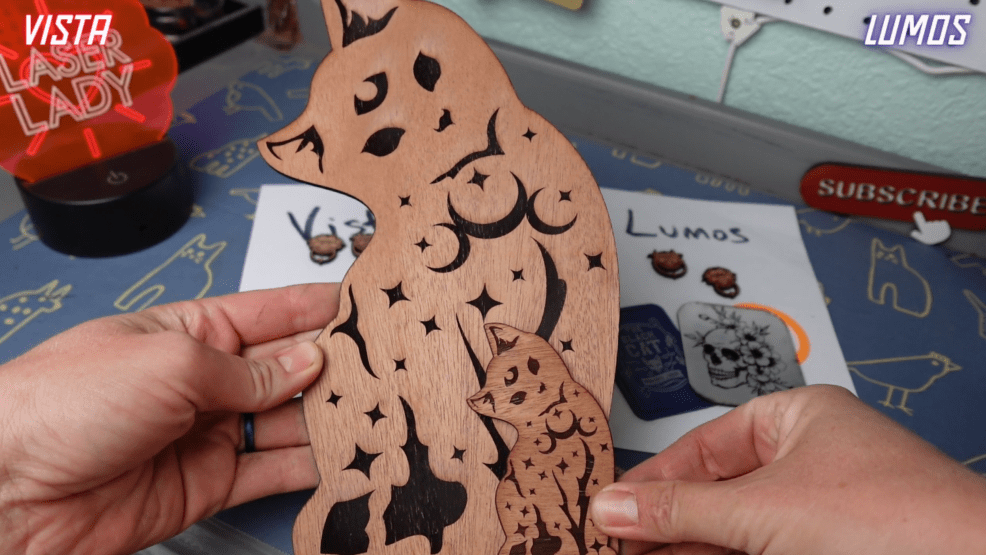
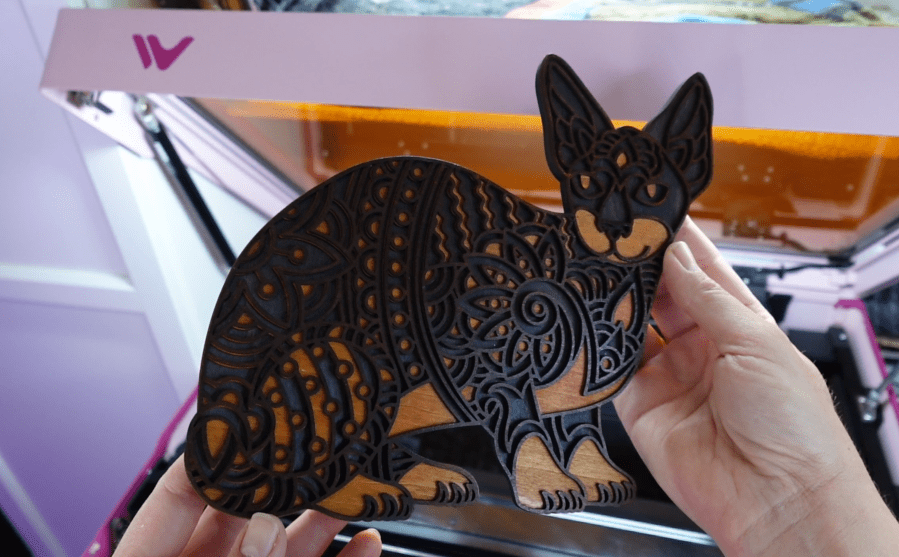
Next, let’s see how big we can go with this adorable cat. So cute!
We’ll make a mini version with the Lumos because it can’t make something that big, obviously. My first try got a little crispy around the edges again, so increased the speed, lowered the power a little bit and increased to 3 passes around. That cut out perfectly, and the engraving turned out pretty good!
Now let’s do a side by side comparison.
It looks like the engraving is a bit darker with the same settings on the Vista for these earring pendants.

The felt got a little squiggly in the Lumos compared to the Vista.
The patches are not actual leather, and the engraving color seems to vary quite a bit. I really like the blue one. I might just go ahead and get some more of those for my own projects.
The two-toned acrylic is extremely similar. You wouldn’t know the difference if it weren’t for the crispy edges.
The big and little kitten duo looks almost exactly the same if it weren’t for the bit darker engraving of the Vista. And, the size, of course!
The materials list available for both of these lasers are extensive and nearly the same! Other materials the Vista’s Infrared head can cut is laser-safe vinyl which is so fun and unique!
There’s no way to pick a definite winner, so I will call this a tie!
We have one more challenge to go!
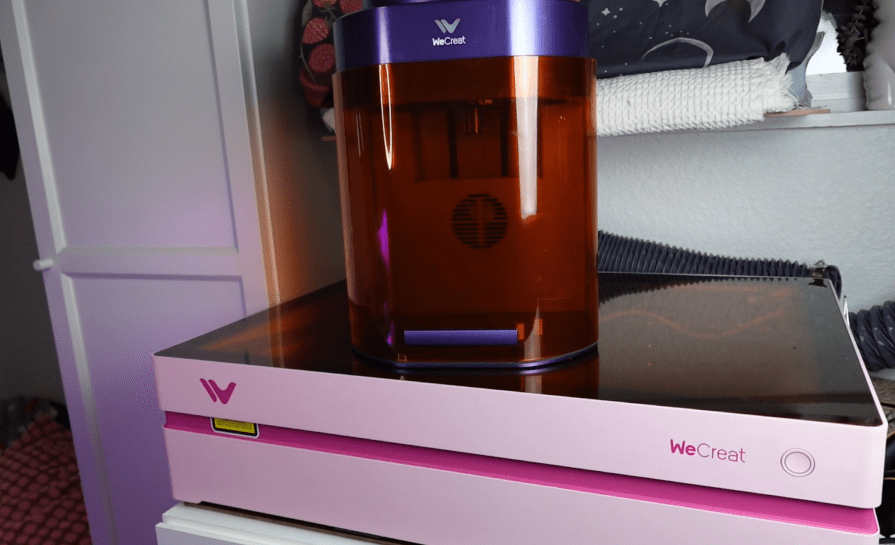
8. The “Desktop Powerhouse” Challenge
Both machines have a relatively small desktop footprint.
The Vista is a highly capable desktop machine with its flip feature for cylindrical items.

The Lumos can take up slightly more space with its extension accessory but offers industrial-grade capabilities in a portable form.
There are oodles of Add-Ons for both machines that can increase your cutting area, rotary capabilities and portability.
Plus! WeCreat is always coming out with new upgrades to their machines and software, such as the brand-new ability for the Lumos to have Bi-Lateral Engraving, which allows you to engrave large areas twice as fast.
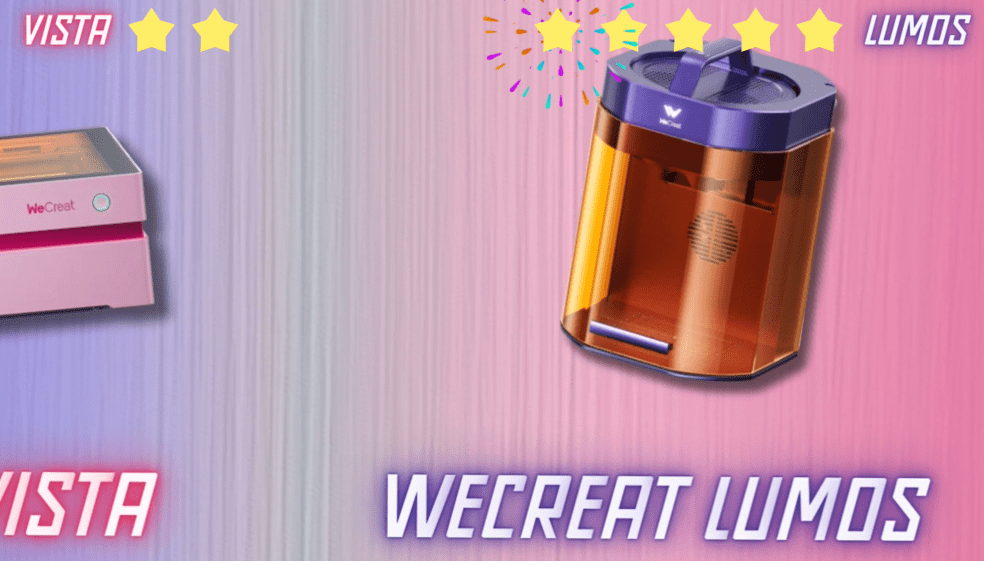
The winner here depends on whether you value compactness and rotary simplicity (Vista) or maximum versatility (Lumos).
So, who do you choose? I use both often, and for much different reasons. Ask yourself what it is you’d like to accomplish with your crafting or for your business needs?
- Do you want to make products right before your customers eyes?
- Do you want to bulk up your merchandise with larger signs and decor?
- Do you want to focus on customizing delicate jewelry pieces?
- Do you want an all-in-one crafting powerhouse?
You are only limited to your imagination, and if you stick with me, I promise to keep you full of crafty ideas!
Check out my codes below and see how you can save on either of these awesome machines. And please! Write any questions you have below, I will try my very best to answer every single one.
If you’d like to see what it’s like taking this Portable laser TO a Cat Convention, then check out this post next.
Happy Crafting!
Sign up for Creative Fabrica’s All Access Free Trial and enjoy 10 free downloads to kickstart your creative projects. Plus they’re having a Subscription Sale, so check it out!

Leave a comment