
Be My Valentine!
✨ Supplies for Project
⇢ Monport Reno 45w CO2 PRO (Save 8% with Code: LASERLADY)
⇢ Acrylic & Wood (Save 10% with code: LASERLADY)
⇢ Sharpie Oil Paint Pens
⇢ Gorilla Wood Glue
⇢ Weld-On #3 Solvent
⇢ Clear Coat Spray Varnish
⇢ Aleene’s Jewelry & Metal Glue
✨ Designs for Project
Whether you need to stuff some stockings, get through a secret Santa office party, or just want to make this the best laser-tastic Christmas ever, I’ve got you covered! The best part – these 8 laser cut and engraved gifts can be made last minute out of scraps and still make a memorable moment!
Subscribe to my YouTube Channel HERE
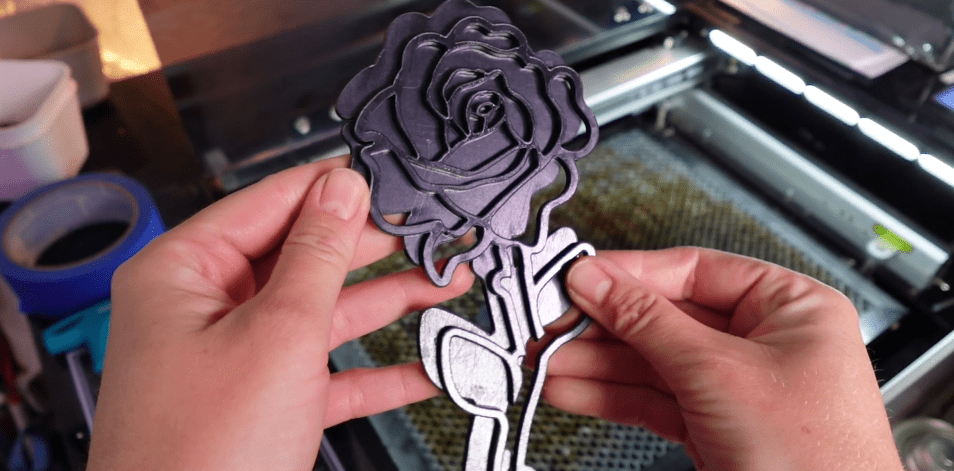
The first design to make is the Layered Rose. There are 2 ways you can make it. First, I’ll make the more simple rose out of some mdf core wood.
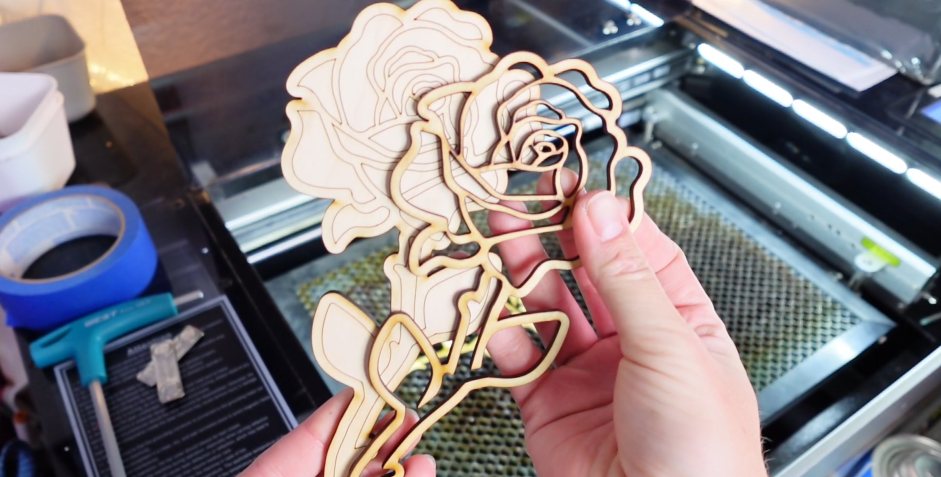
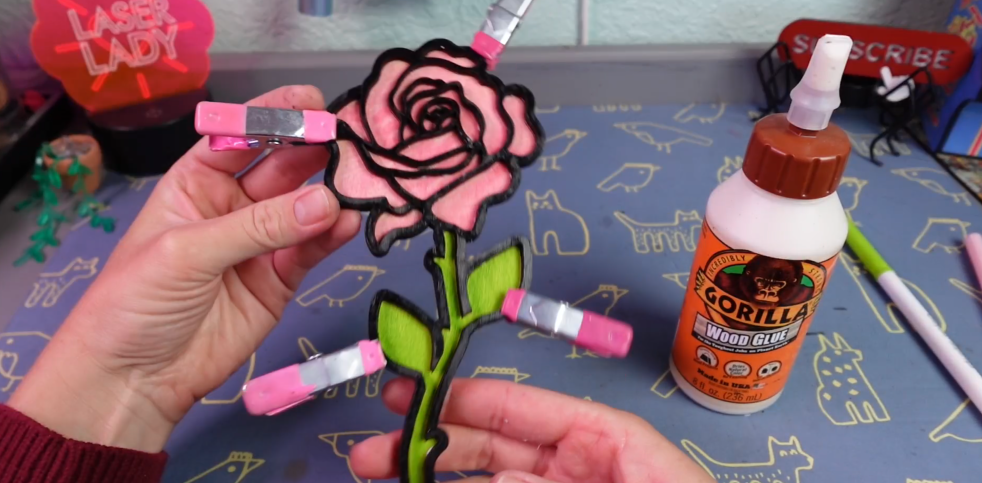
The magic really happens during the finishing stage. There are a lot of ways we can finish this up. They bottom layer looks a bit like a coloring page, so why not use some markers!
I’ll be using plain fine point kids markers and this Sharpie Oil Paint Pen. The paint pens are much darker and go on opaque. Spray painting this would be faster.
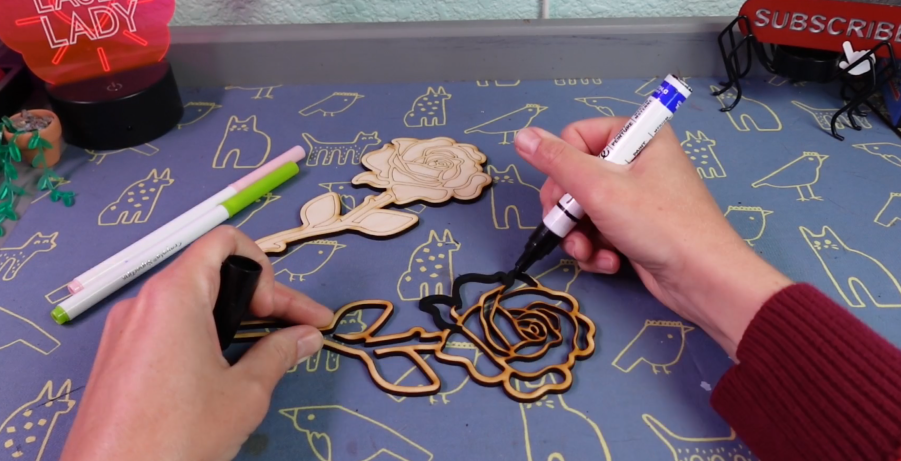
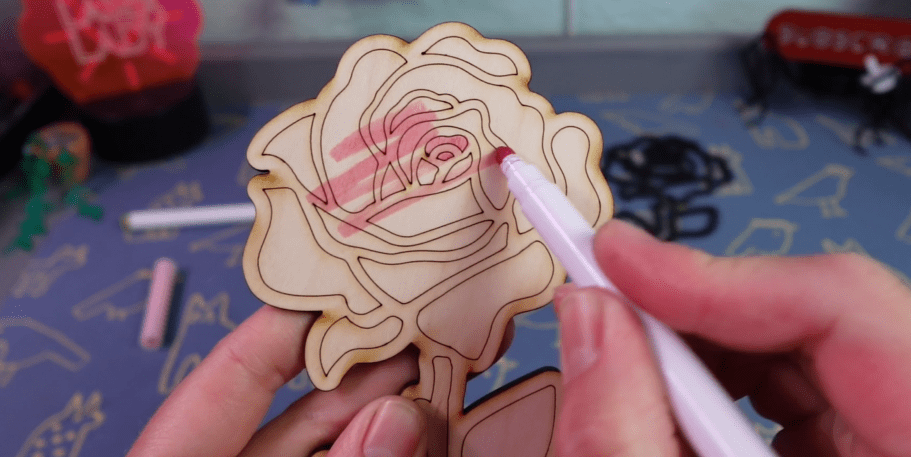
Now to color in the rose. You could use a bunch of colors and go around and around the petals. Or you can color this in like a crazy person! I’m sure this is driving a few of you crazy. It’s ok, it will all be covered up.
Now to glue it together, I’ll just be using some Gorilla Wood Glue. Some clips hold it all in place. While that dries, let’s make an embedded rose with fun acrylics.
We’ll need a top and bottom layer. I’ll be using this black acrylic. No need for the outline on the back layer.
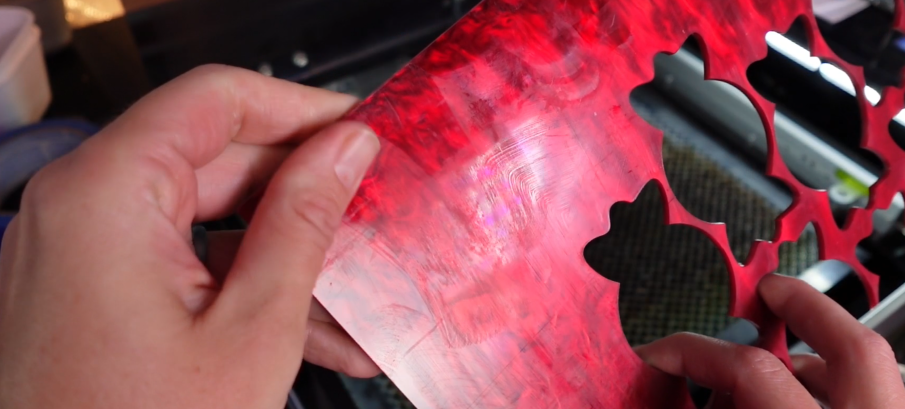
Next up, I have this pretty shimmer red for the rose. It has some dish soap left over from a previous engraving project I made from this, but we can leave it. It will make cleaning easier later. I will take off the back protective plastic off now though; we’ll be gluing this down soon.
Before I take this out of the laser, I will use some masking tape to keep all the little pieces together. This will make assembly easier and we’ll lose less pieces.
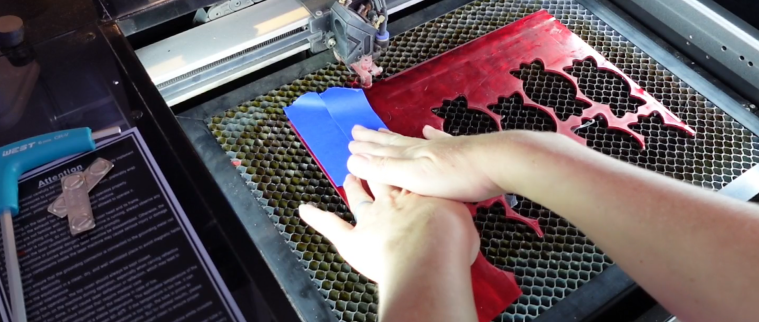
I cut green glitter for the stem. This is a 45w CO2 laser, by the way, so it can cut any acrylic.
Now let’s piece it together! Make sure you take off any protective plastic and masking layers on the sides that will be adhering together.
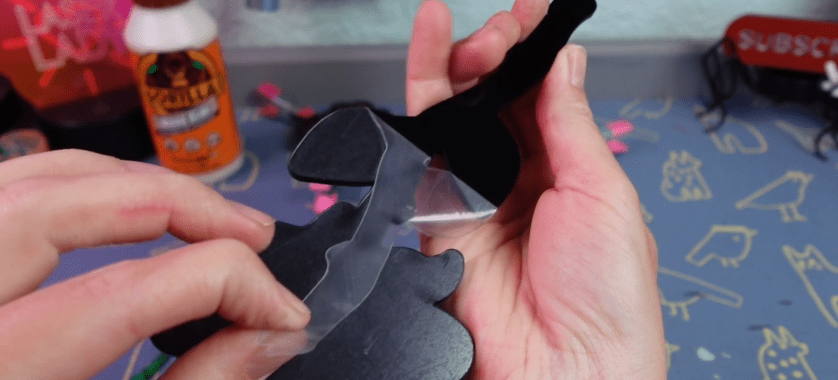
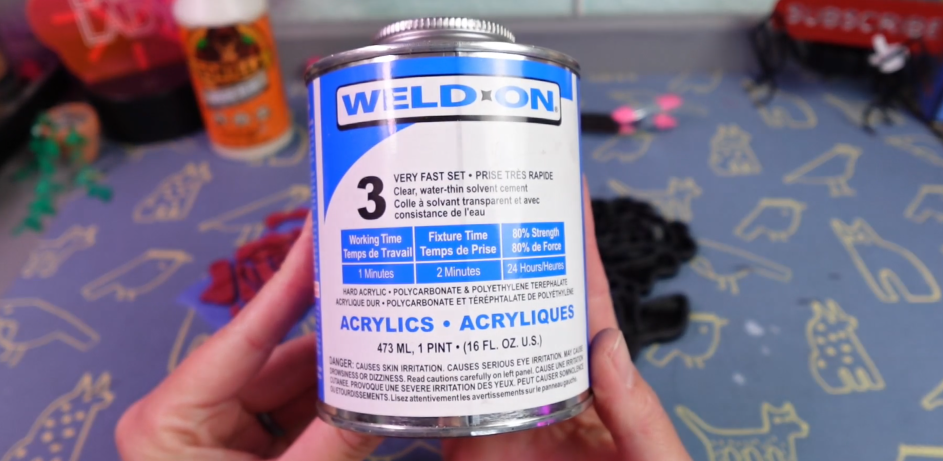
I will be using some Weld-On #3 solvent. It’s water thin and will melt the pastics together.
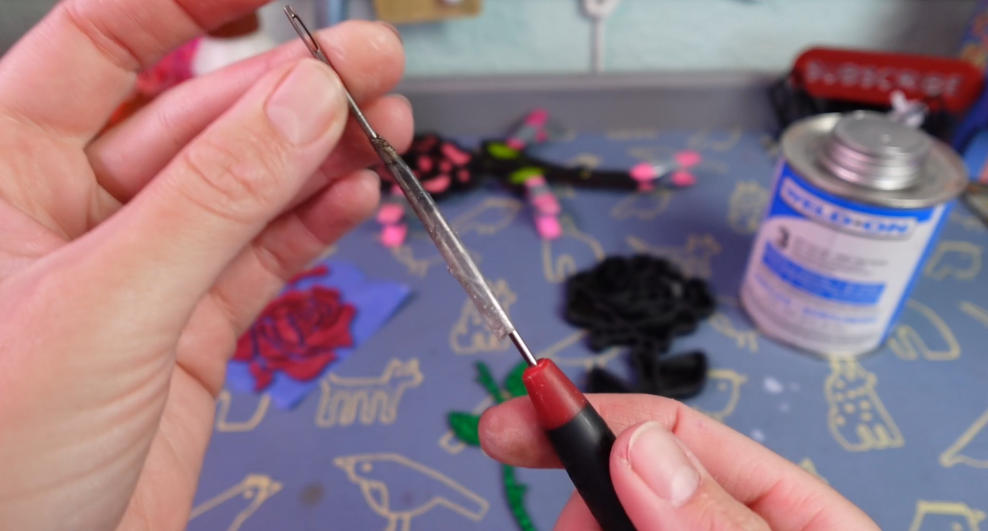
Since I can’t stand the little applicator bottles people usually use with this, I’ll be using a tool I usually use with my smaller projects. I call it, “An upholstry needle taped to a small screwdriver”. Patent not Pending… Yet.
You don’t want to touch this stuff, so beware. Good ventilation is important, too.
Since all the petals are taped, it just fits right in there. You can peel away the tape and keep on welding it all together.
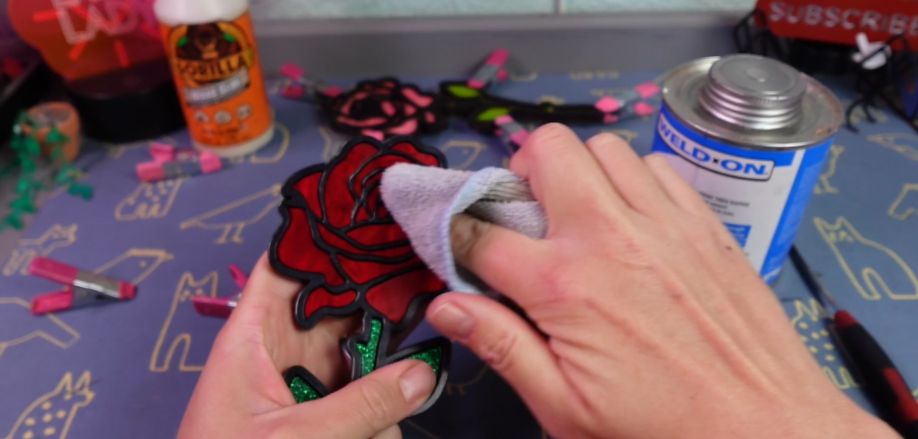
Now we need to get that dish soap off of there. It’s a handy thing to use, especially when engraving, so all the blowback and cut residue just comes with off. Now to remove any other masking layers, and this shiny beauty is done! If there was ever a reason to upgrade to a CO2 laser, this is it folks. I love acrylic!

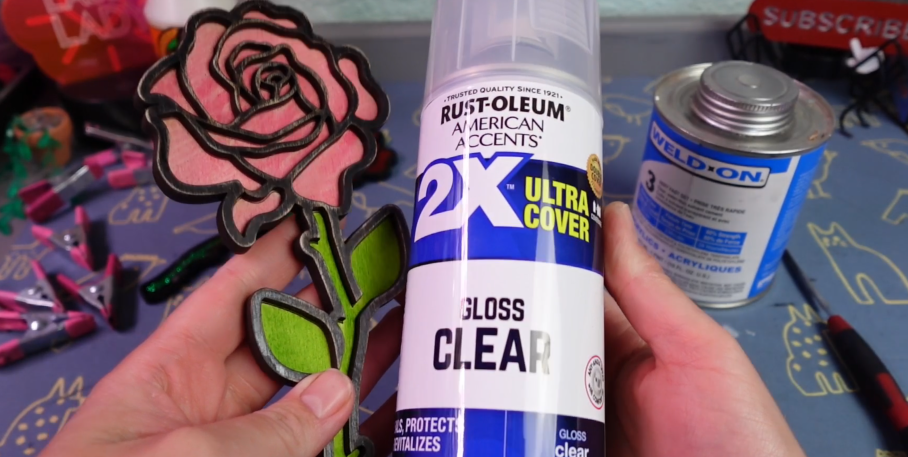
The wood rose should be dry by now. I’m just going to rustic it up a bit with sandpaper and give it some shine with a clear coat spray.
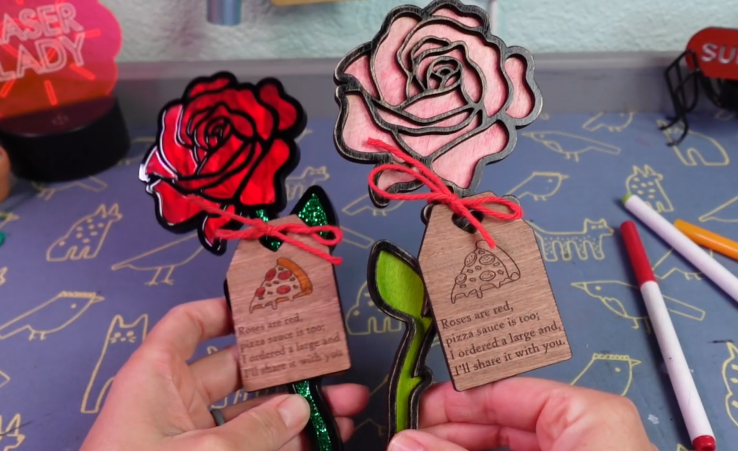
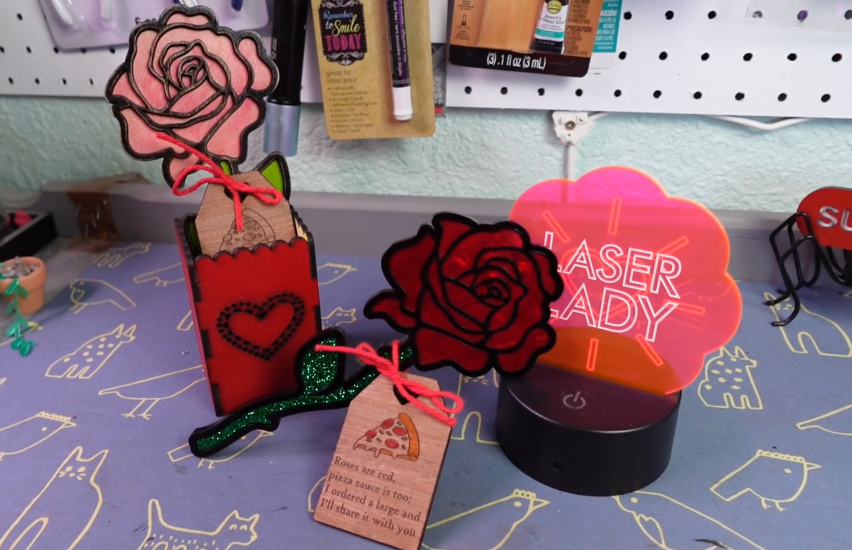
And, here they are! A couple of styles, drastically different looks.
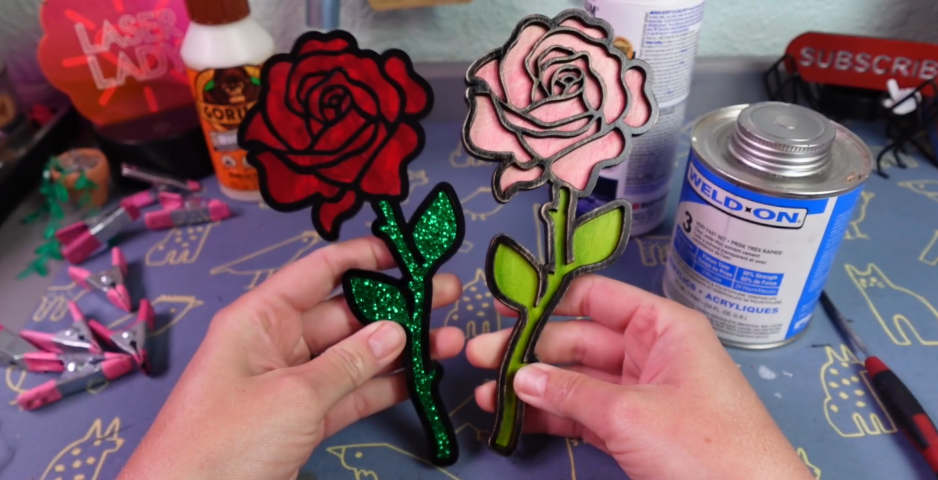
But, our Valentine’s present isn’t done yet!
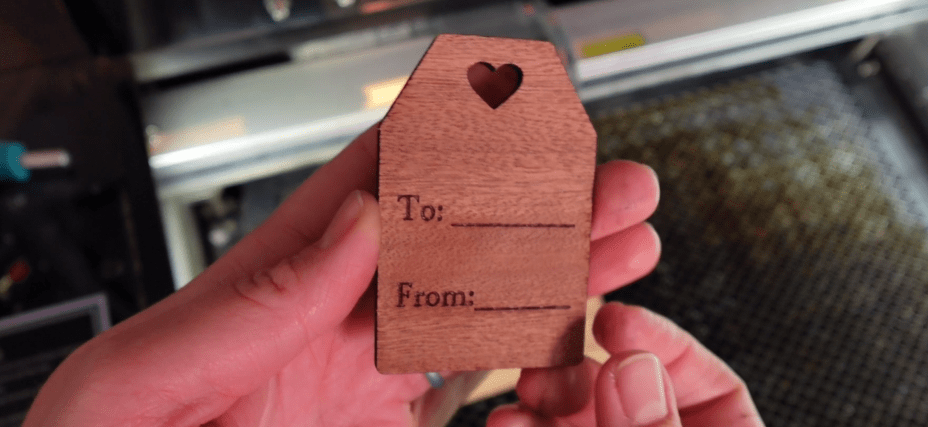
Let’s cut out some double sided tags!
Using some scraps, I am going to use some magnets to hold this in place. We won’t want things to move around for the next step to work.
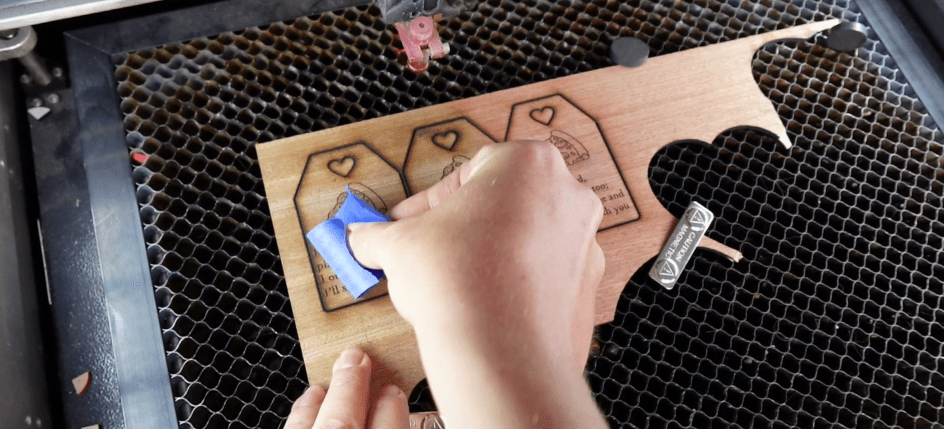
First, you engrave and cut out the tags design. Using some masking tape, pluck out the tags, make sure you save the little heart cutout, and then flip it over.
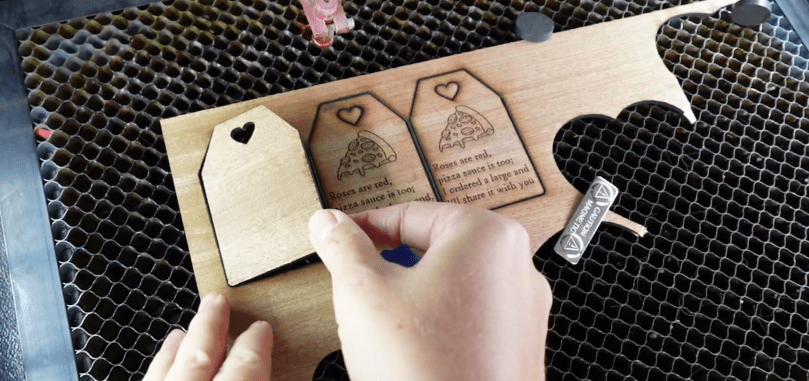
In your laser program, make sure you put the “To & From” side to engrave on the exact same place this was cut out and delete the original side. In Lightburn, or any other program you are using, turn off the cut line and engrave this new side.

Now we have a double sided tag! To finish this is easy. A little sanding gets the scorch bits off of there.
Now, I see another thing we can color in! I’ll need a more colorful tag for the acrylic rose, so here come the markers again.
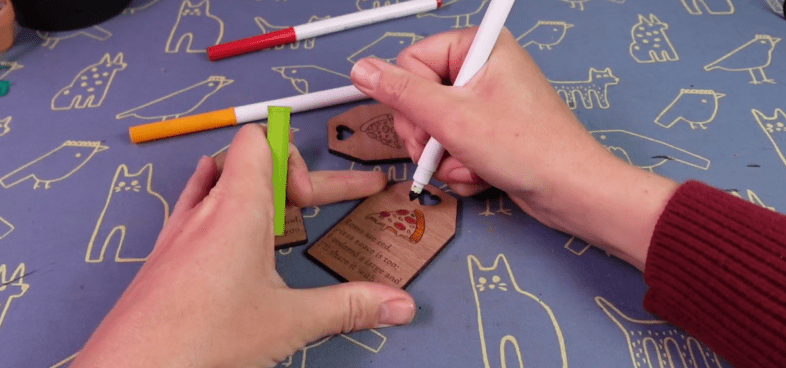
Now you can fill out the to and from and tie it to a rose! This red yarn keeps it all in the spirit of blood and hearts and guts, or whatever Valentine’s Day is about.
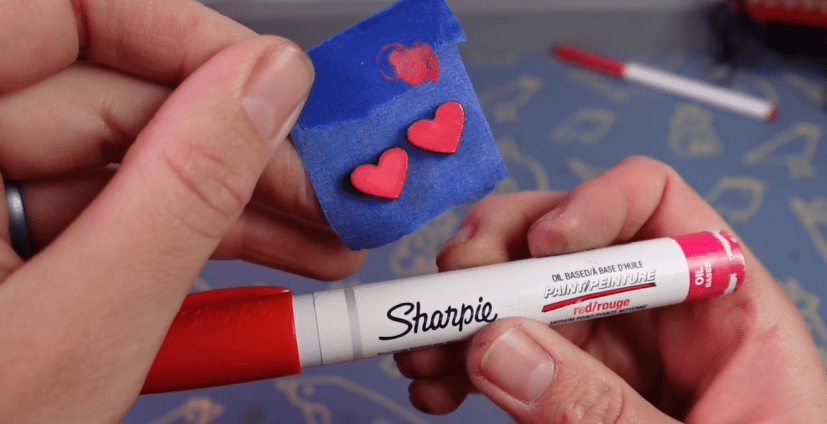
But, we’re not done yet! What about those little hearts I told you to hang onto?
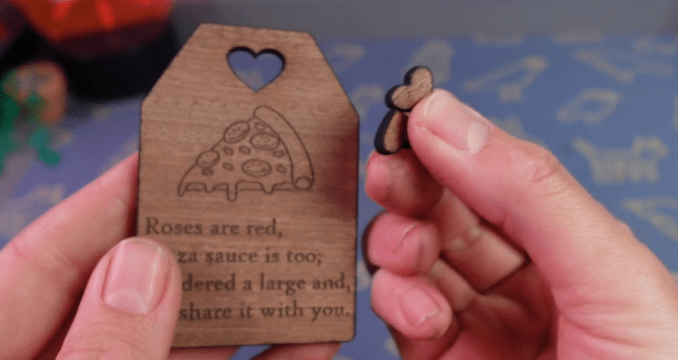
Well, grab at least 2 and sand them down a little. Now, what I like to do is put them on a bit of tape so I can handle them easier. I’ll be coloring these in with the Sharpie marker, it’s much more opaque than the marker.
While these dry, let’s make a container for the roses!
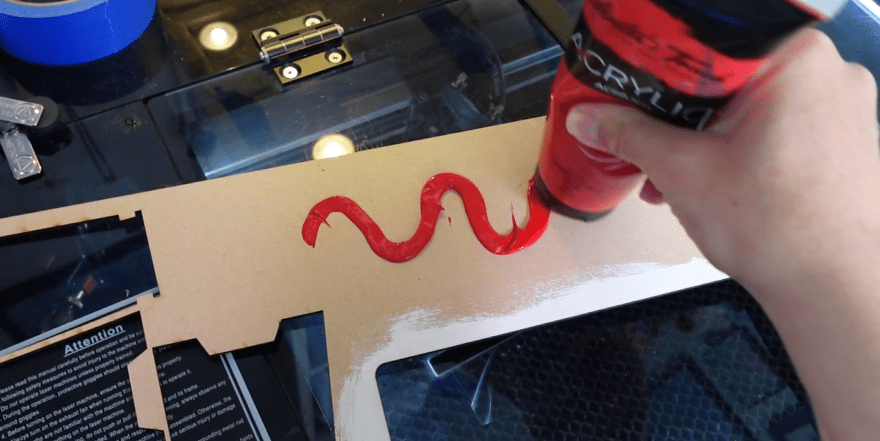
In fact, let’s paint more things red! This MDF is far too boring to become a heart container box thingy.
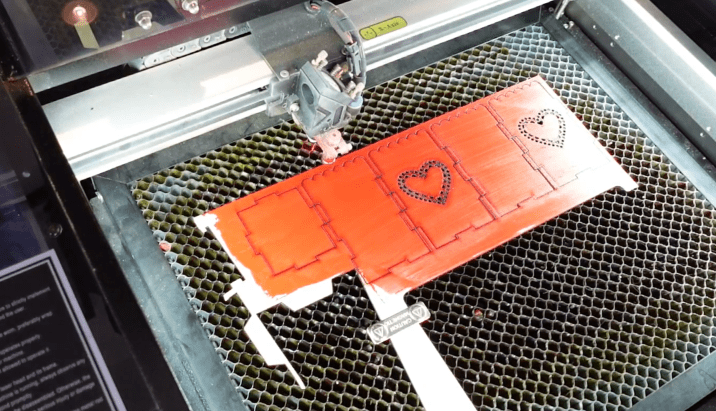
The air assist in the laser helps to dry it while it is cutting away. This is easy to assemble.
With some more wood glue, you just need to make sure the right sides are going in the right part of the base because it is wider than it is deep.
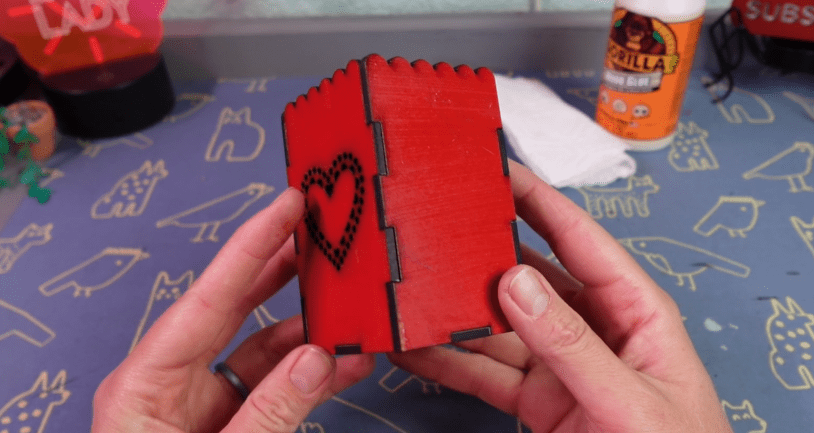
The rose just fits right in! But the gifting doesn’t stop there, let’s finish those little heart charms.
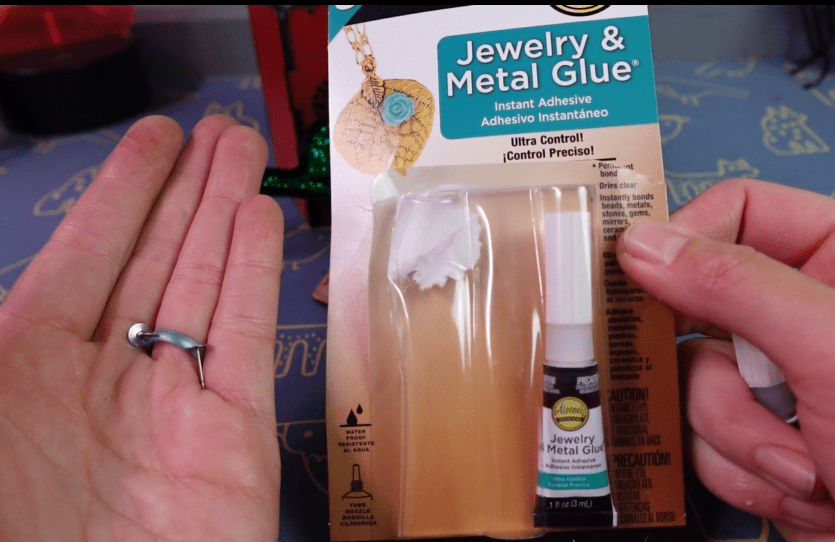
With a bit of this scrunched up super glue (it looks like this before I can my hands on it) and a couple earring studs, we’ve got ourselves a pair of heart earrings!
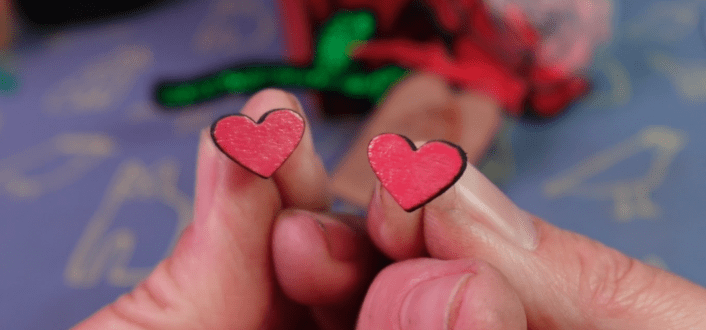
What would have been thrown away, now adds to the entire gift!
Everything we’ve made here today is from the download you can get at the beginning of this post!
Happy Crafting!

Leave a comment