

Make you laser cut & engrave like new.
✨ Supplies:
White Lithium Grease
Dryer Vent Vacuum Kit
Mean Green Degreaser
Does your laser cut better in one corner than the other? Maybe you’ve recently had to change all your settings because it doesn’t engrave like it used to? Or you swear your workspace is filling up with more smoke than before?
Let’s tackle some maintenance and troubleshooting of both Diode and CO2 style lasers so your laser is always running at peak efficiency! I’m going to be breaking this down into what we should be doing daily, or at least more often than not, as well as monthly and onwards. Let’s dive in!
Subscribe to my YouTube Channel HERE
Some of us might not use our lasers every single day, but this checklist is definitely something you should have handy when you’re having fun with your laser!
And, as a bonus, a lot of these tips will help prevent fire hazards and the complete inhalation of your laser machines!
Daily & Weekly Laser Maintenance
Lenses & Mirrors
First, let’s check those lenses.
For CO2 lasers, we generally have a bunch of mirrors and lenses pointing our laser beams to the laser bed. These often get residue stuck on there and will make your lasers cut beam less effective, just like trying to look through dirty glasses.
Use a microfiber cleaning cloth so it doesn’t scratch the lens, or if you need to get in there, use a cotton swab with a little bit of rubbing alcohol. Sometimes I need to bend the cotton swab to get to the lens. Just make sure you aren’t pushing too hard; we don’t want to scratch anything up.
Even though Diode lasers don’t have external mirrors directing the beam around and down to the bed, we still need to clean the laser head.
It’s a good idea to take the diode head off your machine to really get in there, but you won’t need to do that daily. This is a great opportunity to also check any red or blue LED guide lights. They can get all gunked up and then it’s harder to frame your future projects accurately.
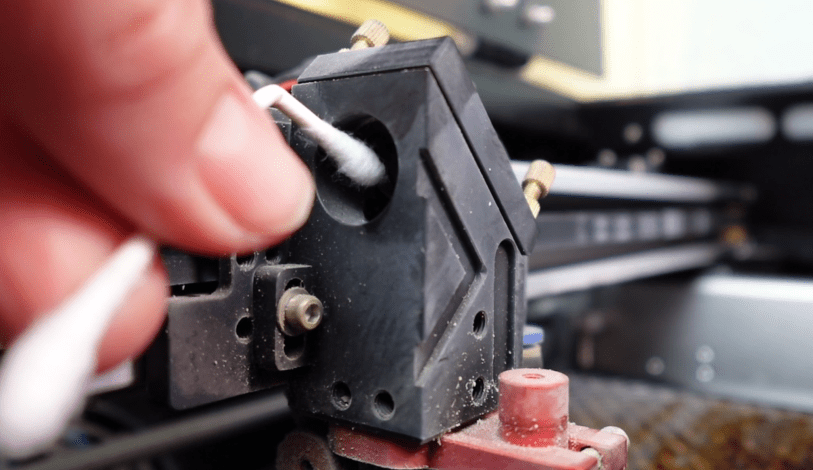
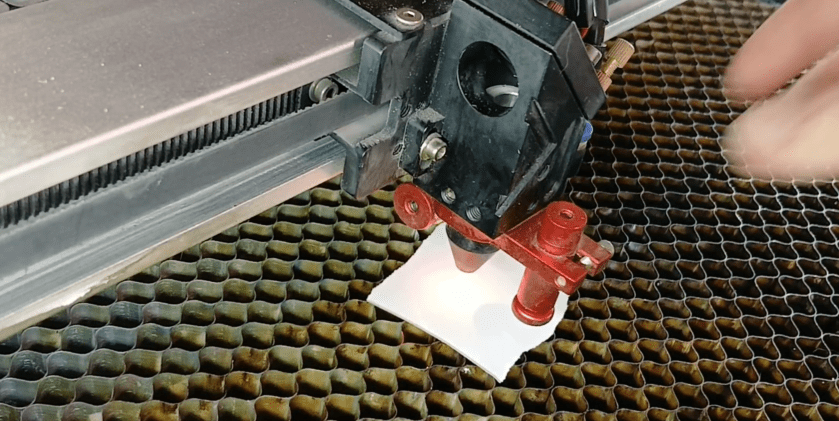
CO2 lasers usually have a cone or something where the laser beam shoots out of. This often needs to be cleaned from all the blowback residues. A cloth and some rubbing alcohol make quick work of this. If you can, try to fit a cotton swab in the cone with a little alcohol on there.
There is a lens on the very end of the CO2 tube. If your laser is more open, you can access this easier. It’s worth the time it takes to remove the case around the tube to clean that every few months or at least once a year.

Make sure you don’t move where the tube is, or you will need to focus your mirrors, which we’ll talk about soon enough.
Now that all the mirrors and heads are cleaned, let’s check the rails.
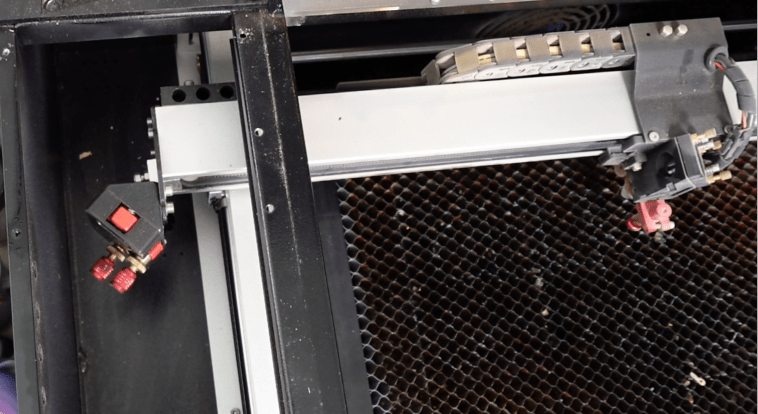
Rails & Gantry
There’s a reason why when something is working out, we say things like, “A well-oiled machine,” and we want that for our lasers.
It’s important to check your rails often. If there is a little piece of debris in your x axis, it will show up in your engravings and cut lines as a little bloop in what should be evenly across. If you get some debris in your y axis, it can stunt the engraving by not being able to move up or down or jump over it, skipping engrave lines or not cutting through your material.
Cleaning them off is easy. An old shirt turned into a cleaning rag or paper towel helps to clear off any goopy gross bits.
But now, we need to relubricate them. The main thing to look out for here is using the right kind of lubricant. We don’t want a sticky one that will attract soot and little bits, making us clean more and more often. Or one that dries out and gets gummy because that will inhibit movement and attract build up.
WD40 will clean your rails, but with the ongoing friction of the gantry movement, it will get sticky and dirty pretty quick. Go for it, if it’s all you have, but upgrade when you get a chance.
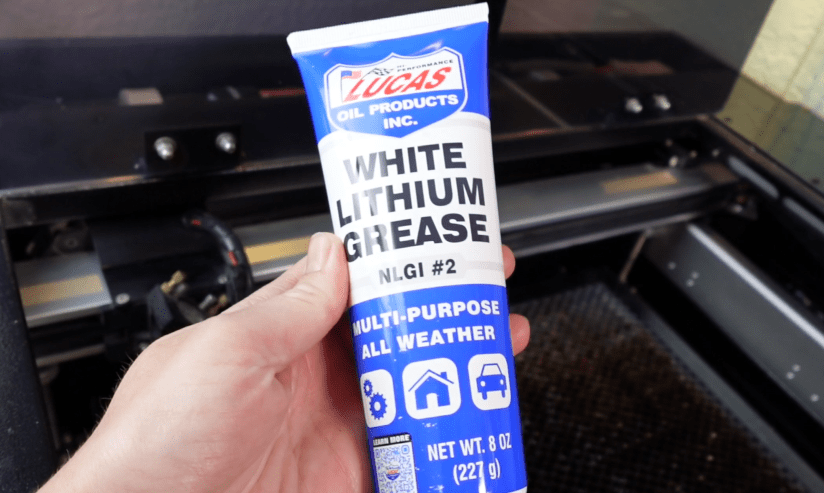
What we do want is a lubricant made for machines with moving parts and grease is generally recommended. Teflon (PTFE) Grease does good with machines that get hot, so you might have some if you have lots of power tools. I have some Lithium Grease, commonly known as White Grease. It’s durable, doesn’t gum up easily, and resists high temperatures.
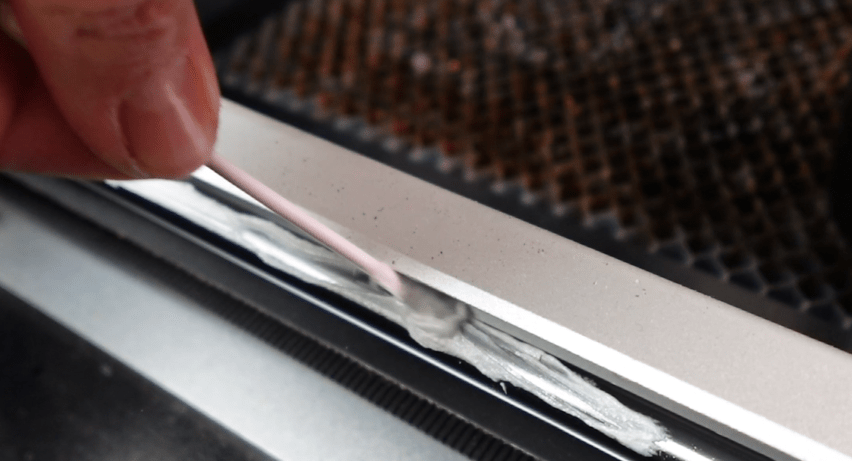
Dab on a little bit and make sure you distribute it evenly. Wipe off any globs.
Laser Honeycomb or Knife Bed
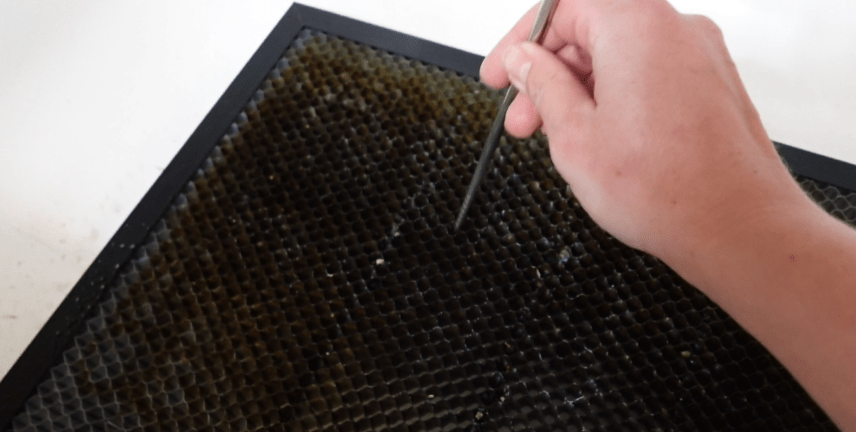
Honeycomb beds are more of a pain to clean. I like spraying them down with some Mean Green Degreaser, let it sit a little bit and rinsing it off.

If the weather was nicer, I’d hose it down with a jet stream from the hose. If yours it really bad, consider taking it to a car wash and using their power washer, or if you have one already, then here’s a reason to use it!
Try to remove as many of the little bits stuck in there as possible. They just turn into little pieces of charcoal, and a laser makes an awful campfire.
Laser Knife Beds clean up even easier. Some steel wool and degreaser will make these not so sticky and all cleaned up.

While we have the beds out of the way, it’s time to clean what I call, “The Graveyard.”
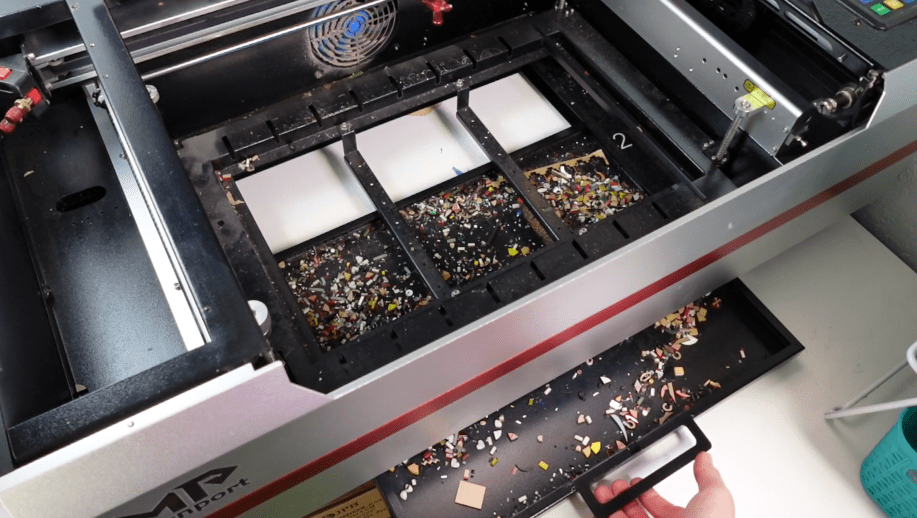
Lots of types of laser machines have trays you can pull out to make cleaning easier, but you can’t go wrong with a vacuum. A handheld one would be super convenient.
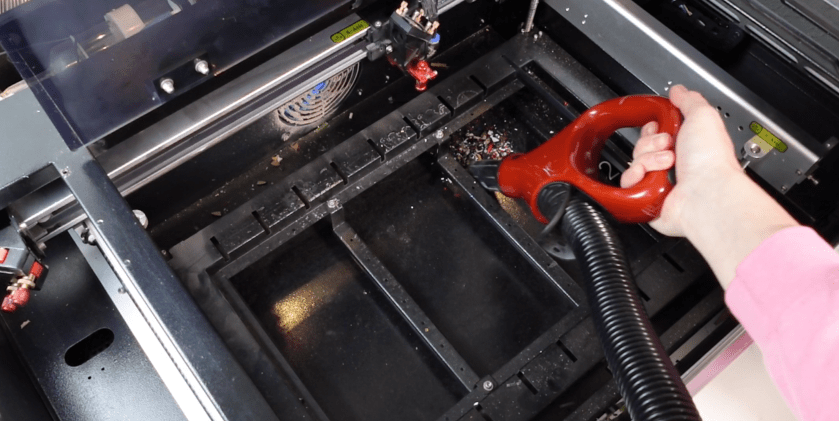
It nice visiting all the little pieces that fell through. I usually find things I thought were lost forever.
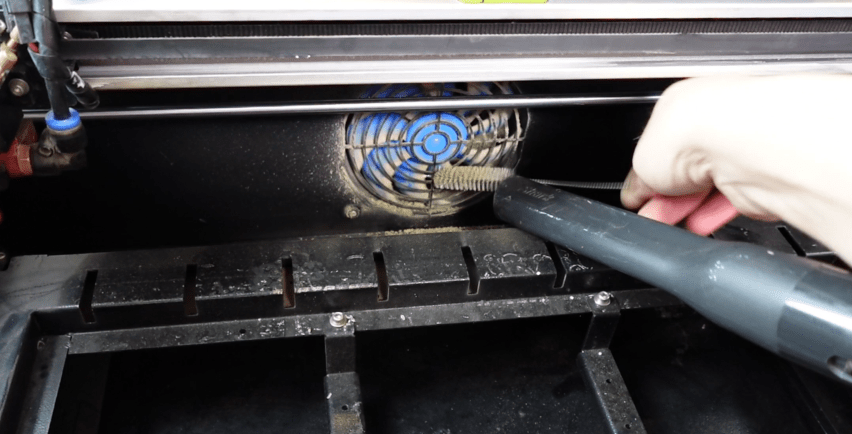
While all this is out of the way, it’s worth it to wipe down the surfaces and fans. If your fans are really gross, go at them with a little pipe cleaner and vacuum.
Weekly Visual Inspection
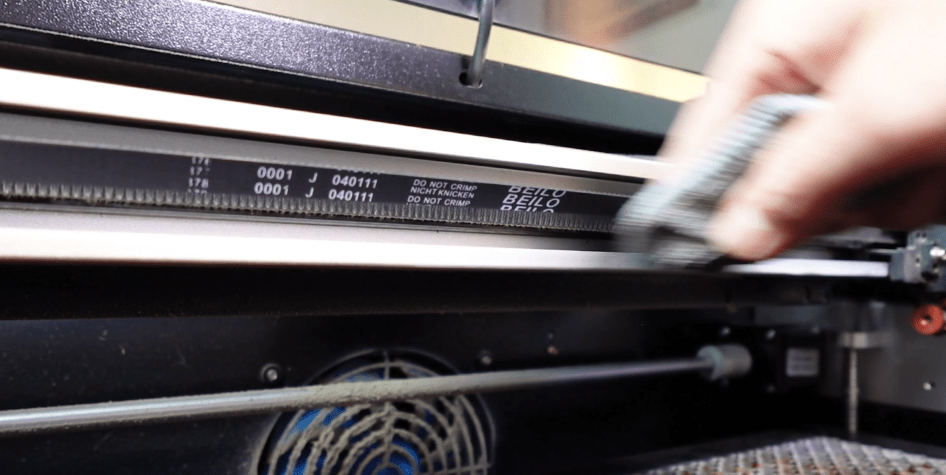
When you are getting into all these nooks and crannies of your laser, keep an eye out for any loose wiring, loose air assist tubes and belts.
If a belt is old, loose or cracked, you’ll end up with laser projects that don’t quite fit together and circles that look something like this.

However, if you ever need one belt replaced, replace them all so the tension is the same between them.
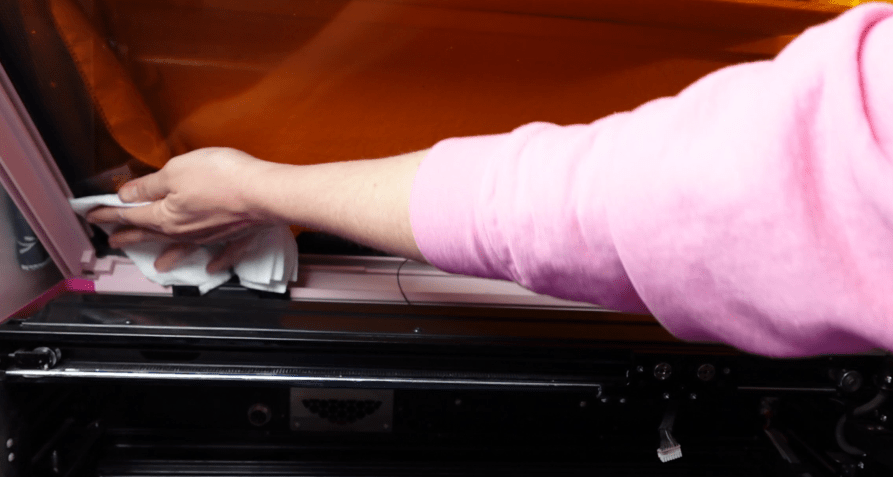
Give a bit of a wipe down to the outside and lid of the laser. If your laser has a camera, make sure that is clear so you can see your projects better in your laser programs.

Here’s the thing. When you use your laser a lot, there are a lot more things that can go wrong if we don’t stay on top of them. Next, let’s go over some things to keep an eye on every few months or so.
Monthly & Periodical Laser Maintenance
Air Assist & Exhaust System
Whenever you are making amazing things with your laser, we are depositing a ton of wood resins, acrylic dust and all sorts of gunk into the air. That’s why having an air assist and exhaust system is crucial.
But that also means that your exhaust system is getting all sorts of gross. It’s a good idea to take off and clean out your exhaust tubes every few months. You can shove a vacuum up in there, or do what I do, which is a bit of a combination of using one of these vent cleaner brushes and a vacuum.

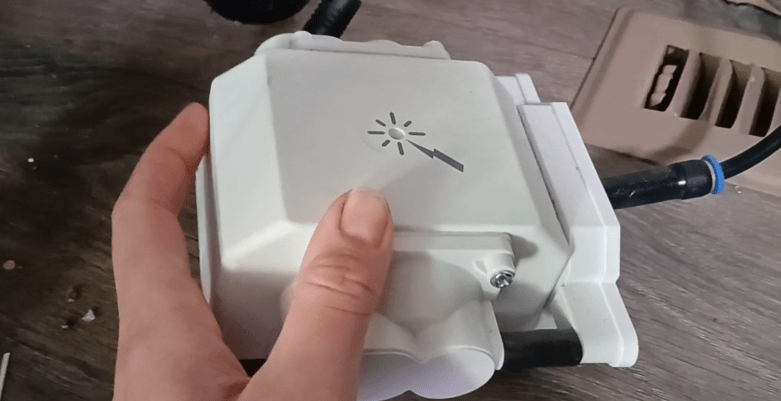
If you have a filter unit, check those filters! Too much residue and it won’t be sucking out the fumes as it should and could be the reason why any smoke works its way back into your workspace.
It’s all about the flow baby.
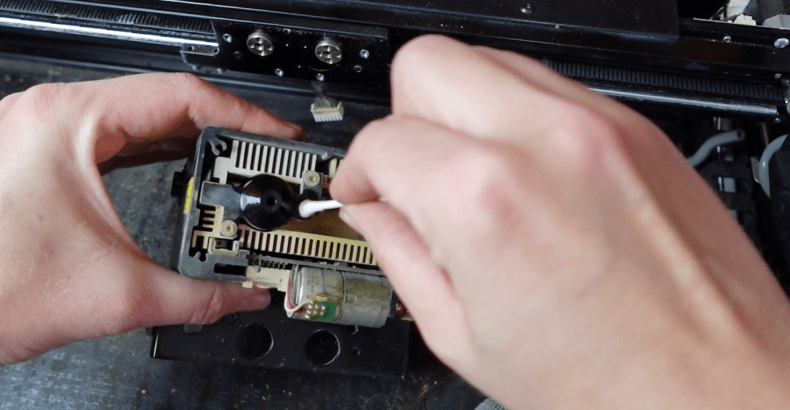
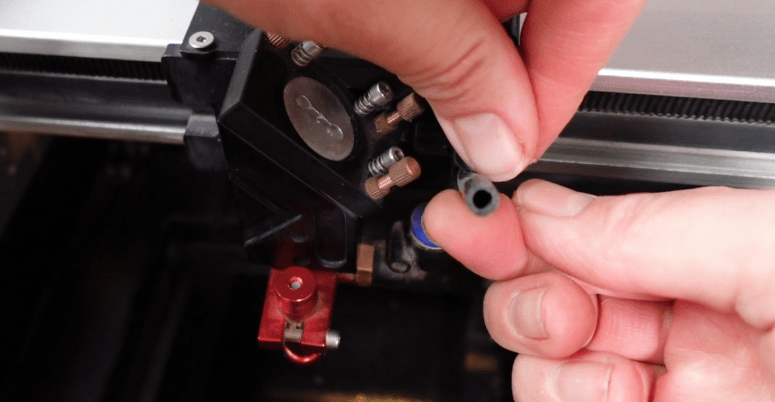
Inspect you air pumps and make sure they aren’t covered with pet hairs or junk that will impede the air flow. Make sure the tubes are all snuggly where they need to be and also not clogged with anything.
Alignment & Troubleshooting
Have you ever tried to laser something big or a bunch of somethings, and only some of them cut out? Here’s how to troubleshoot this common problem.
First, make sure it’s not just the material. If your material wobbles around on a flat surface, it’s probably just the material. You can’t focus the same in one corner, as the other, so things go haywire.

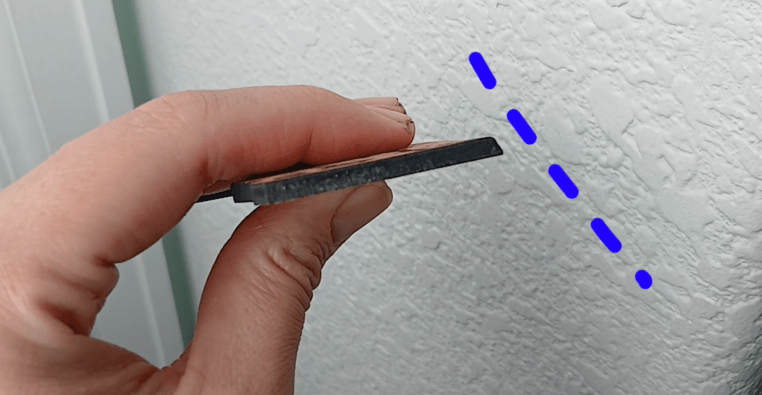
If your material is flat, then let’s check the bed. Honeycomb and Knife Beds can warp and get bent. Using some sort of object as a depth reference, like a coin or a block like dice, check each corner of your bed, as well as random spots in the middle.
If one side is higher or lower, you might just want to get a new bed. BUT, if your bed doesn’t seem to be bent you might have a misaligned or bent gantry. Fixing this will depend on the exact type of laser you have. In most cases, you will be able to find out how to fix this on their website or in your user manual.
And if it’s none of those and you have a CO2 laser, then…
Aligning the Freaking Laser Mirrors
This is the worst part about CO2 Lasers. These mirrors have to point just right to go from the laser tube, down to the Y Axis, over to the X Axis and down to the final focusing lens onto your laser bed. If one of these gets wonky, the whole thing goes to Heck in a Heck Basket.
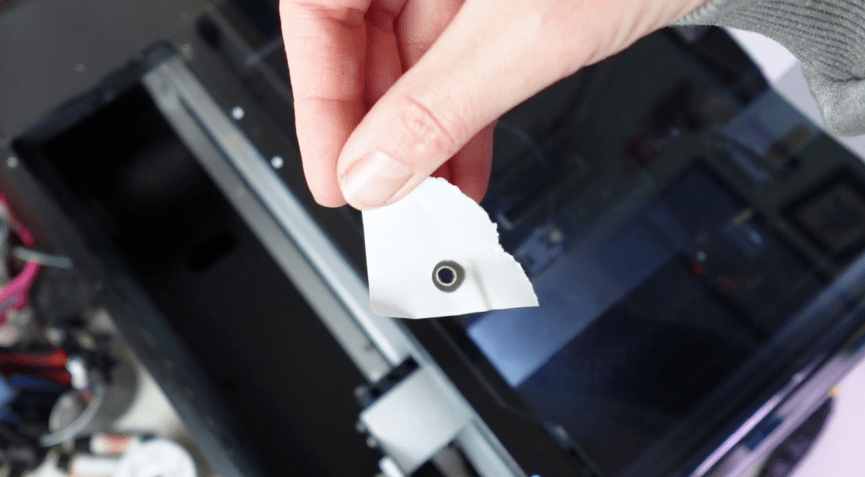
Again, each type of laser is a bit different. Essentially, what we need to do is align this mirror first to hit mirror #2, close to the middle in both the upper most and lower most position.

Some heat reactive paper helps center things.
Next, we make sure mirror 2 is pointing to the mirror on the laser head, again close to the middle. We check this in each corner and adjust along the way.
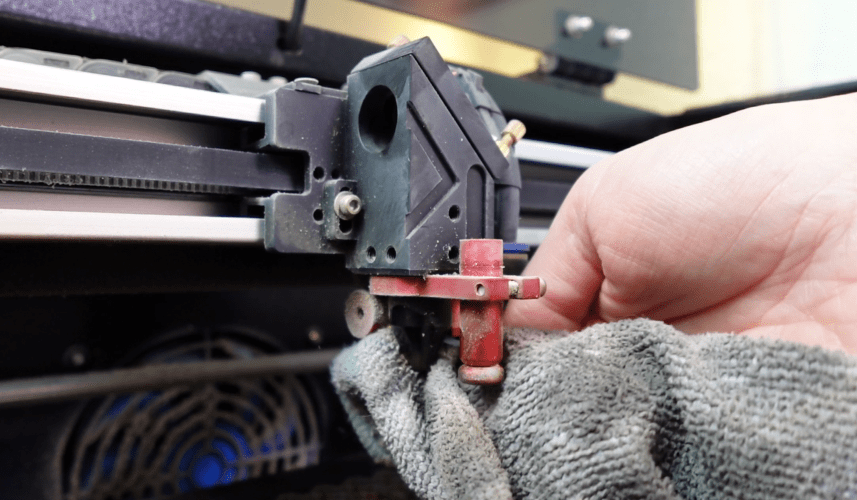
This last mirror needs to be tested to make sure it is pointing down into the lens in the cone or what have you. If it is getting clipped, you will have drastically less power and is likely why it won’t cut well in one section, over another.
Now we can do some testing with materials and should have the same results for cutting in each corner.

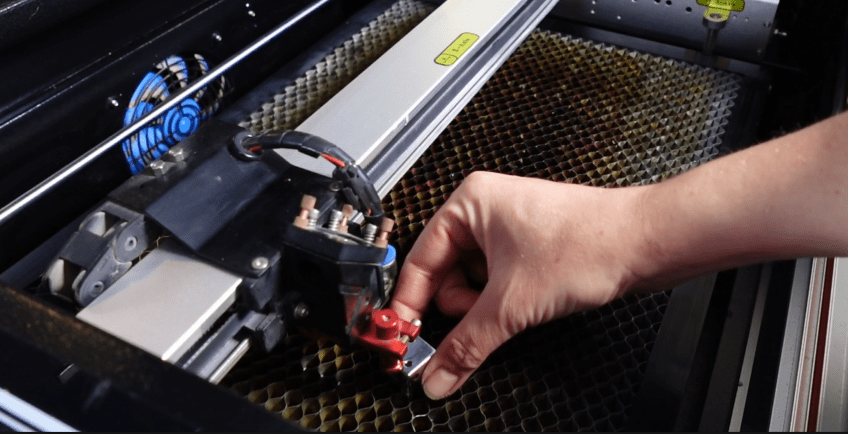
If you have a diode, you’re diode head might be askew. Especially on machines where you can replace the laser head with other modules. Double check to make sure you have the thing perfectly screwed back in place. If it is ever so slightly sideways, your cut lines might be at an angle, and you’ll find you need a higher power to cut.
Change Your Cooling Water
Every few months, change out your CO2 cooling water. I don’t have the whole refrigerated water system, I just have a bucket.

If you feel you’re laser is losing some power randomly when cutting or engraving, your water might be getting slimy. Natural bacteria and crap in the air will get into your cooling system, aka bucket of water, and it will get goopy. The CO2 beams are passing through this goop and it’s lessening it’s power.

Make sure you are using Distilled water! I have hard water where I live and that is the fastest way to build up calcium in your water tubes and laser tube. Not good.
Hot tip, if you have a Walmart nearby, the distilled water in the baby section is a little bit cheaper than the distilled water in the water section. A penny saved is a penny earned.
Lucky for diode laser users, you don’t have to worry about this!
Check Updates
One thing that often goes overlooked is updates! Updates to your firmware, or even software, should be checked on from time to time.
A firmware update made the WeCreat Lumos now engrave bilaterally, instead of from just right to left and a recent update to its software made it so you can see the entire length of the slider attachment!
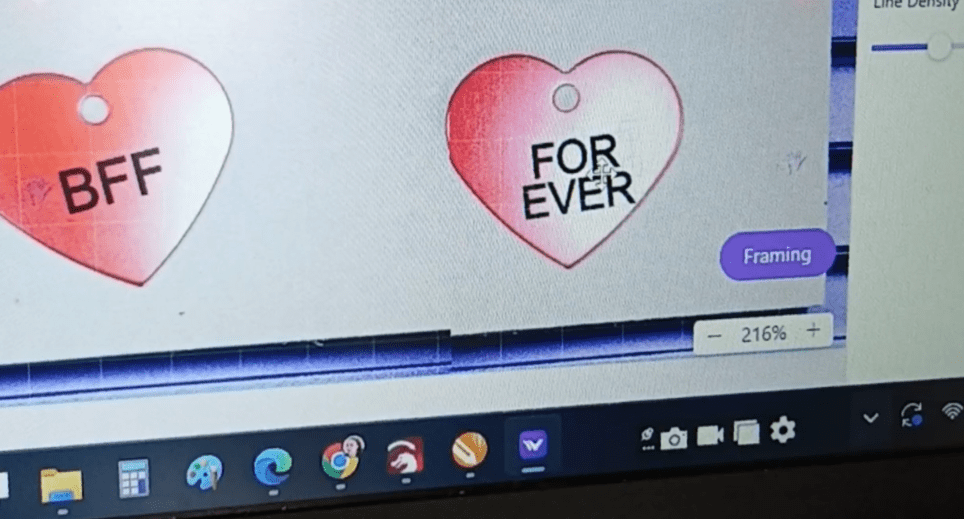
You never know what you’re missing out on, unless you check.
To a lot of us, there are some strange and unknown parts to a laser, but luckily, the more you use it, the more familiar you get!
Let me know what you do to maintain your laser in the comments!
I’ve also reworked my Patreon, so if you’d like to take this laser hobby of yours to a place where it is making you some serious money, I’d love to see you over there!
Happy Crafting!

Leave a comment