

Plus Free Easter Design Downloads!
10 Free Downloads Await! Sign up for Creative Fabrica’s All Access Free Trial and enjoy 10 free downloads to kickstart your creative projects.
✨ Supplies for Project
⇢ MDF Core Wood (Save 10% with Code: LASERLADY)
⇢ Laser Ready MDF (Save 10% with Code: LASERLADY)
⇢ Paint/Markers
⇢ Sharpie Oil Paint Markers
⇢ Wood Glue/Multi-Use Strong Glue
✨ FREE Easter Egg Sized Laser Cut Chick Toy
⇢ Layered Hen and Chicks Farm Scene SVG (Creative Fabrica)
⇢ Daffodils SVG Laser Cut Flower (Creative Fabrica)
⇢ Laser Cut Easter Egg Chick Pop-Out Toy Figure* (Below)
( *Pieces are a bit small, not recommended for babies & little kids as it could be a choking hazard ⚠ )
Making gifts and decorations for Easter (or any other holiday) doesn’t have to break the bank! With some cute and strategically sized projects from scrap material, we can make a holiday to remember! 🐰
➕ Subscribe to my YouTube Channel HERE
Finding Inspiration
If you’ve been with me for any length of time you will have heard me talk about Creative Fabrica. They are a great resource for laser files, or to just peruse and see what’s possible. And today, we are going to get some tasty free designs, plus I personally made you a free file, but more on that later.
Now, Creative Fabrica doesn’t sponsor me, so I can say crazy things like, make a free account, download what you can and cancel! If you find you like them, the subscription is pretty cheap and I do get a little affiliate award BUT feel free to take advantage of those free downloads! Wink, wink, wink, wink, wink.
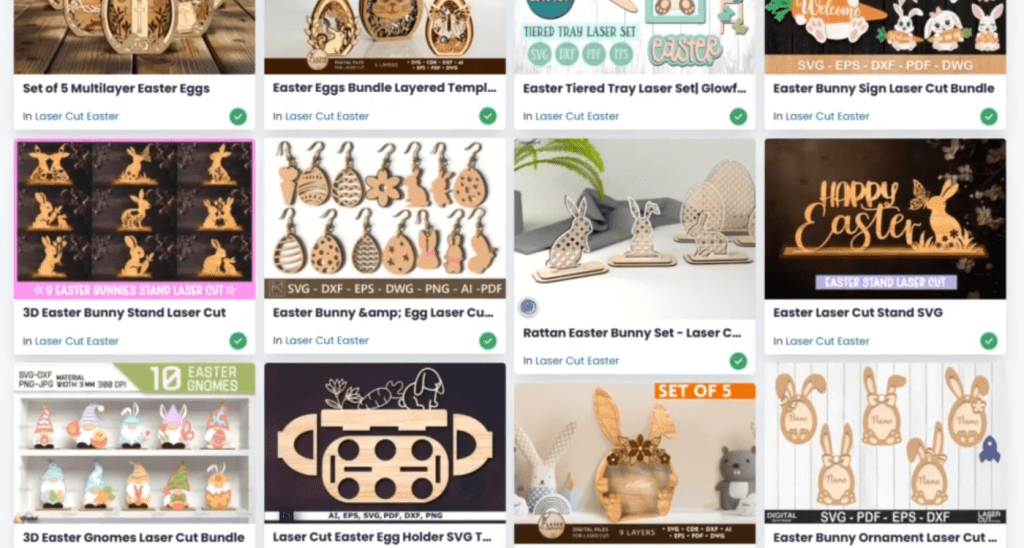
While I’ve been checking out Easter themed laser projects, I found some that are adorable and I think I could squeeze into some of my wood scraps I have laying around.
Let’s make a 2 layer Daffodil first!
Project 1 – Laser Cut Skinny Flower for Long Scrap Pieces
I’ve been making signs a lot lately, which leave me with some skinny scraps. These boards cost money, so you know I’m gonna use them up someway or another!
I usually separate “spent” boards into piles that I think I could make something else with. You can really get a lot of value out of pieces you might otherwise throw away!
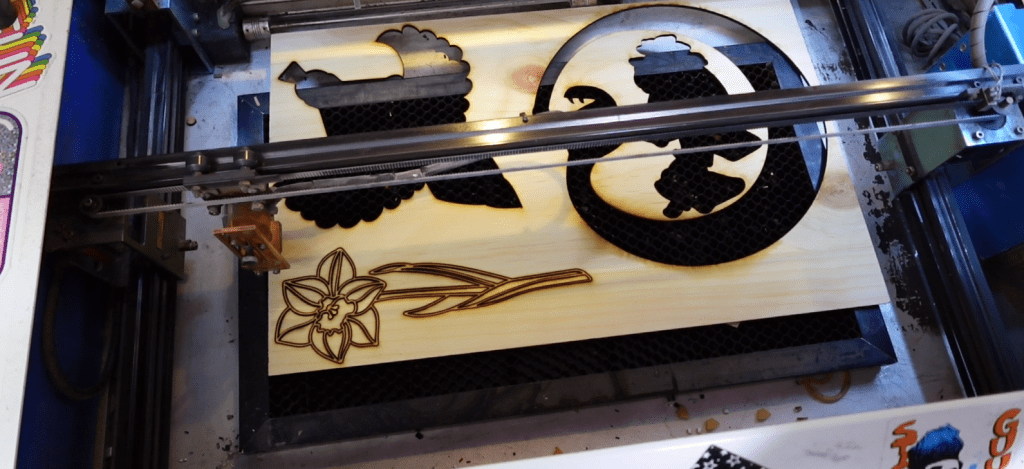
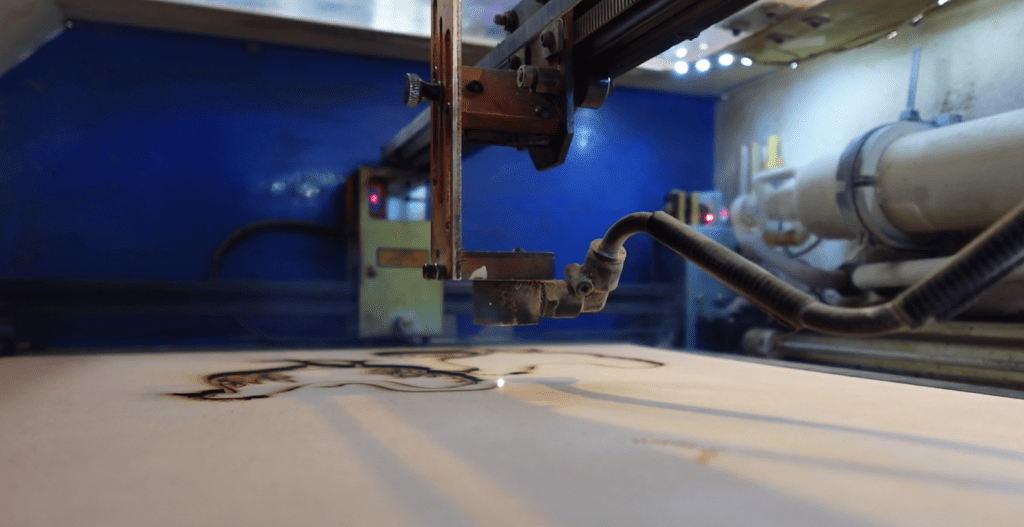
Now that this is all cut out, I want to show you the super unconventional way I plan on finishing this.
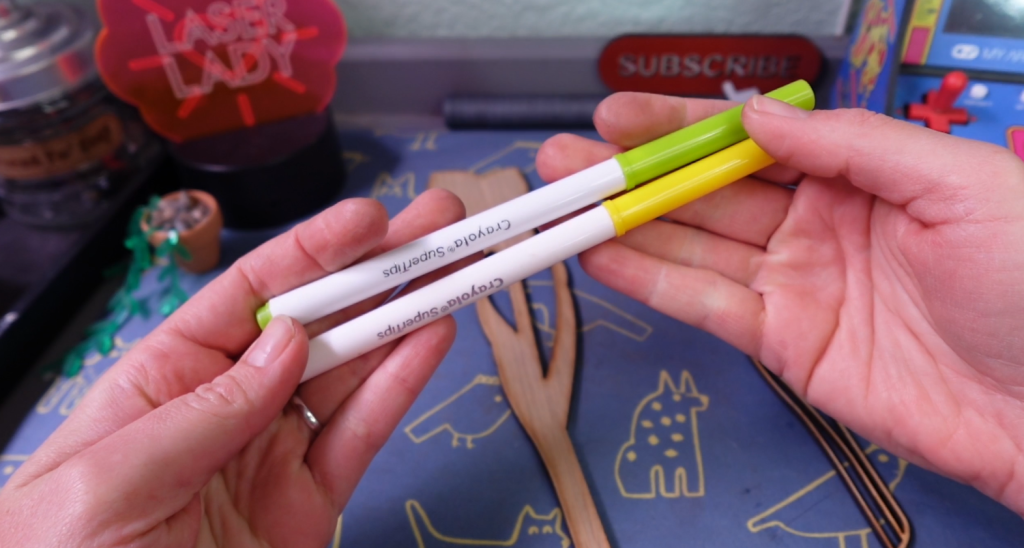
First, we sand. Very usual, not exciting. Next, let’s add some color! I almost guarantee you’ve never used this to color your wood projects!
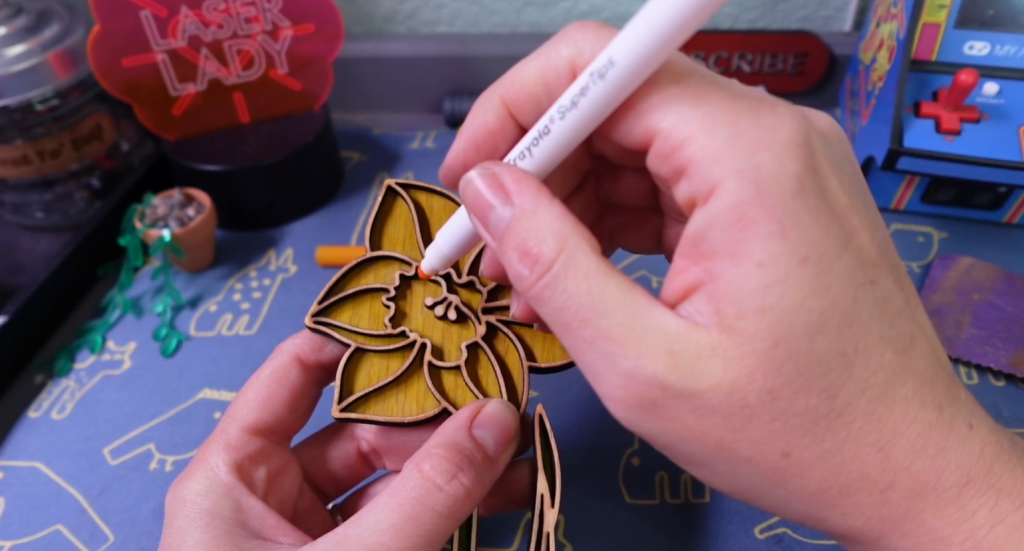
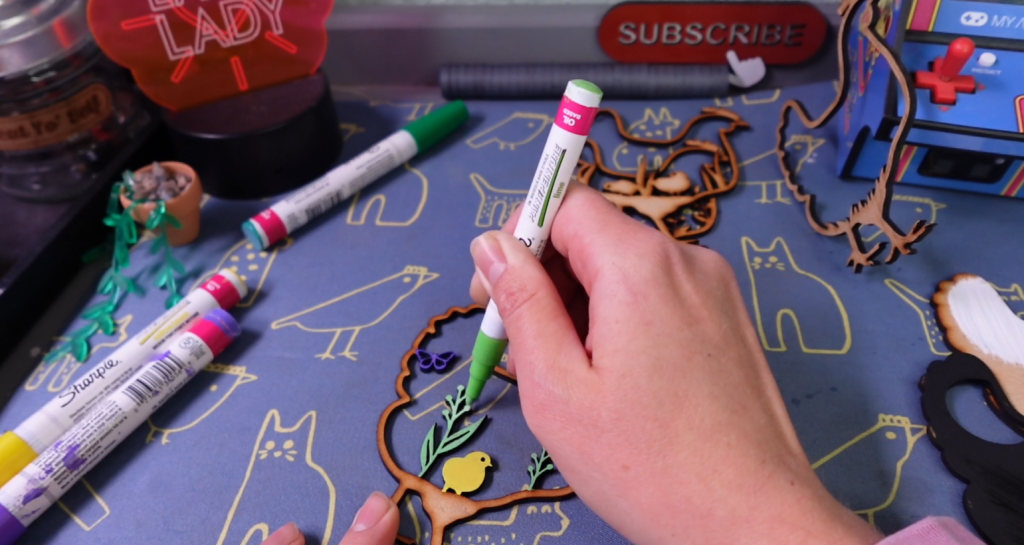
To keep the wood grain, I am going to color this Daffodil with regular ol’ markers! Don’t worry, I didn’t steal these from my kid, I got my own markers like a grown up.
I used the top layer to outline where a darker yellow could go in the middle. Luckily for the top layer, I don’t need to worry about coloring in the lines too much, as it will cover it up a bit.
Then, I just glue it together with my favorite Glue-All (not school glue) but I really need to try out some of the glues you’ve all been suggesting! Which glue would you use here?
I went ahead and gave it a spritz with some clear varnish spray paint and viola!
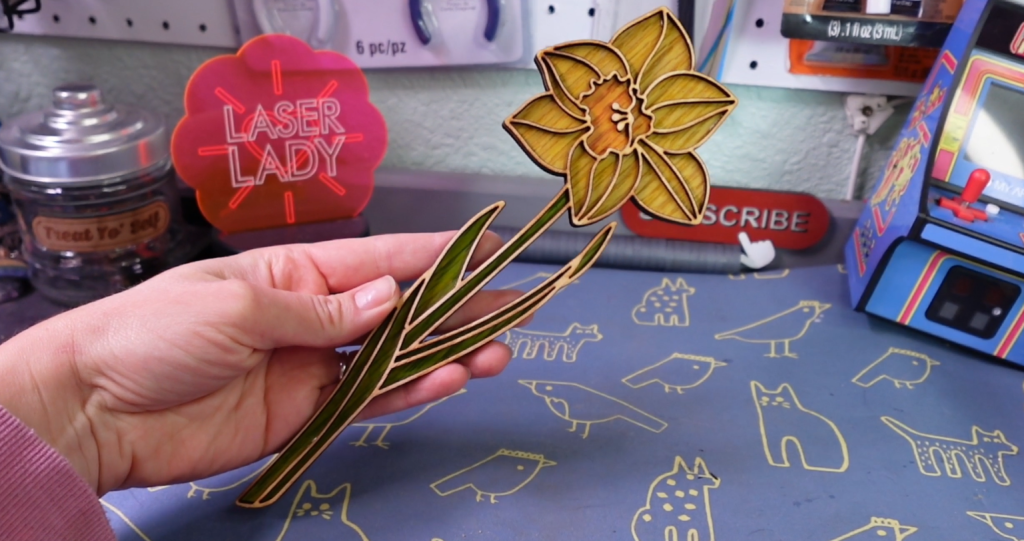
We just turned scraps into some of the prettiest spring time flowers ever! Mine real daffodils were the first to bloom this year! I’m a big fan!
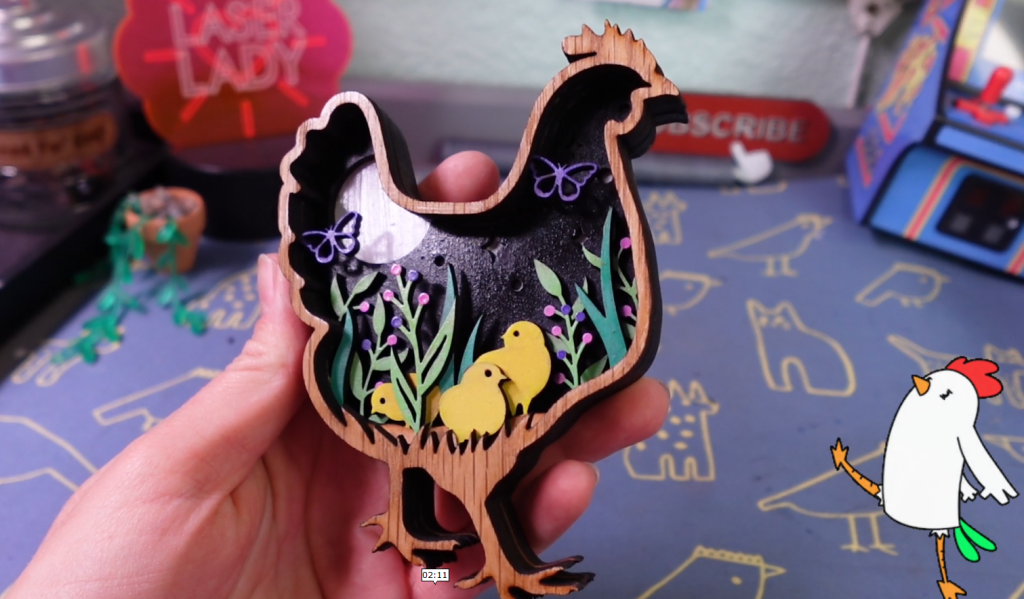
Project 2 – Laser Cut Easter Chicks in a Chicken Embedded Scene with Multi-Material Scraps
This next one is another Creative Fabrica download of the dang cutest chickens in an embedded style design.
I sized up this design to about 5″, so there are plenty of corners I can squeeze this little chicky into.
I am going to use up a few different materials for this one. For the inner pieces, I am using just some cheap MDF. Cut’s like butter.
For the top layer, I am using a fancy MDF Core White Oak Laminated Board. Ooo-lala. Since the next personally designed free file fit in the middle of this chicken, I blurred it out! You’ll see what that is very soon!
Once everything cut, I am going to paint them up with some Sharpie Paint Pens and regular craft paints. MDF loves to soak up paint, and we found some interesting ways around this in this article.
Once everything is dry, and glued, I spray painted that with a varnish too, and look at how freaking cute it is!
I have dreamt of owning chickens for years, and this is my year, y’all! I’ll be picking up my chickies soon, so be prepared for some chicken-related laser projects in no time!
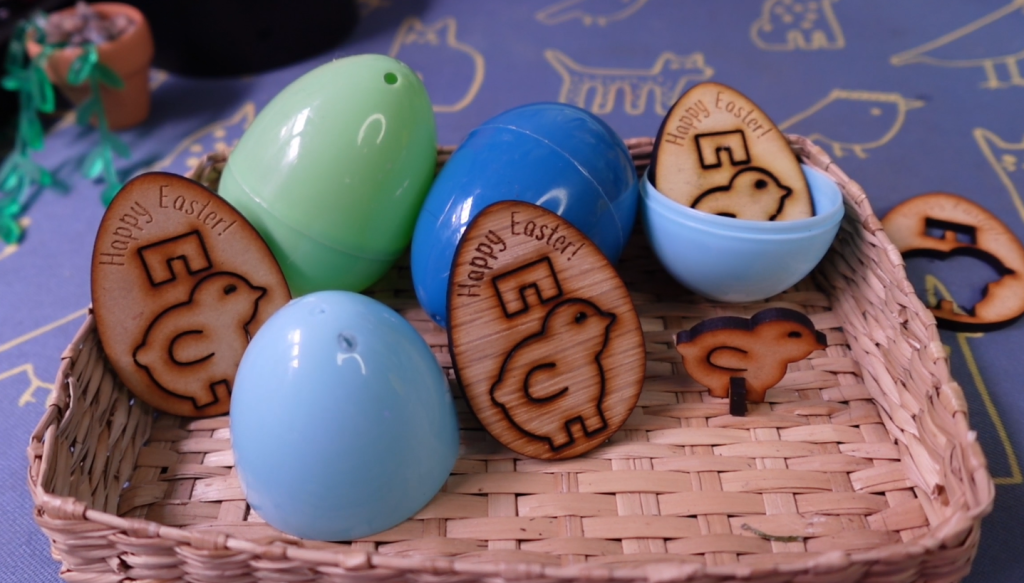
Project #3 – Laser Cut Easter Egg Chick Pop-Out Toy Figurine
Now for what we’ve all been waiting for! I designed these little Easter Egg Pop-Out Chick Toys to not only fit into those traditional plastic Easter Eggs, but all those awkward leftover scraps, as well!
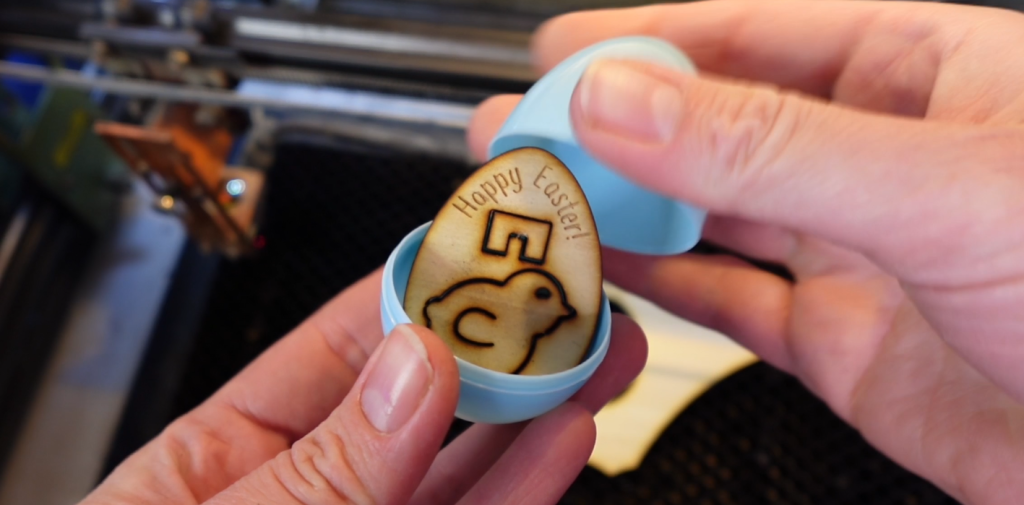
These are pretty self explanatory! You can just pop out the little chickie and put it on it’s base. It’s a simple toy for kids old enough who won’t try to eat it.
You can squeeze one of these little egg toys in corners, inside bigger hallow pieces, like we just did, and anywhere they will fit!
Usually, I would say use up those scraps with jewelry charms, and of course you should! I just wanted to design a cute little gift you can make for your Easter Egg Hunt!
If you are anything like me, you don’t throw away your scraps. Materials cost money, and there is always something you can squeeze out of every last laser-able material.
What do you like to do with your scraps?
If your materials are a bit thicker or thinner than standard 1/8th thick, you can learn how to alter that free pop-out chick toy with this easy tutorial.
Happy Easter!
Sign up for Creative Fabrica’s All Access Free Trial and enjoy 10 free downloads to kickstart your creative projects. Plus they’re having a Subscription Sale, so check it out!

Leave a comment