

Celebrate Easy Product Profits! 🥳
10 Free Downloads Await! Sign up for Creative Fabrica’s All Access Free Trial and enjoy 10 free downloads to kickstart your creative projects.
✨ Supplies for Project
⇢ CO2 & Diode Laser Compatible Acrylic & Wood (Save 10% with Code: LASERLADY)
✨ Program – Inkscape

Everybody has a birthday! Making custom Cake Toppers is a great way to make some money with your laser! Plus, it’s super easy with a free program called Inkscape!
In this tutorial, you’ll learn everything you need to know to get the party started!
➕ Subscribe to my YouTube Channel HERE
Font Choice
The first thing you need to consider when making a custom cake topper is which font you use?
To make a one color, one piece cake topper, it is easiest to use a cursive handwriting style font. However, some of those have super duper thin parts, that will make your laser cut piece much too fragile.
Here on dafont.com, you can find a bunch of free fonts to suit your cake topping needs!
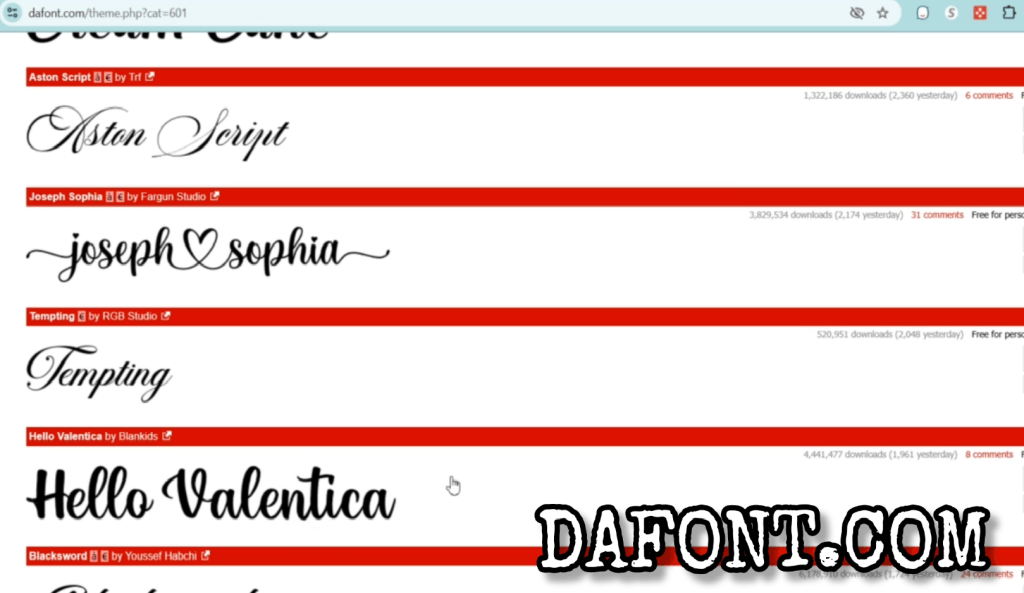
For this tutorial, I am going to use a font called Lakesight for it’s thick cursive look and Komika Axis, for the comic book appeal.
Combining Letters into One Piece to Cut with a Laser
The first thing we need to do is open up Inkscape and type out the message we want our cake topper. In this case, let’s start with Happy Birthday!
The type tool is on the left-hand side and looks like a capital A.

Click that and select which font you want in the dropdown menu in the upper left corner.

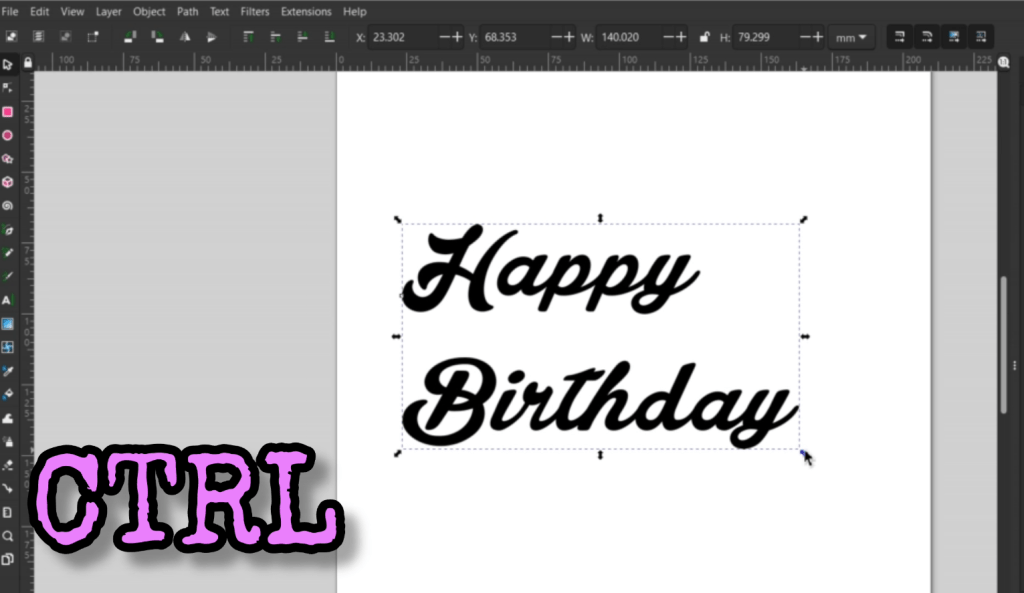
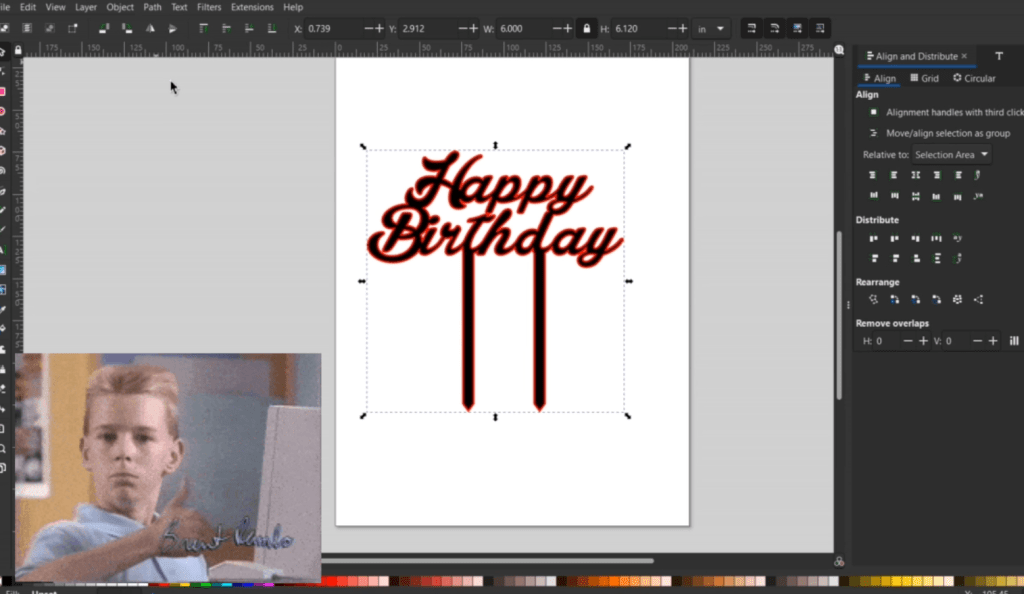
Using that Lakesight font, I type out Happy Birthday! Now let’s get straight to the magic!
I select the arrow on the very top of the left-hand bar and select the words. To make the words bigger, you can drag out one of the arrows in the corner while holding CTRL to keep the proportions.
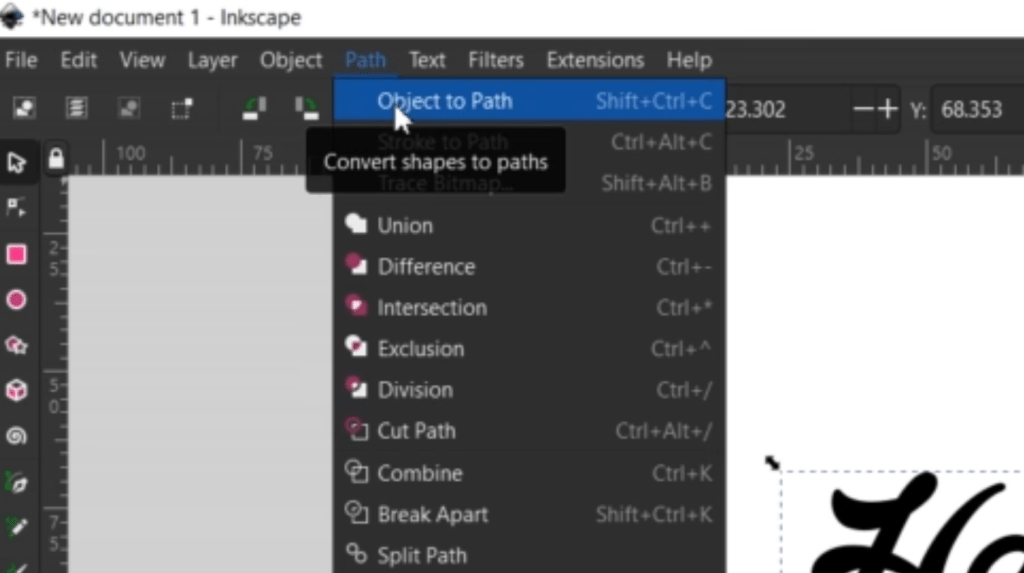
While selected, go up to Path -> Object to Path.
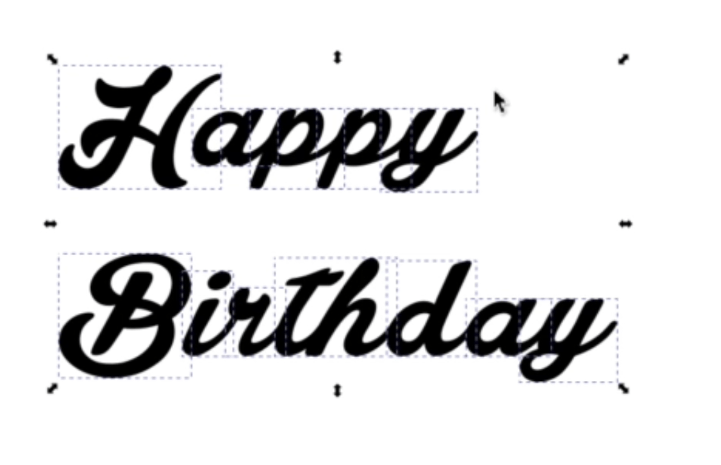
Next, go up to Object -> Ungroup. You can also right-click and find ungroup on that menu or press CTRL + SHIFT + G.
Now all the letters are in their own box, which means we can move them around individually.
I want them to overlap, so they are all one piece. This “i” in Birthday needs to be separated further so it is connected to something. To do this, select the “i” and go up to Path -> Break Apart.

Now, we can move the dot over.
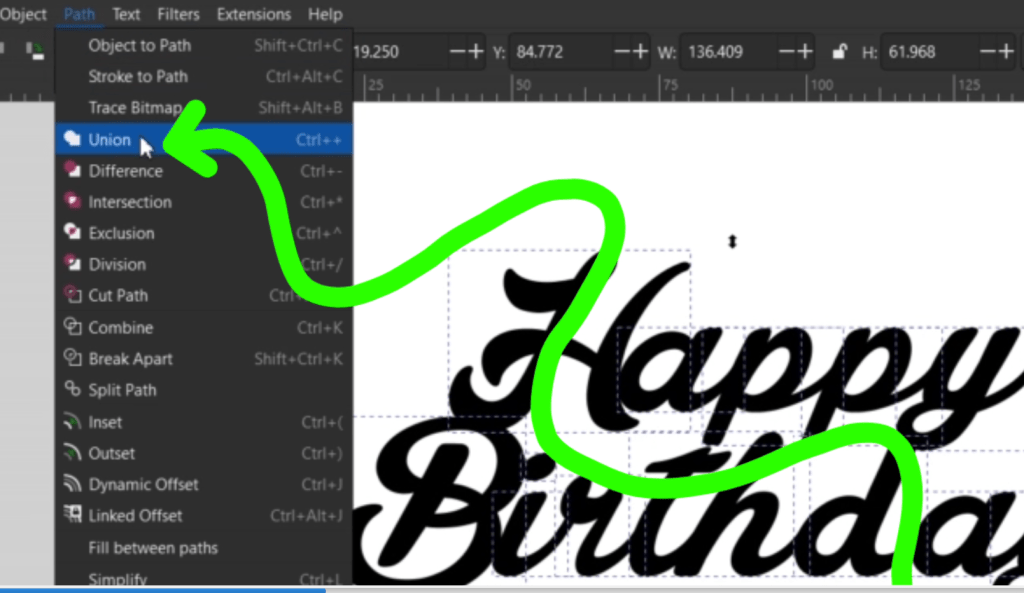
Once everything is overlapping and looking nice, select everything together and go up to Path -> Union. Now it’s all one shape!
To see the where your cutline is, hold the SHIFT key and select a color in the bottom color bar. Otherwise, you can fine-tune your lines by going up to Object -> Fill and Stroke. This will pop up a detailed menu on the right hand side.
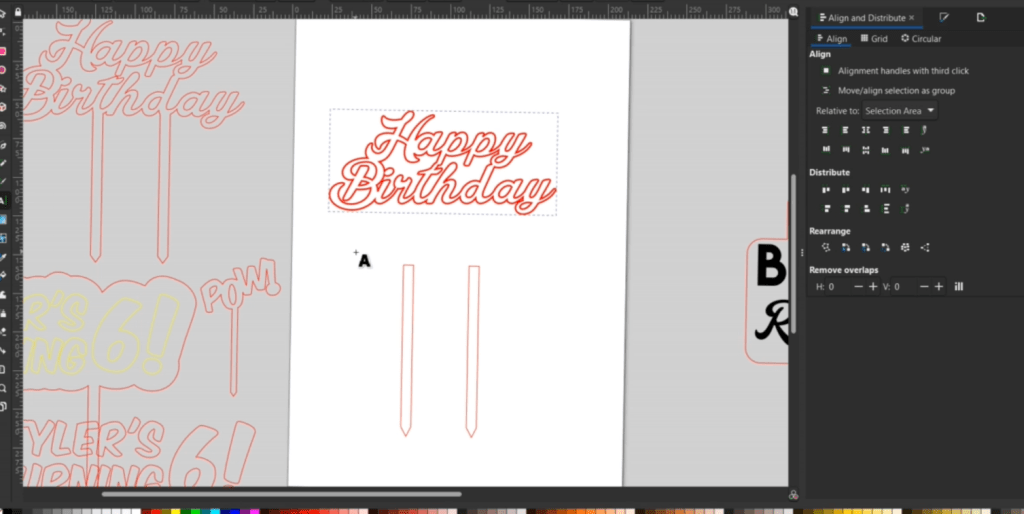
Now we need to make some stakes to hold this into the cake!
Draw out a rectangle with the topmost square shape in the left side bar.
You can change the exact measurements on the top horizontal bar beside the W and H. Be sure to select the right measurement type.

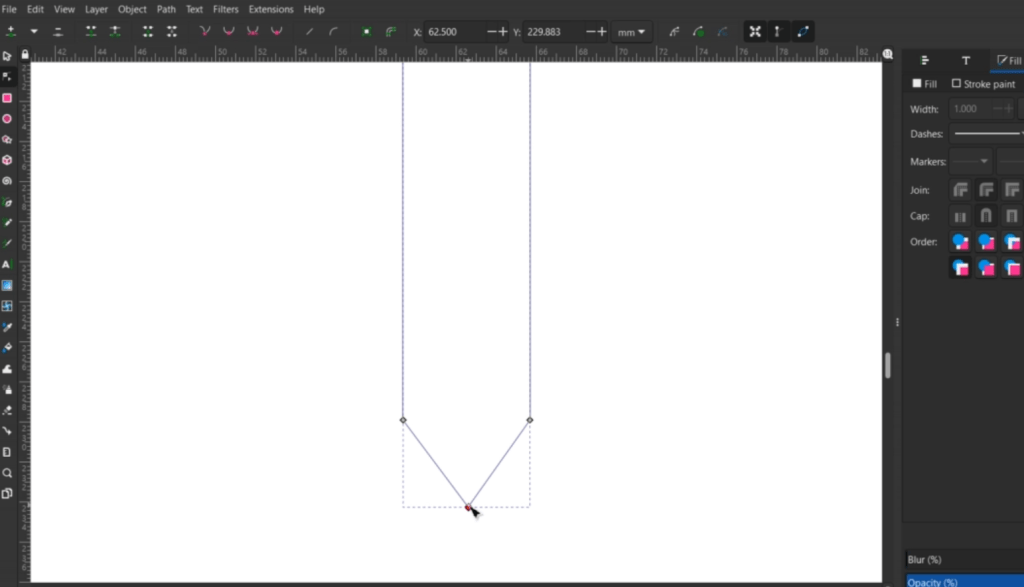
While the rectangle is selected, go up to Path -> Object to Path. Now when you double click it, you see these nodes.

To make a spike double click the line to make a new node and drag it down.
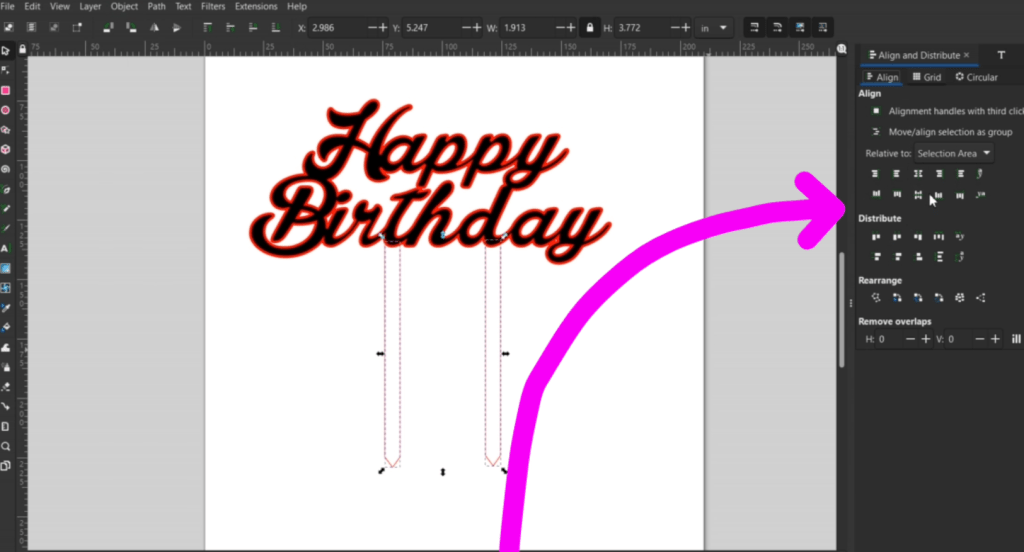
Whether you need one or two spikes depends on how big your cake topper is. To align these spikes, go up to Object -> Align and Distribute to find the align buttons in the right hand bar.
Once they are in place, make sure everything is selected together and, you guessed it, go up to Path -> Union.
One thing to note, if the Union function isn’t combining everything, make sure nothing is grouped together. So long as all the pieces are ungrouped, the Union function should work.
So, there is our basic cake topper! For the next one, let’s make a 2 layer custom cake topper!
How to Make a 2 Layer Custom Cake Topper
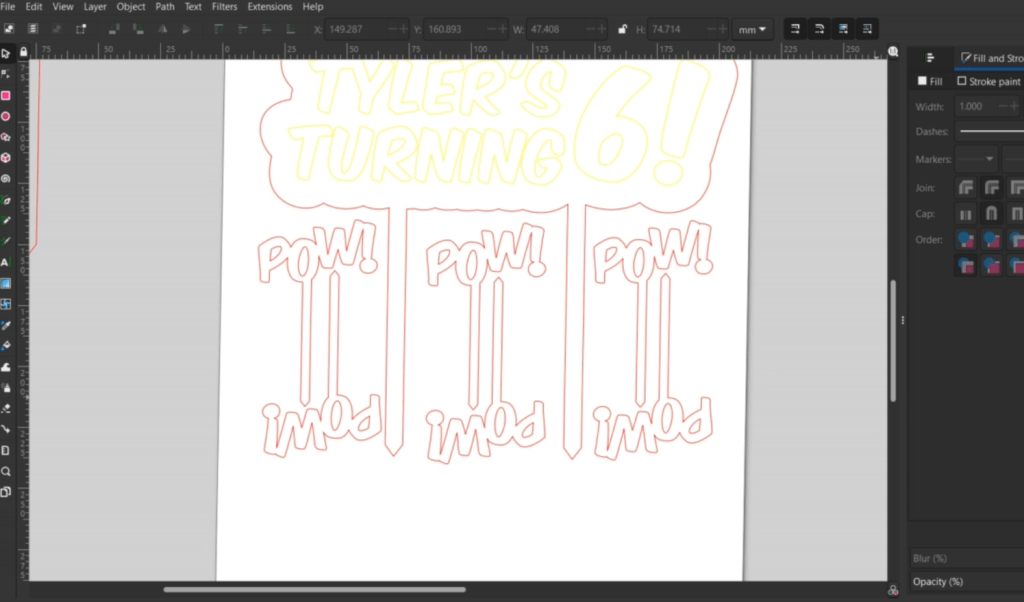
This time, the font isn’t all whimsical, so we need to outline the words.
Go through the usual font transformation by going up to Path -> Object to Path and then Ungrouping them.

I fiddle around with the look, and when they are looking good, let’s get it ready to outline.
So, even though these letters aren’t overlapping, let’s select everything and do the Union function for them. They will now operate like one big object.
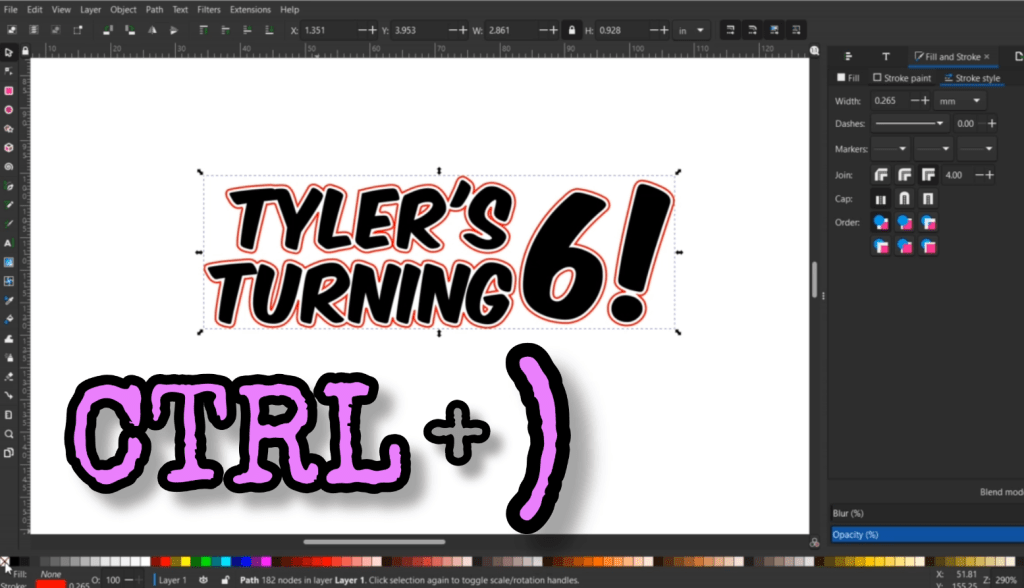
Next, while it is selected, let’s make a duplicate. To do this, hold and press CTRL + D. It will have made a copy right on top of itself.

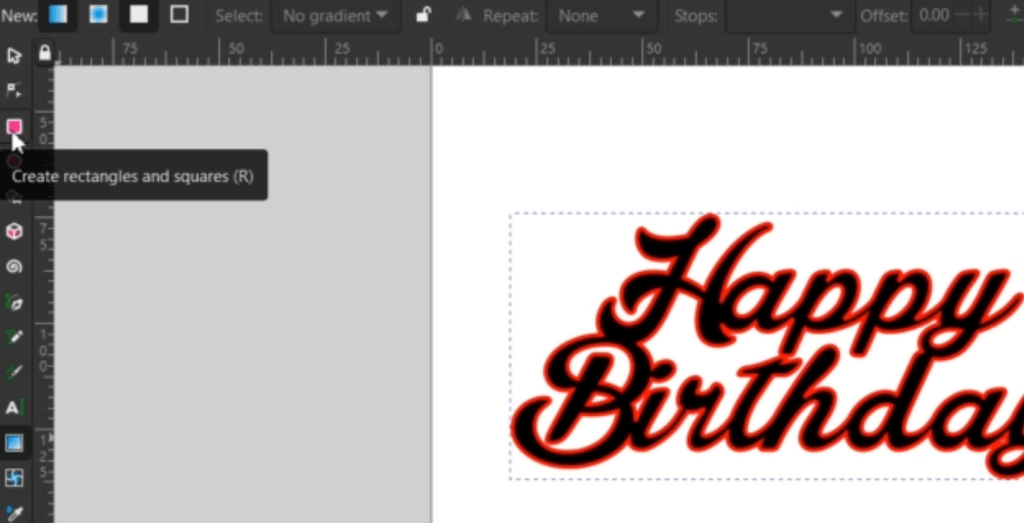
While selected, let’s outline it with red by holding SHIFT and selecting red, and clear out the black fill by selecting the left-most white box with the red x. It’s hard to see, but trust the process.

Now, you can go up to Path -> Offset or, what I prefer, hold the CTRL key and tap the right ) key until the outline is the size you’d like.
There are some shapes on the inside of the outline. To get rid of these, have the outline selected and go up to Object -> Break Apart. Now you can delete those.
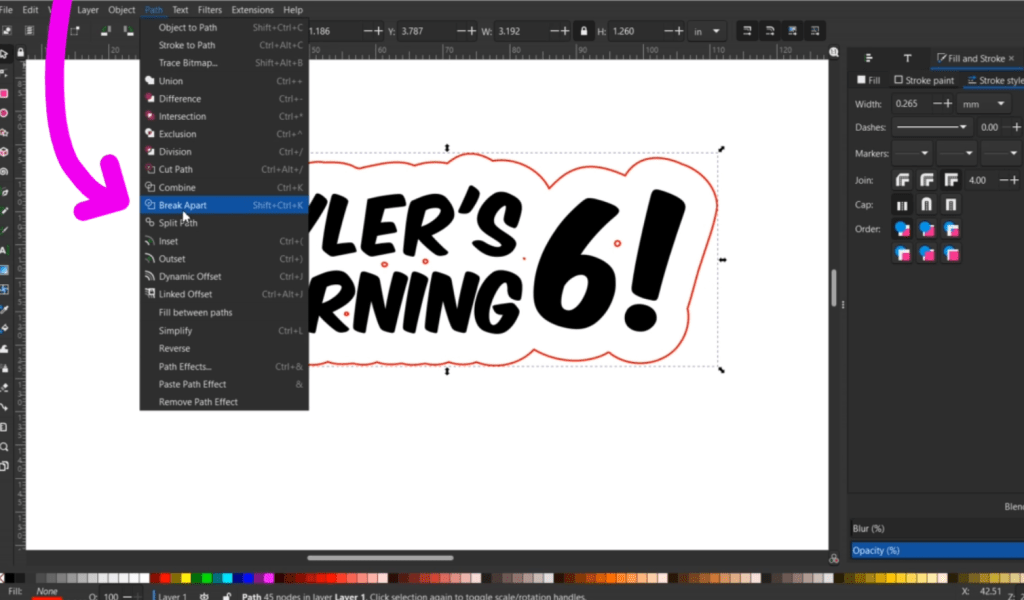
I just need to get this to size. This alternatively could be engraved, or turn those inside letters into cut lines for your laser machine program.
We just need to put some stakes on the bottom using what we went over in the last segment.
Now we can send it to the laser! But first, let’s make a quick cupcake topper so we don’t waste any material.
Those stakes can make fitting these cake toppers on your acrylic or wood difficult.
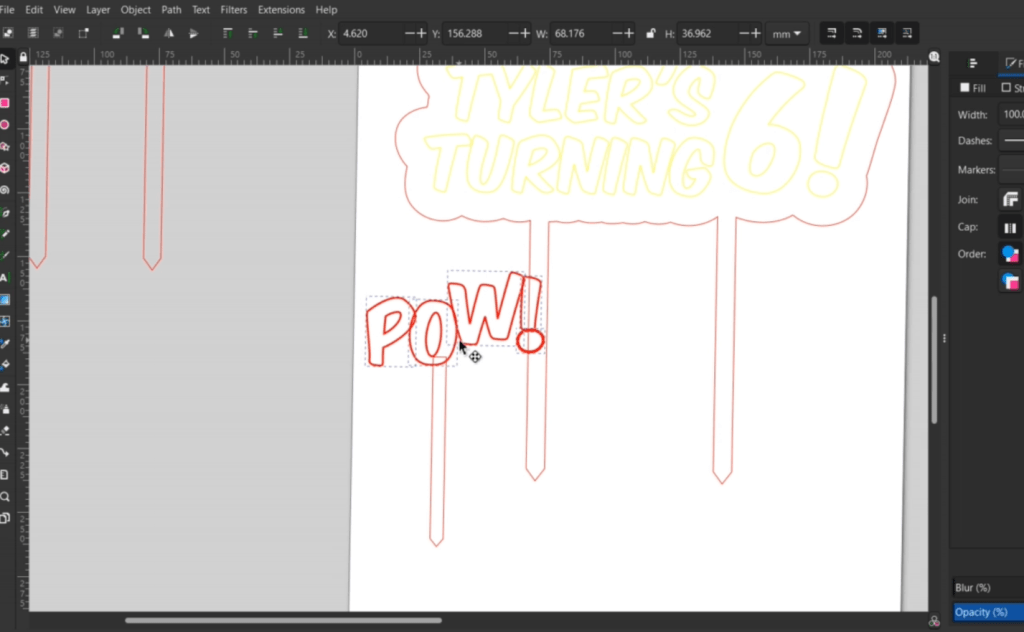
Instead of wasting the material around the stakes, offer a few cupcake toppers to fill up that space!
Once you get the hang of these functions, it just gets easier and easier!
To make it the most profitable, let’s talk about making a template!
Why You Need a Custom Cake Topper Template
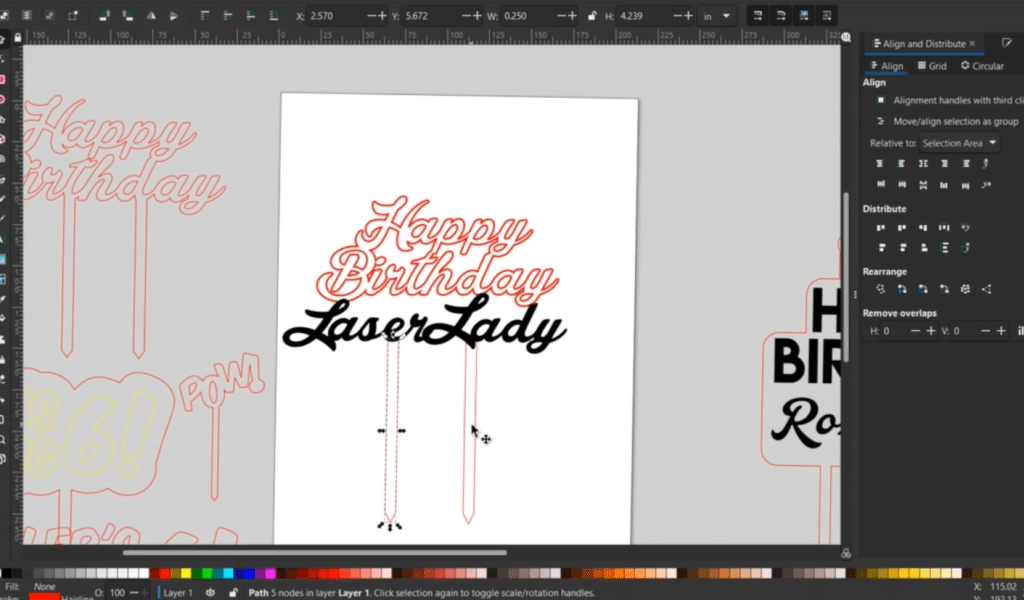
To make a template, pretty much all you need to do is have an idea in mind, and make it – well, mostly.
Some people might be looking for very elegant designs for adults, or cutesy designs for kids. And, don’t forget about the animals! Pet specific cake toppers aren’t something I’ve seen a lot of, so you might want to look into it!
Once you have some sort of template, all you need to do is go through these simple steps!
Type out the name, move around the letters and make it all one laser-able shape with the Union function!
Even if your design isn’t super mind blowing, you can really zhuzh it up with exotic acrylic and wood! I’m always shopping around Craft Closet for their massive collection.
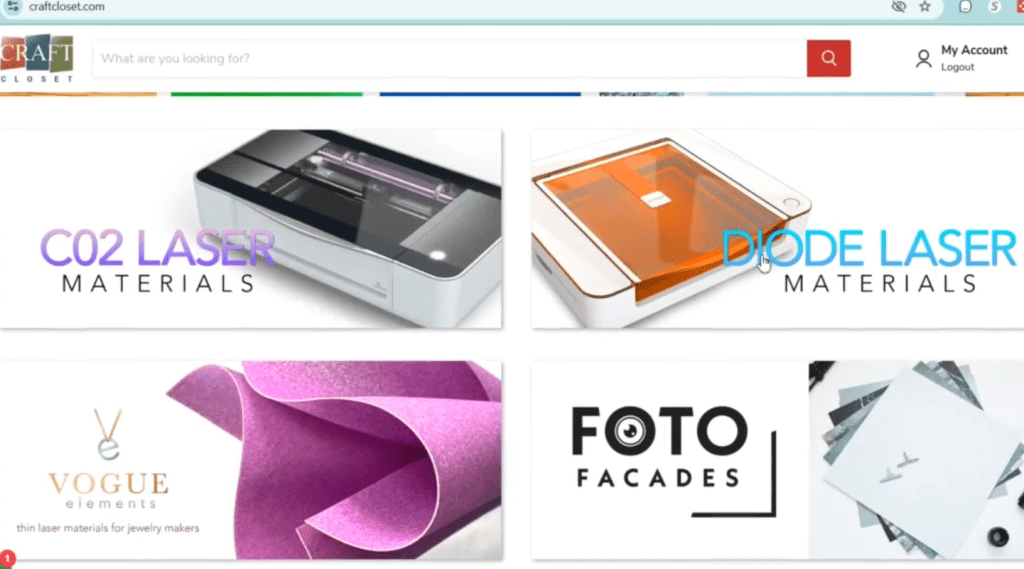
If you are working with a Diode laser, don’t fret, they have a whole separated catalogue of Diode Compatible Materials. Don’t feel like you are stuck with black acrylic or plain wood, because you aren’t! Save 10% with Code: LASERLADY
Making cake toppers is a quick and easy craft to add to your laser business wares! If you’d like to see how many products I was able to make in just one hour, check out this article next!
Happy Crafting!

Leave a comment