
Impress Your Trick-or-Treaters with these Laser Cut Crafts!
✨ Supplies for Project
⇢ Acrylic & Wood (Save 10% with code: LASERLADY)
⇢ MDF (Save 10% with code: LASERLADY)
⇢ Gorilla Duct Tape
⇢ Tape Glue Dispenser
⇢ Chevron Paper Goodie Bags
⇢ Small Marker Packs
⇢ 3M Double Sticker Paper
☄️My Lasers
⇢ Monport Reno 45w CO2 PRO (Save 11% with Code: LaserLady11)
⇢ WeCreatVista (Save $50 with Code: LASERLADY)
⇢ WeCreat Lumos (Save $80 with Code: LASERLADY)
✨ File Downloads
Trick or treat! Halloween is my FAVORITE holiday of all! But this year, instead of contributing to your dentist’s next vacation, let’s skip the cavity causing sugar treats and make some unique, unforgettable goodies that are completely safe for kids 5 and up! They are ridiculously cheap to make and fast to cut. The best part? I went ahead and made all the files you need for you FOR FREE, so go ahead and download those, along with the supplies list, and let’s get those lasers fired on!
Subscribe to my YouTube Channel HERE
There are 2 things to note with these designs! One, is that they are for older kids who aren’t going to chew on these. So, for little babies, or slobbery toddlers, go ahead and give their parents a piece of candy or two, cuz let’s face it – the parents are the ones eating all that candy. And secondly, since we are dealing with children, make sure the materials you choose are safe for kids. If you find a sharp edge on something, be sure to file down anything down that could give a splinter. Safety first, as always.
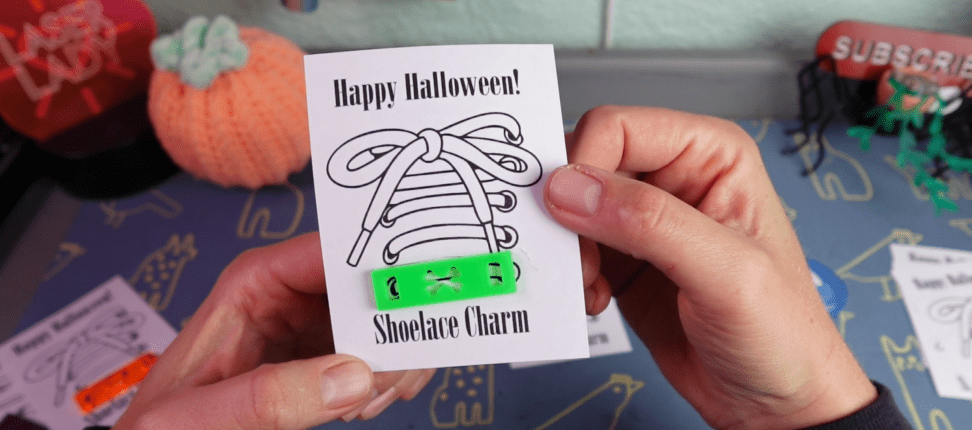
1 – Halloween Shoelace Charms
It just takes one popular kid to make something cool throughout the whole school, and you could help the trend setters of your community by introducing some eye-catching shoe accessories.
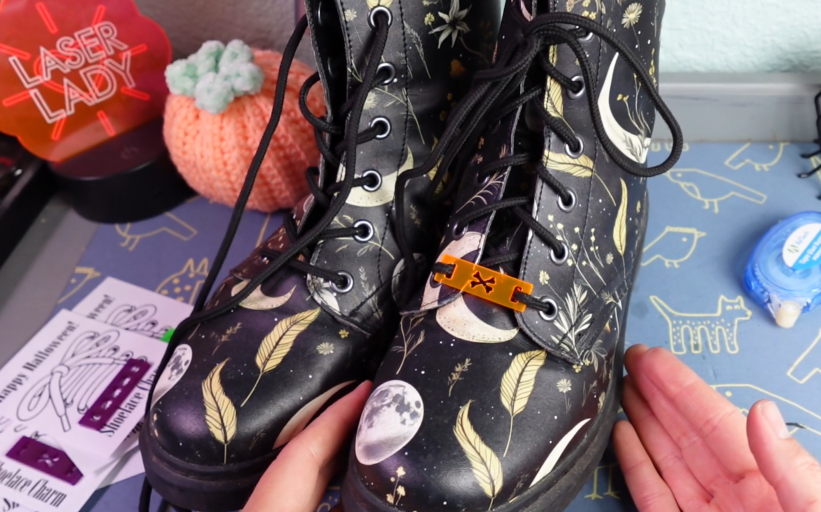
I made these Shoelace charms in 3 styles. We’ve got ghosts, bats and bones!

You could easily make these out of either mdf, wood, or my favorite – acrylic.
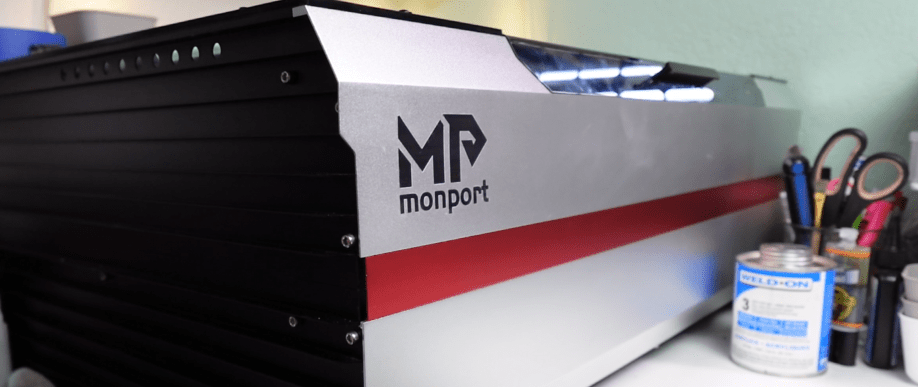
Utilizing my new Monport 45W CO2 Reno Pro laser, we can cut through acrylic like butter. And, with acrylic you can get some basic, super inexpensive colors, that you can quickly cut, peel off the masking (gorilla duct tape helps wonders), and they are just about ready!
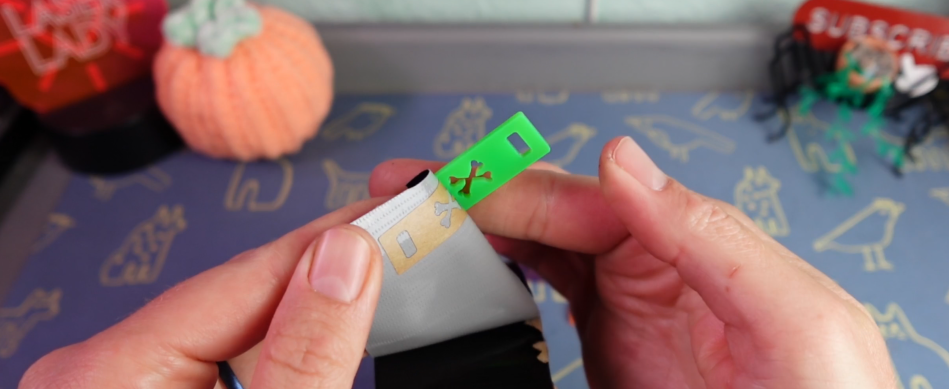
As a bonus, cuz you know I’m here for ya, I also made these printouts to display the shoe charms. This helps people get what they are and adds to the perceived value of this treat! I just used this double-sided tape, or you can do a good ol’ tape loop, to hold it in place. It’s easy to peel off and put on your cool kicks!
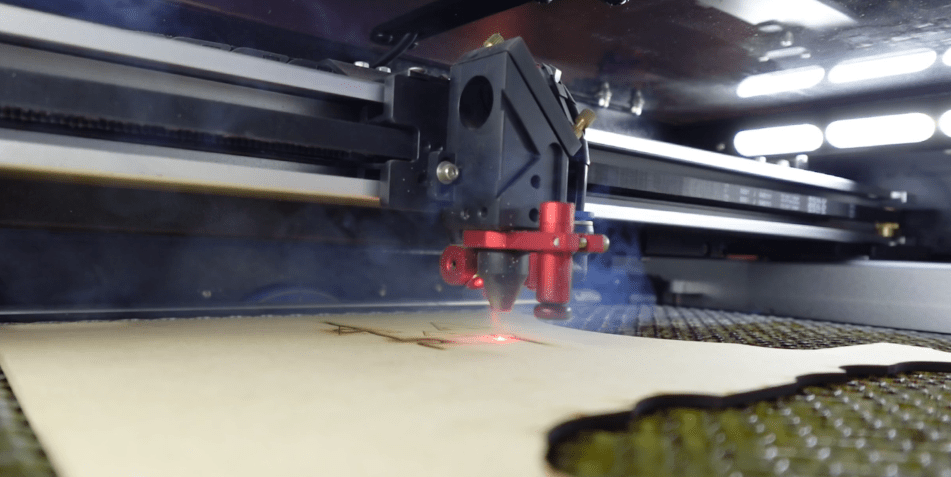
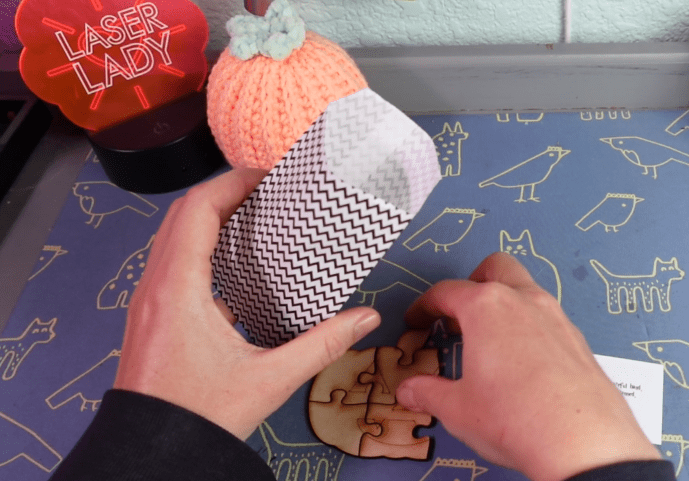
2 – MDF Puzzle
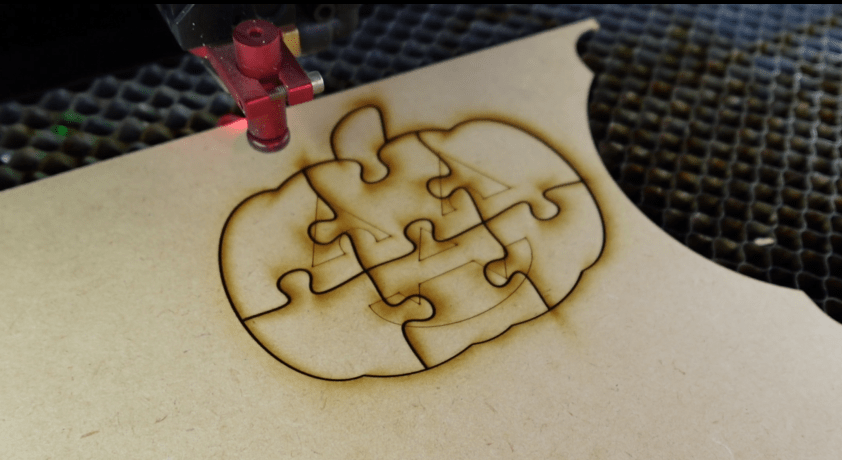
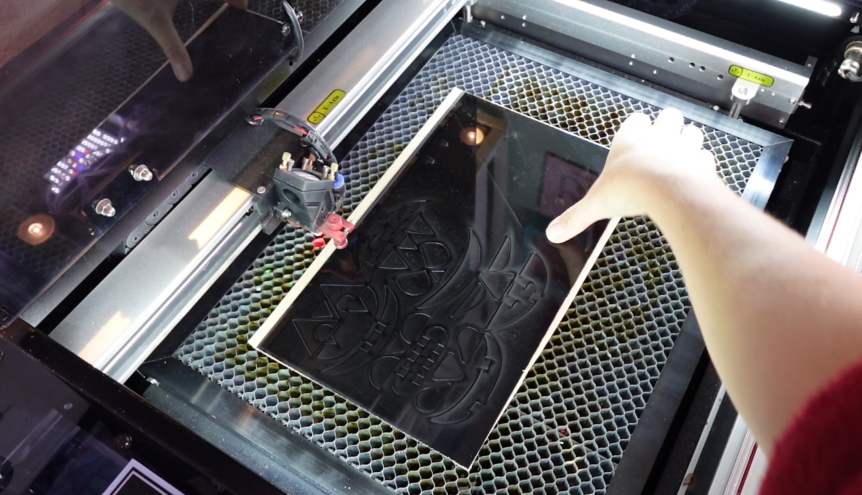
Puzzles! A tried-and-true classic laser craft! The one I have created for you is Jack-O-Lantern shaped! The puzzle pieces are on the bigger side, so kids won’t choke on them, at least not very easily. That’s why it’s important to hand these out to age-appropriate kiddos.
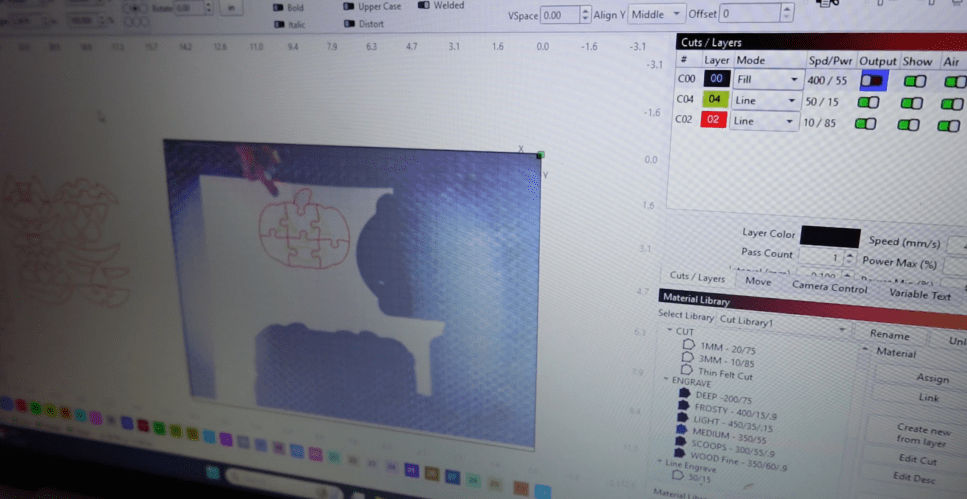
You can either engrave that or set that color to “line engrave” to save on time. A line engrave is essentially a super low-level cut line not meant to cut through.
On my 45W Monport, the setting for this is working well at 50mm per second for the speed and 15% max for the power. Of course, your laser and laser programs might require other settings.
I recommend MDF for this. Not only is MDF super inexpensive, but it’s a kid friendly material.
They are not very hard puzzles, but as you may know, most puzzles come with a reference picture! But! Instead of a picture, I made these fun riddles cutouts so the kids can figure out the shape they need to make!
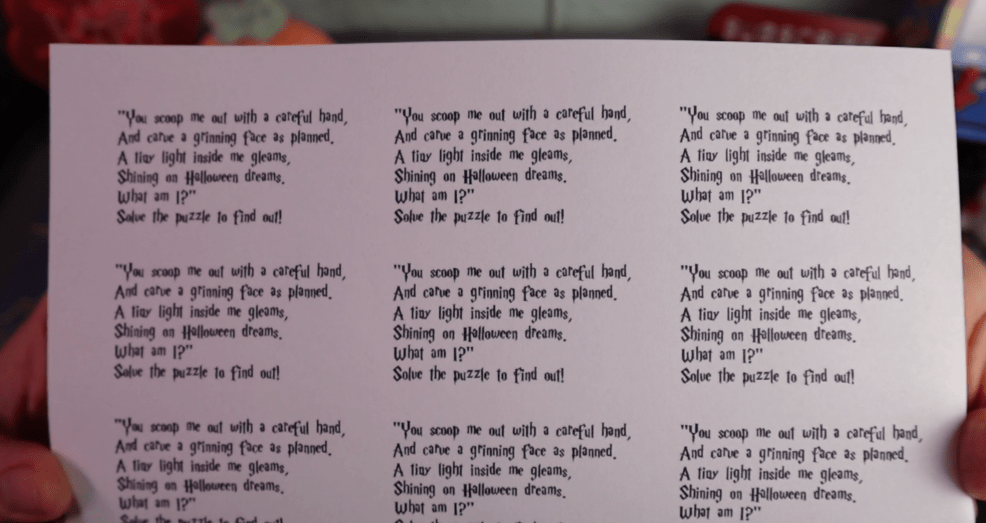
The Jack-O-Lanterns riddle says,
“You scoop me out with a careful hand,
And carve a grinning face as planned.
A tiny light inside me gleams,
Shining on Halloween dreams.
What am I?” Solve the puzzle to find out!
I just put all these in a little bag, and they are ready to go!
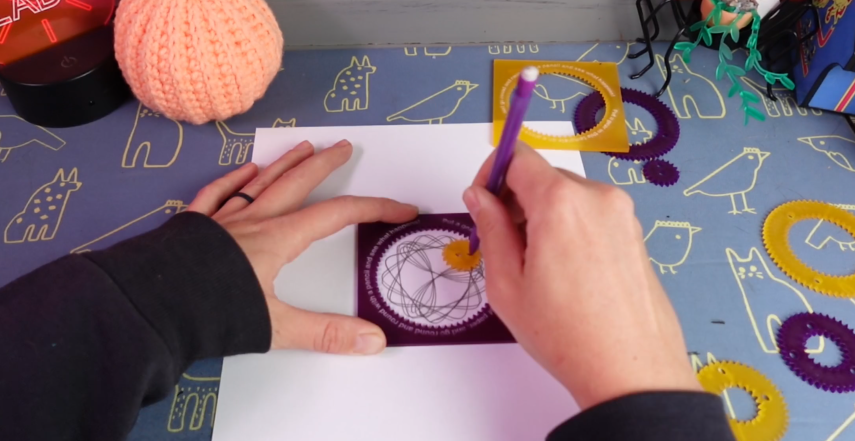
3 – Squiggle Stencil
Most people would call this a Spirograph, but I’m gonna keep calling a Squiggle Stencil! These are great!
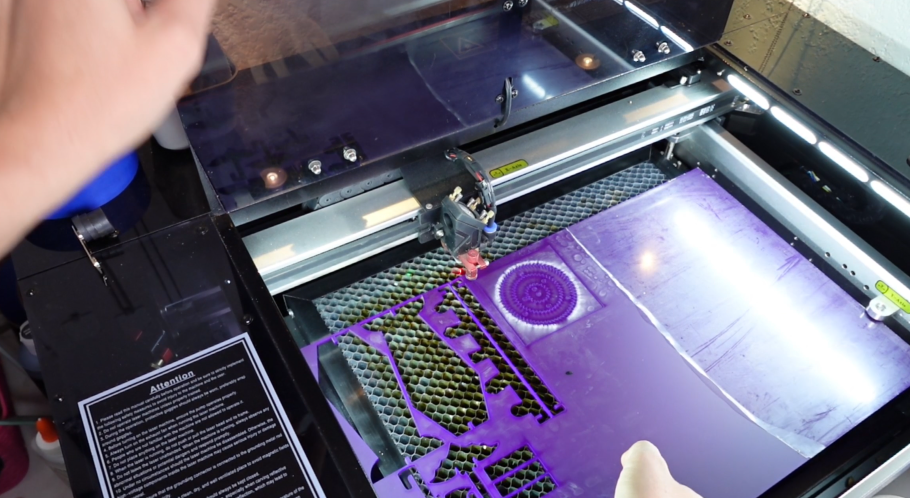
They are classic fun, and I just don’t see kids playing with these the way I did back in the day. The best part is that we can cut a whole bunch out and mix and match the colors and sizes!
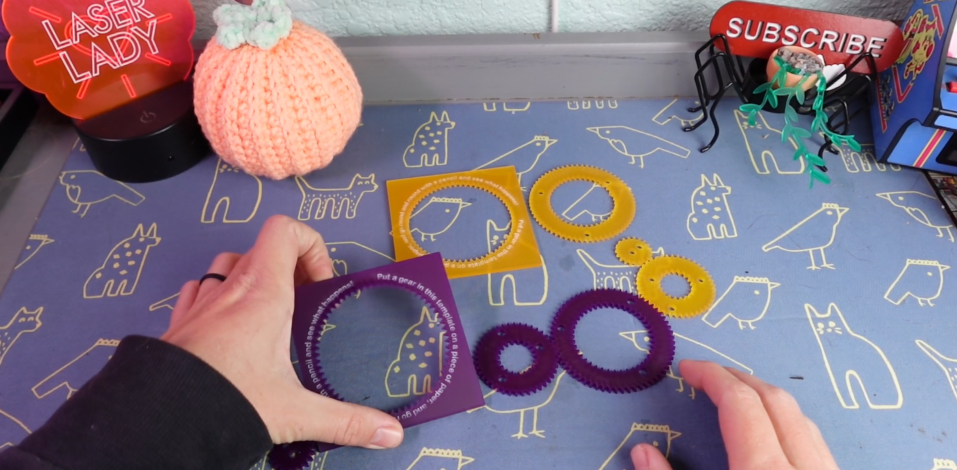
These gears could easily be cut out of wood, but I am going to use some Halloween color acrylics. There is text on there that you can skip out on, to save even more time!
Again, using some super strong duct tape, will get all the masking tape off. You might be able to find some fun pens or pencils in bulk, or even a little notepad to pair along with these at a place like the Dollar Tree.
Put them all in a bag, and they are ready to go!
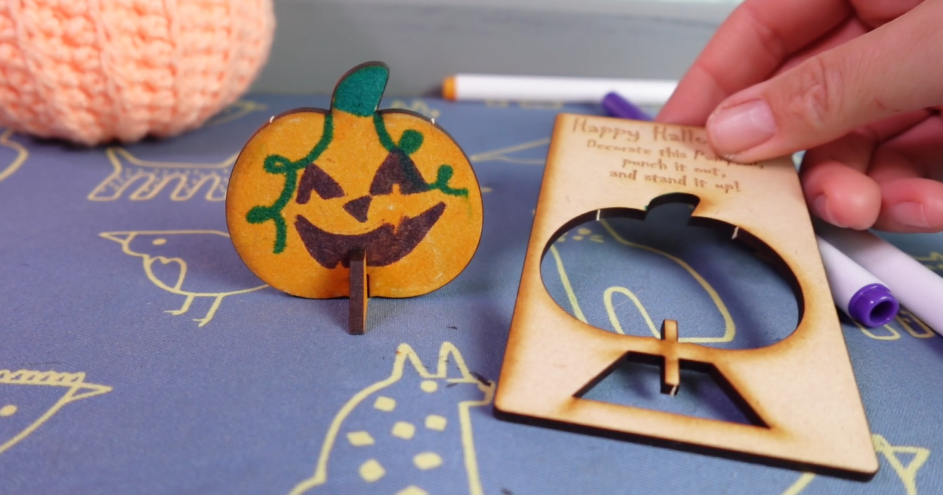
4 – Pop Out Playset
These are some of my favorites to design! I made a little chick for Easter this year, so let’s do it again, but for Halloween!
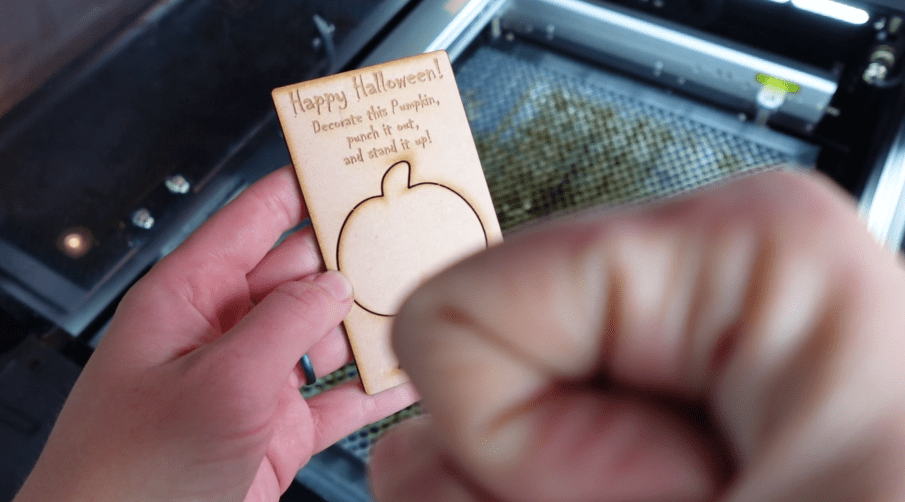
I went for a pumpkin shape. I recommend MDF over plywood to minimize the possibility of splinters when the shapes are punched out. There are instructions on these pop out playsets to decorate like a Jack-O-Lantern!
Again, I’m going to use a line engrave instead of a fill engrave to save on time.
Do test these on the materials you plan on using as the measurements may need to be altered. I do have an Inkscape tutorial on that, should you need it!
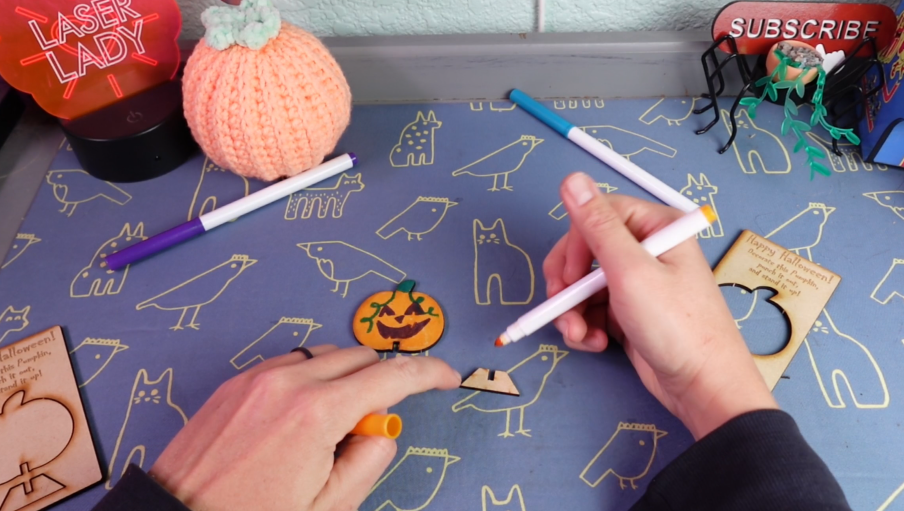
Just like the last one, if you can get your hands on some markers, that would pair well with these.
It would be easy enough to have a nice stack of these ready to go by time the trick or treaters come to the door!
5 – Jack-O-Lantern Face Stickers
I am the most excited for this one! The set up is quick and the materials are cheap!
We can make pretty much any material a sticker with a sheet of 3M sticker paper! I will have a links for everything with the laser file downloads.
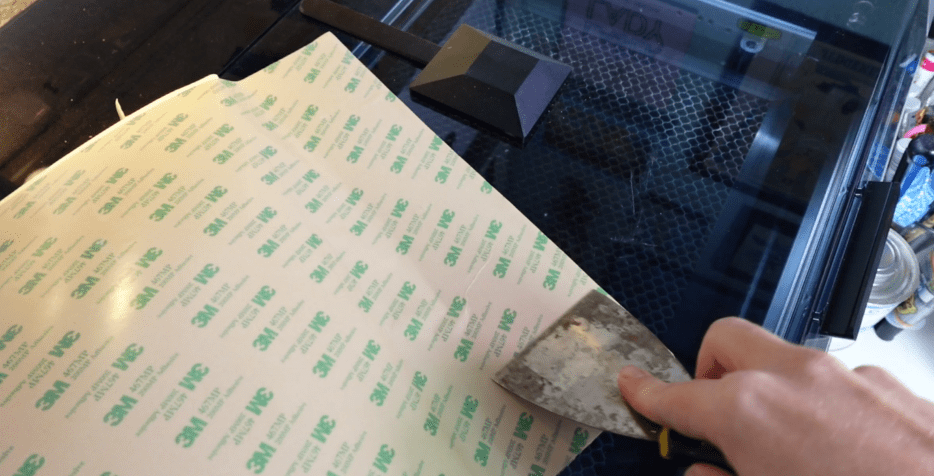
I am going to use 1/16th (1mm) thin black acrylic, which is super inexpensive, and we are going to get a LOT of Jack-O-Lantern face pieces out of it! Plus, since it’s so thin, it cuts out quickly. A diode laser should be able to cut through this type of acrylic, also, but if you want to use thin wood or MDF, the 3M paper will work on that, as well!
I’m actually going to take off the masking on the opposite side. The acrylic won’t be perfectly polished, but I’m sure your neighborhood kids won’t mind. This will save us on time trying to peel all these pieces.
There’s a printout for these, as well! I think I’ve got everything you need for Halloween this year! Don’t forget, these are all available for download above!
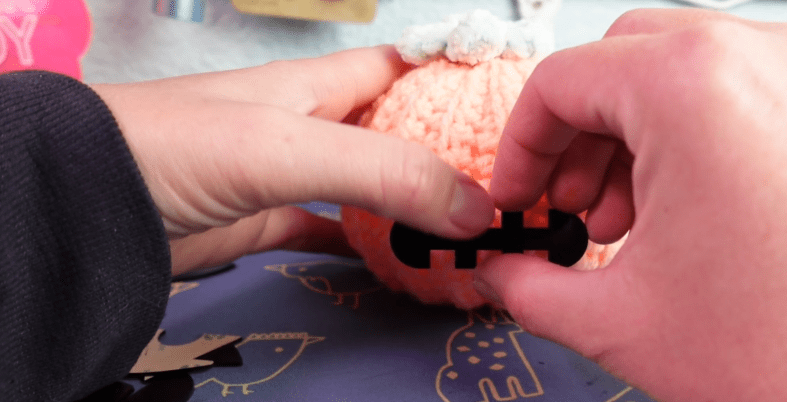
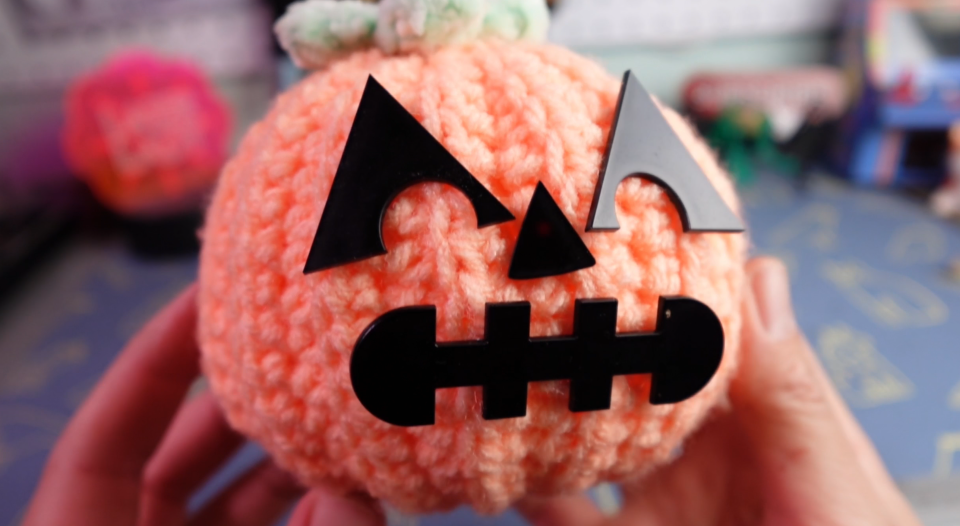
Remember that little pumpkin I crocheted? Now we can decorate it! The sticker paper just peels right off!
What do you think of my little Jack-O-Lantern?
If you want to see what I made last Halloween with a few supplies from the Dollar Tree, check out this article next!
Happy Halloween!

Leave a comment