

Keep It Simple!💰
✂️ Supplies for Projects
⇢ Acrylic (Save 10% with code: LASERLADY)
⇢ Pre-Finished Wood (Save 10% with code: LASERLADY)
⇢ Gorilla Duct Tape
⇢ Weld-On Acrylic Solvent
🎇 My Lasers
⇢ WeCreat Lumos (Save $80 with Code: LASERLADY)
⇢ Monport Reno 45w CO2 PRO (Save 11% with Code: LaserLady11)
📁 Free File Downloads
The secret to making the most money per hour in a laser business is all about keeping things quick and simple. Time is money, they say!
So, here are 5 ideas for easy, fast, and profitable laser projects! And the best part is, I’m going to show you how to make all of these, and we’re going to time out how long each one actually takes to complete!
Let’s get these lasers fired up!
➕ Subscribe to my YouTube Channel HERE!
Little caveat to the production times I’ll be recording today: all of our lasers are different. Some are just bigger, or faster, or both.
But no matter which kind of laser you have, these projects are all designed to be small, quick and efficient.
1. Anything Small & On the Go

Let’s start with the obvious. If you want to make something fast, it’s probably going to be small. That could be something like pins, magnets, or pendants. And wouldn’t you know it, that’s what I make when I bring my portable laser to shows!
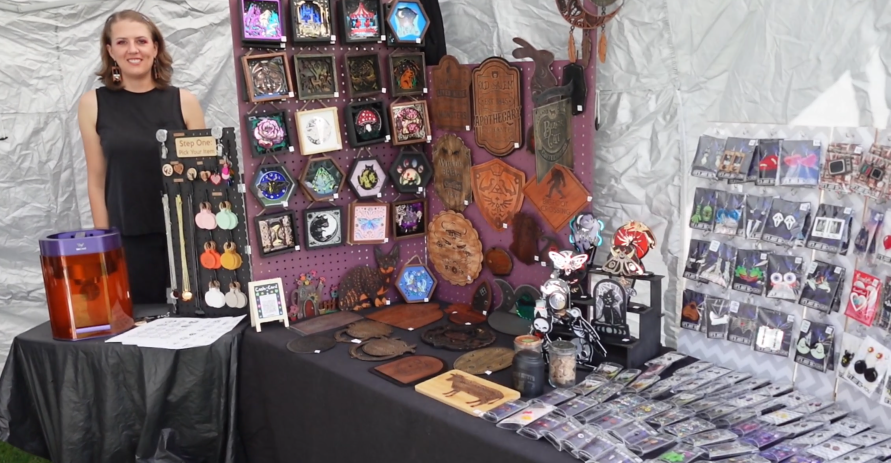
I was recently at an outdoor craft show with my WeCreat Lumos. I bring a small collection of designs to choose from to be engraved on a small collection of products that are all similar in shape, and very fast to engrave.
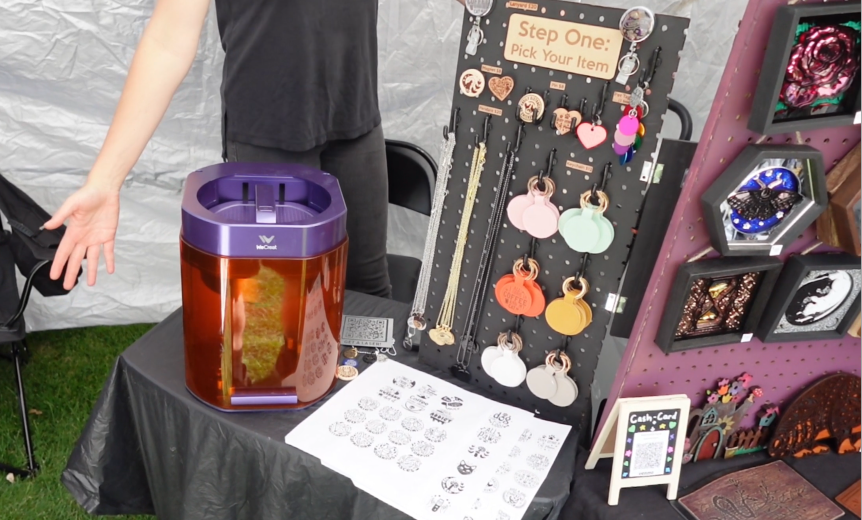
A key time-saving AND money-saving benefit to taking a portable laser to a show, is that you don’t need to PRE-make anything! All you need are the blanks, some designs at the ready and you are ready to go!
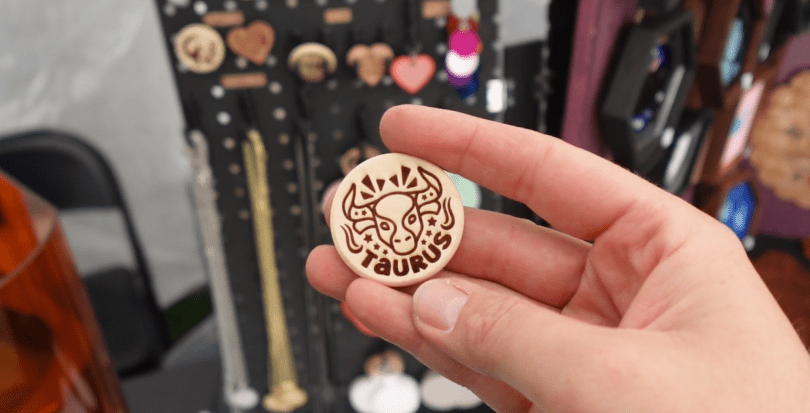
My #1 seller always seems to be the keychains and magnets. I sell the keychains at $12 and magnets for $8. It makes a great impulse buy, and because the customers get to choose their design and see it being made, it starts to create quite the buzz around your booth!
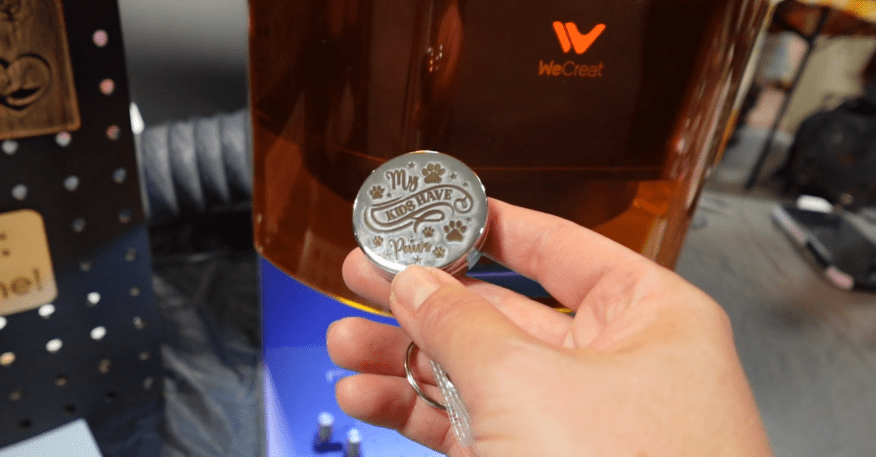
Total time to complete these items range from about 45 seconds for a pet tag, about 75 seconds for a magnet, to about 3 minutes for a metal pendant. And of course, all made on demand, and after they are paid for!
2. Pins/Magnets
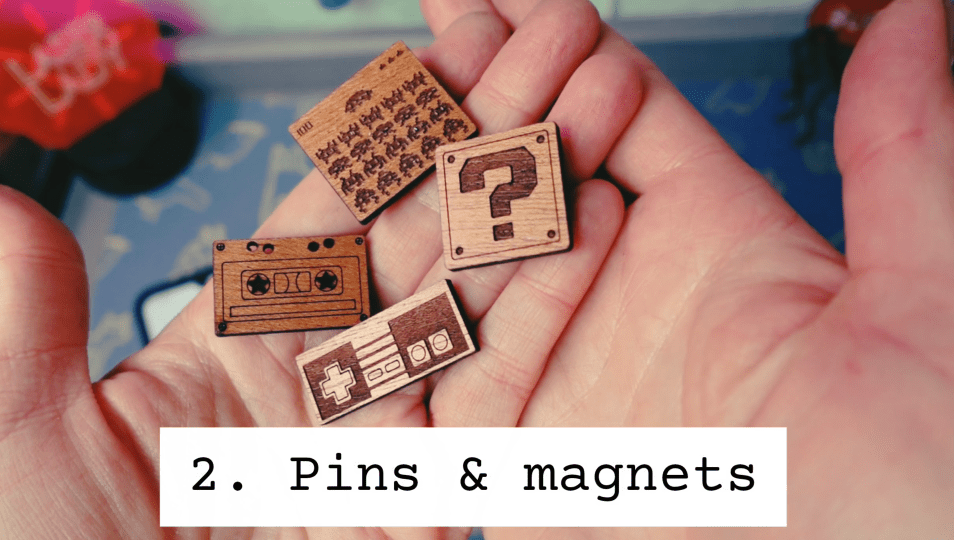
If going abroad with a laser isn’t your thing, then let’s see how long it would take to make some magnets on my office laser. Now, the designs for pins and magnets are essentially the same, it just depends on if you put a magnet or a pin on the back. I’ll be making magnets today because lately, every time I do a craft show, I find people who are specifically on the hunt for magnets.
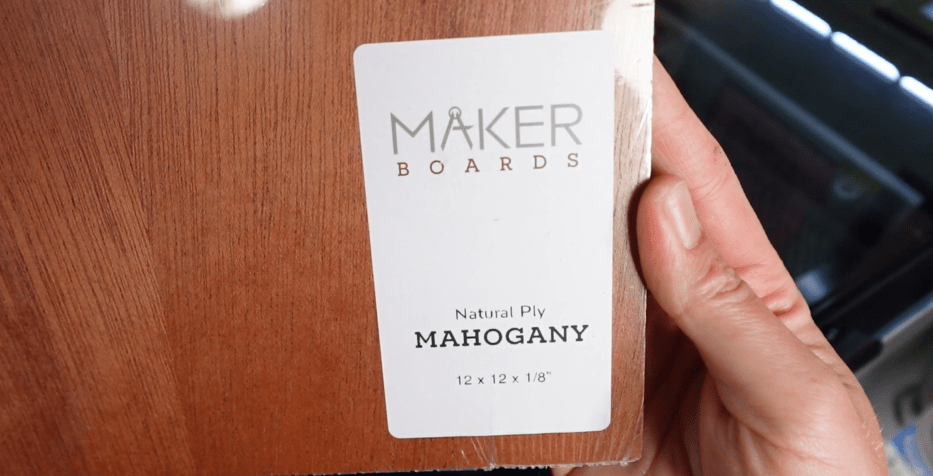
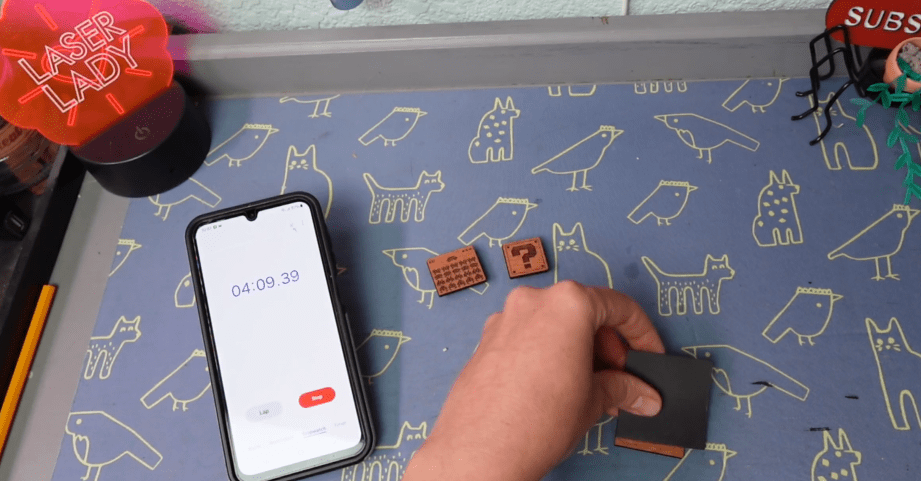
I have a show coming up, so let’s take this finished wood from Craft Closet and make a few magnets! With it already being varnished, we are saving time with finishing, so we just need to engrave and cut it.
Here are the designs I am going to use. To elevate it a little bit, I’m going to cover it with this masking tape first and set it to engrave only.
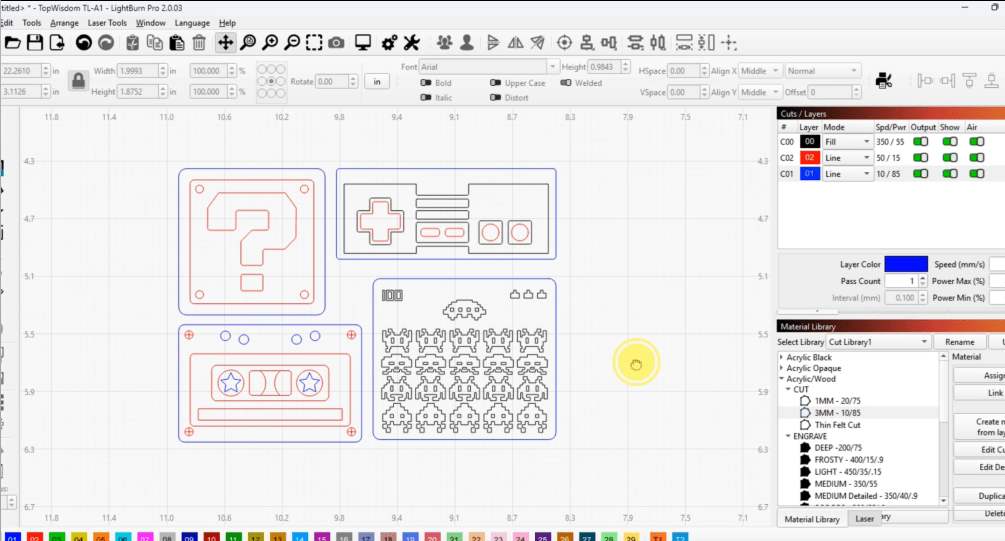
0Now that the engraving is done, let’s get a little paint in there. The magnets and honeycomb pegs help keep it in place. Now we turn off the engraving and set them to cut out!

The varnish on the wood makes the surface easy to clean.
Now I just need to glue on the magnets and they are done!
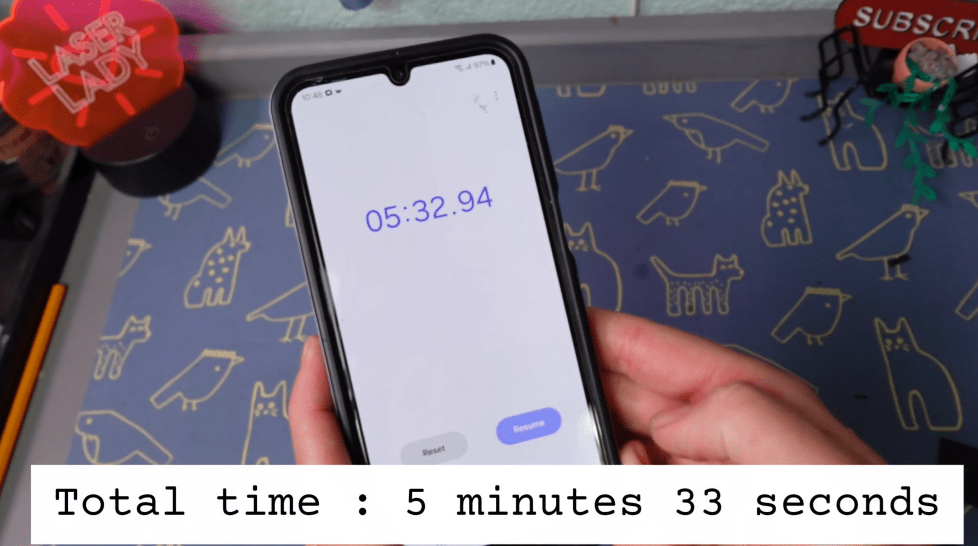
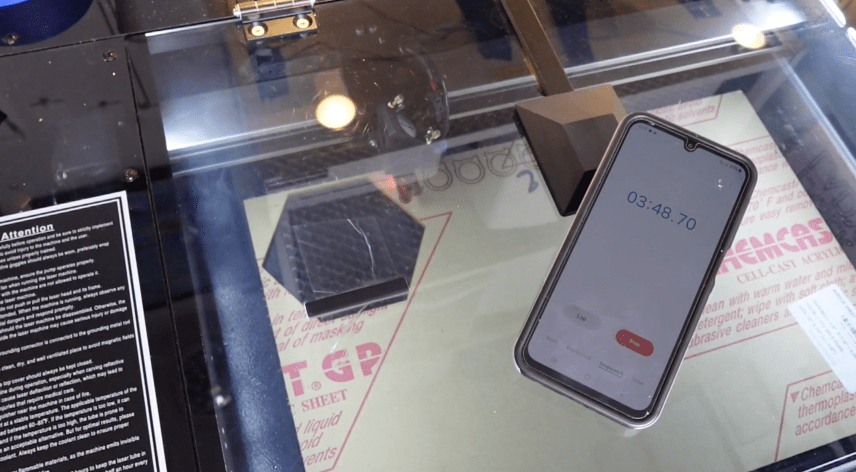
Total time: 5 minutes 33 seconds
I made a post a long time ago where I was able to make over $100 worth of pins in an hour, so be sure to read that one next!
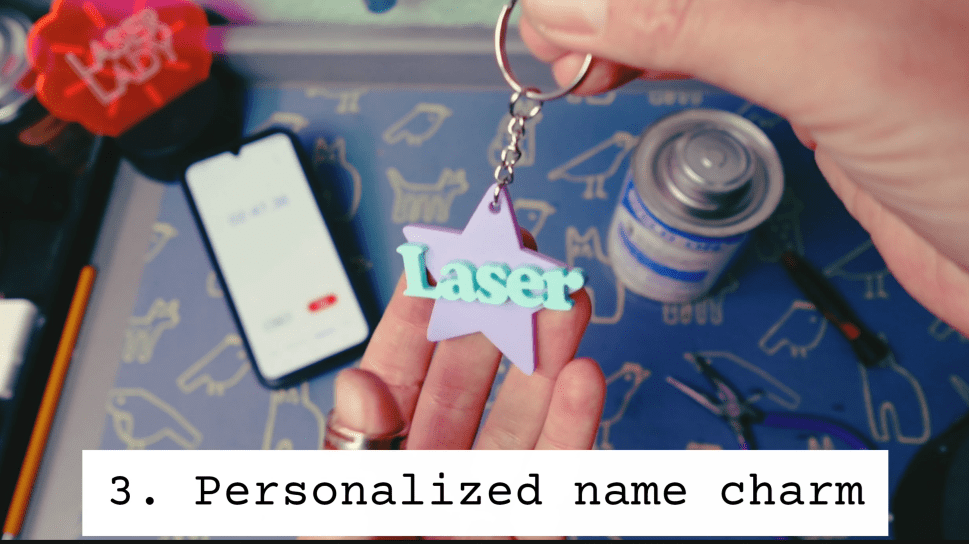
3. Personalized Name Charm
I love this one the most, because personalized products are SO easy to sell! You might be thinking that making a new name cut file for every order is going to take a lot of time, but it’s not! Trust the process!
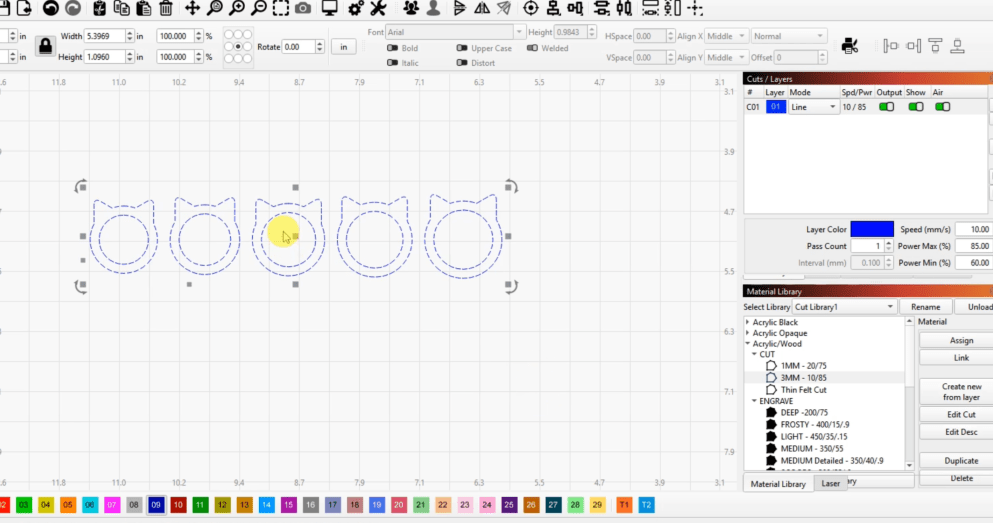
The idea of these is to make the background a repeatable shape. It could be a snowflake ornament, even a simple rectangle or circle. In this example, let’s do a star!
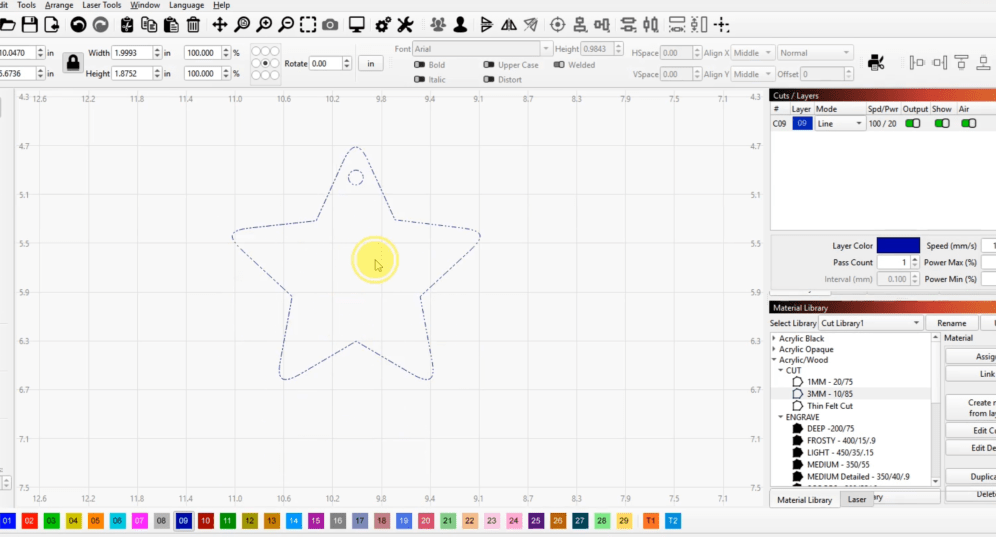
Here is the star background shape. It’s got a hole so we can turn this one into a keychain. I can cut these out ahead of time in bulk. Since we’re counting time, one of these took about 30 seconds to cut out here on my 45w CO2 Monport Vision Pro.
Then, let’s dive into inkscape to see just how easy the custom name part is.
First, let’s write out a name. Let’s change the font to classic Cooper.

Now to get the text closer together, so they cut out as one shape, do this. When the word is selected, go to the upper right-hand corner where there are 2 capital A’s.
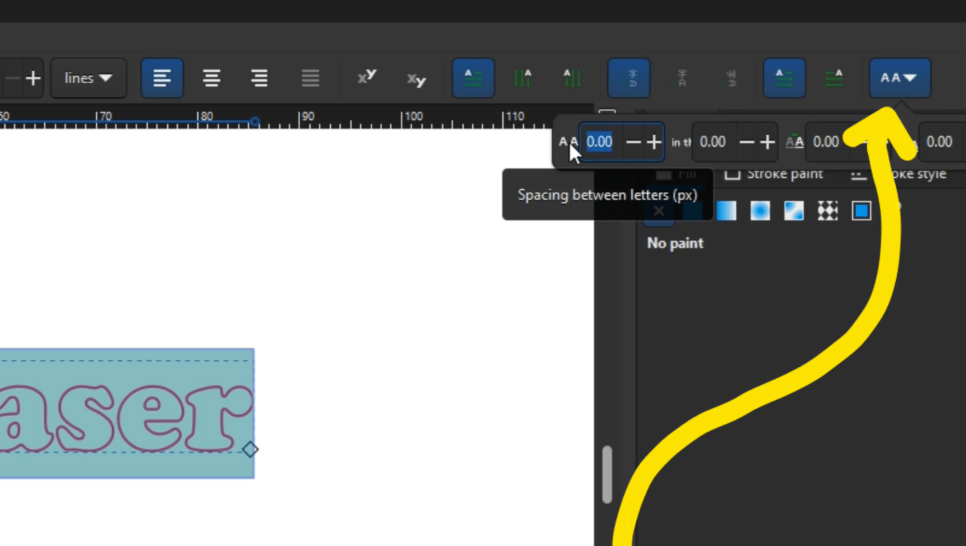

The option on the left most side of that bar is to alter the space between the letters. Press the (-) button until all the letters are touching.
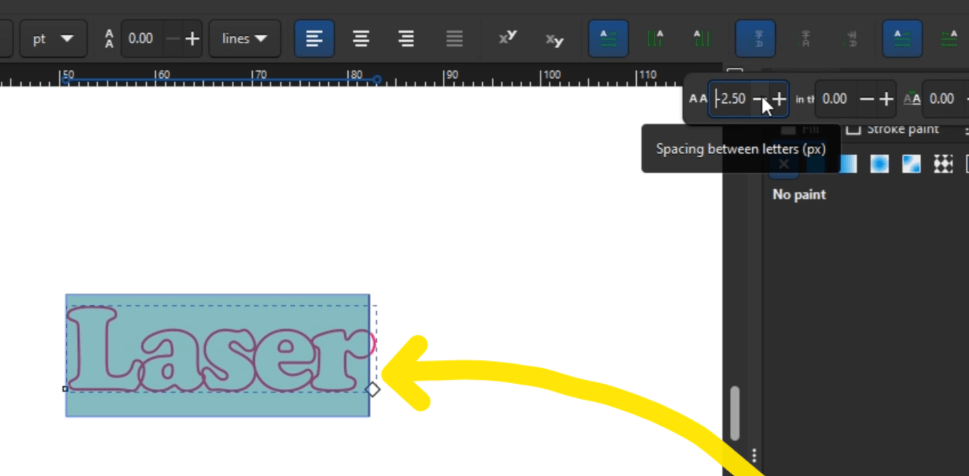
Depending on your font, they might not need so much squishing together. Once it is looking good, while the word is selected, go up to Path -> Union.
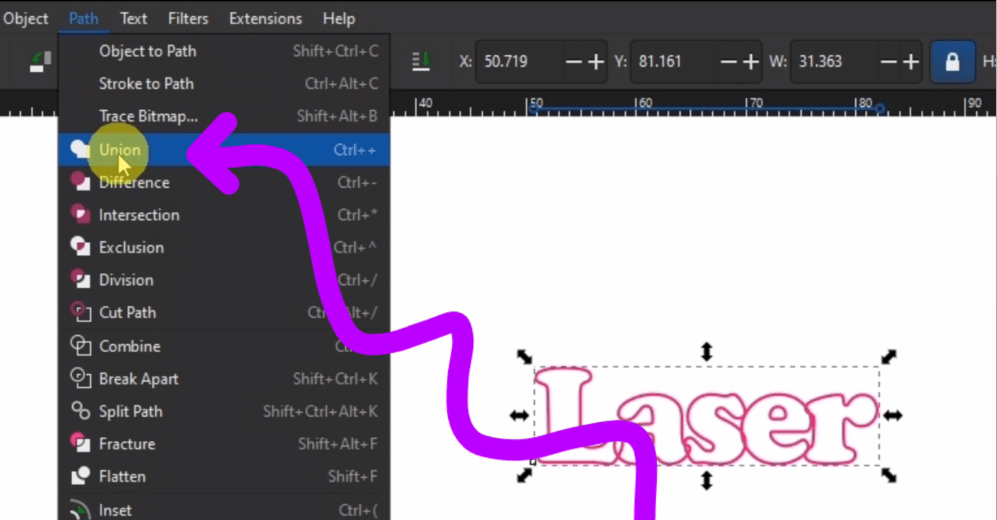
That combines the letters and all we have left is to make it the size and line width we need.

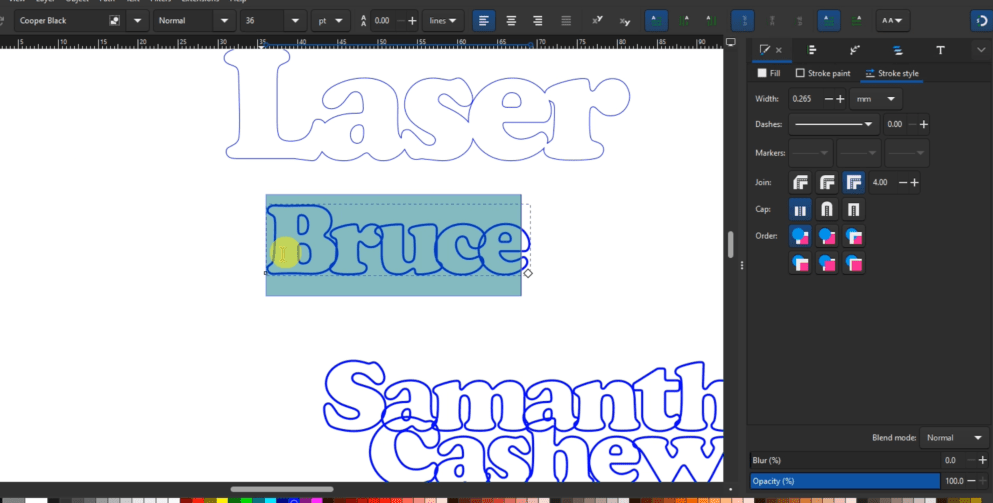
If you have a lot of orders, keep typing out names and you will see that the previous word settings are on these names, as well. You may still need to tweak a name here or there, but we are just minutes in and have 4 names ready to cut!
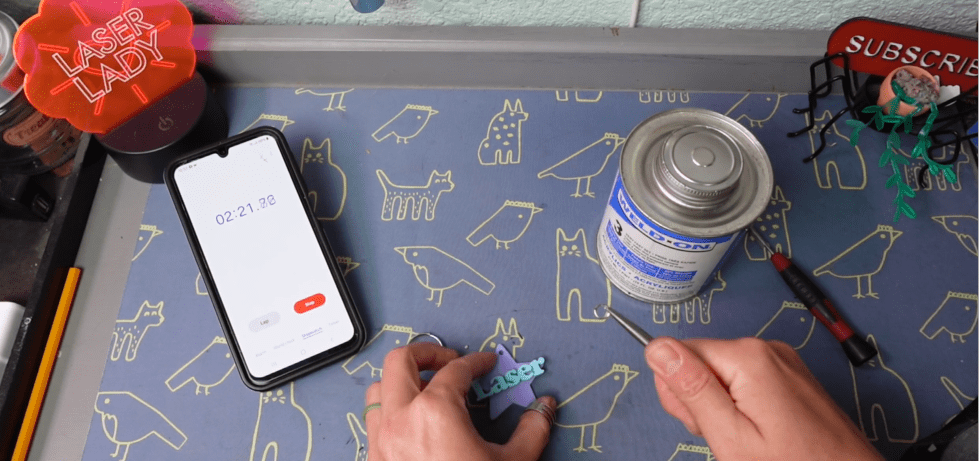
I cut out the word “Laser” with my laser and now we need to glue these. Since both pieces are acrylic, I like to use Weld-On Solvent.
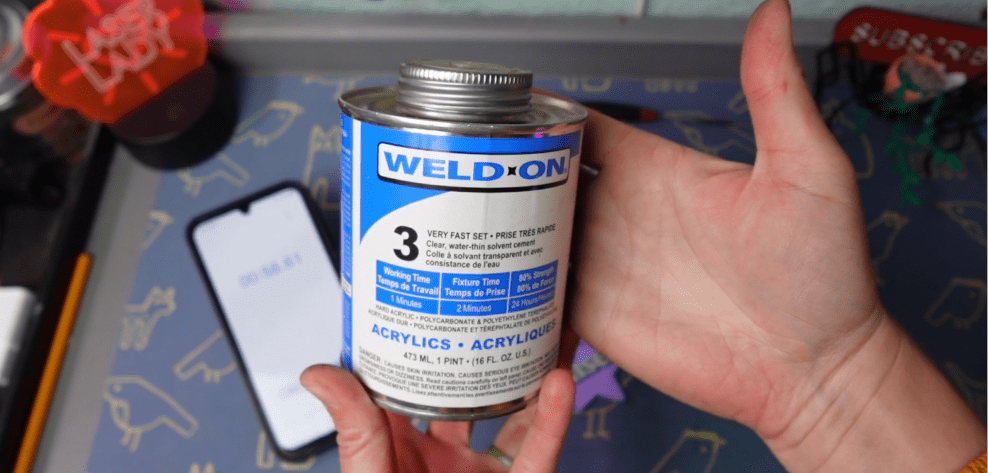
It permanently bonds acrylics, so this thing will hold up as a keychain.
Like I said before you could pre-make a bunch of the backings and make just the names to order. This is easy to do for ornaments, magnets, garden stakes, table place cards, I mean you are only limited by your imagination!
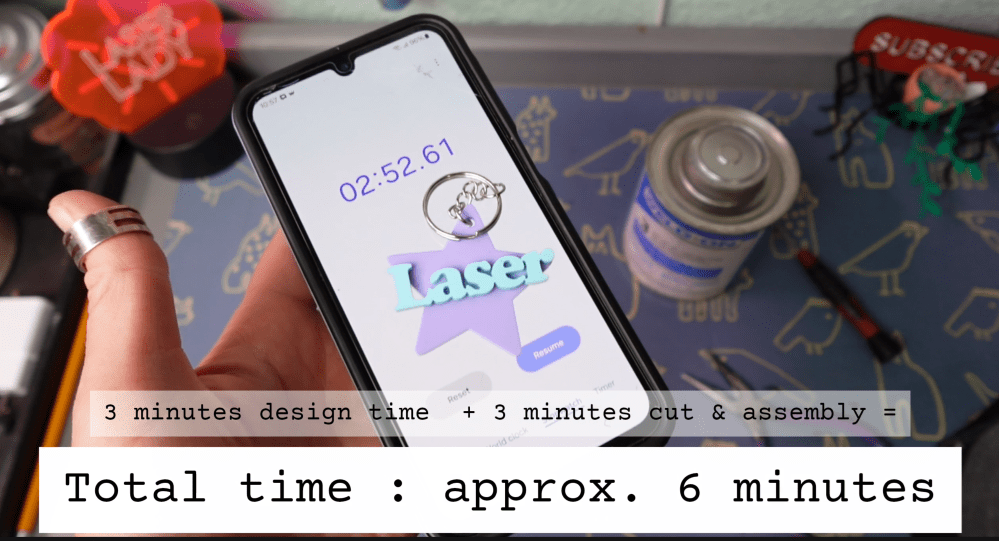
Total time for custom name, cut and assembly: 6 minutes
4. Jewelry
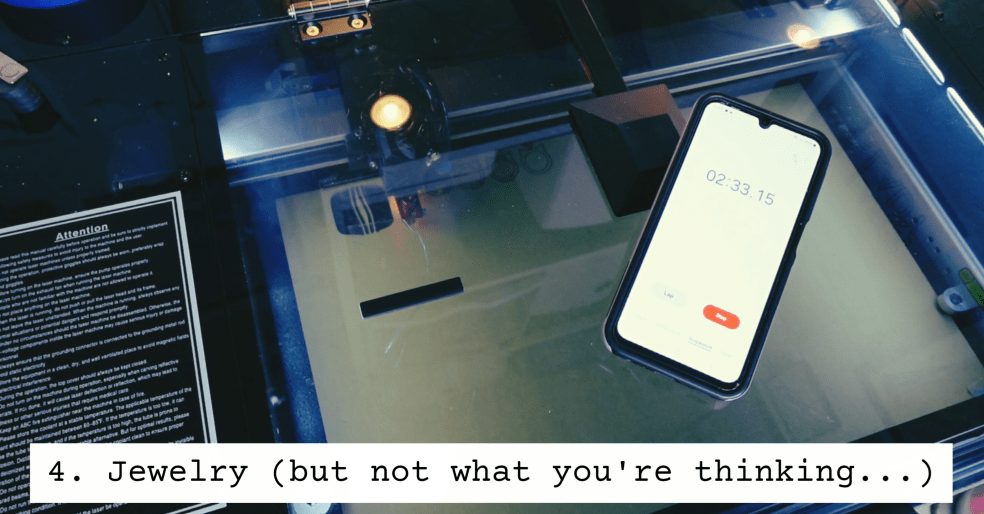
I can hear your thoughts on this one! And, I know, I know… Jewelry is tough to sell, both online and at craft shows because it feels like everyone is selling it!
But, I am going to let you in on a little sneaky thing I’ve been doing over the years that hardly anyone makes with their laser, and it is THE perfect impulse buy and add on, especially at craft shows! Plus, I’m giving away my file for this for free, so your welcome in advance!
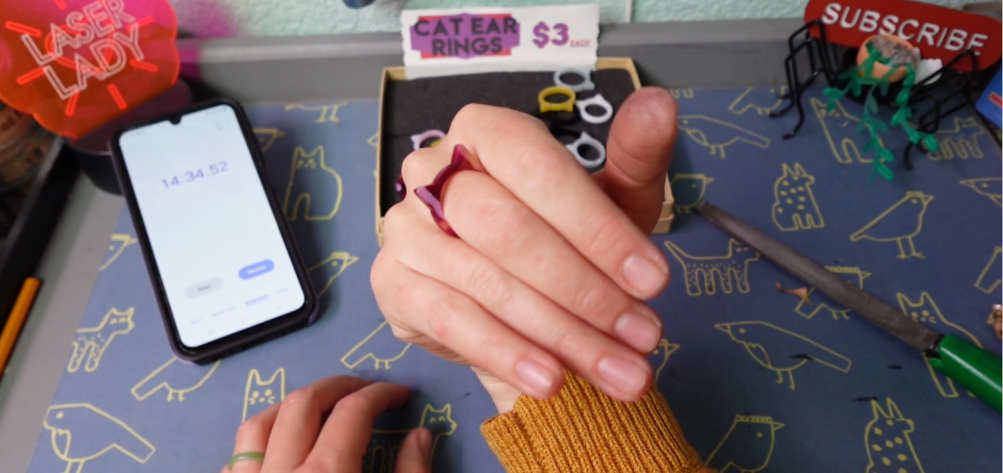
What is it? Rings! I have a box of rings out at every show. I don’t even organize them, and I’ll tell you why after you see how fast these are to make!
The cat ear rings are fun and get bought up like crazy. I also have a few other ring designs in that file. I need to stock up so let’s make a bunch. I’m going to make one of each size in 5 colors.
25 rings took about 7 minutes long to cut. Not let’s give them a super quick sanding so there’s no sharp edges and then peel off the masking paper.

I sell these for only $3 a piece. Doesn’t seem like a lot, but when nearly half of all my customers at a show adds one onto their purchase, it starts to add up.
Kids especially love them, and it’s an easy sell to a parent when they say, “They’re only 3 dollarrrrrsssss!” That will suck in a parent into your booth, and they might just find something they like. AND! When one friend starts trying them on, then the other friend will want one, and before you know it, you’ve run out! Which is why I needed to restock these!
Even if you don’t sell jewelry, I highly recommend making some rings for your booth. It’s an interactive, inexpensive product that takes no time at all to make!
Total Time: 15 minutes
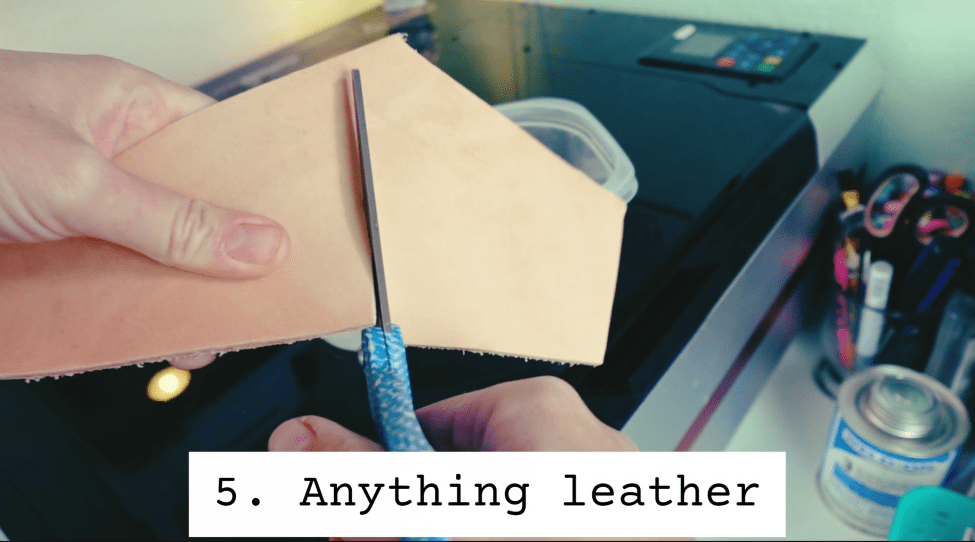
5. Anything Leather
Now, when you think of leather, what do you imagine? Shoes, belts, jackets maybe. How much are those shoes and belts and jackets? A LOT, right!?
Lucky for us, that translates into the laser world! Pretty much everything we’ve gone over already could be sold for twice as much if it were made of leather! Yep, even the magnets!
I was recently reminiscing about one of my first online business ventures from back in 2004 making hemp macrame dog and cat collars, so let’s make some pet tags from leather scraps.
Not only are these going to be really unique, but you can easily market them as tags that don’t clank together when your dog is running around!
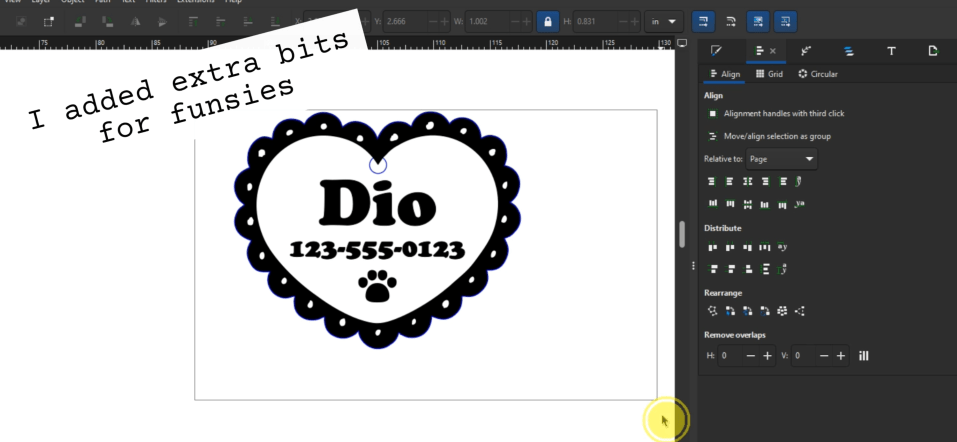
I’m going to engrave the name of my cat Dio on this heart shaped cut out. Customizing the name and info is just as easy as the keychain from before, in fact it’s even easier since the words will just be engraved.
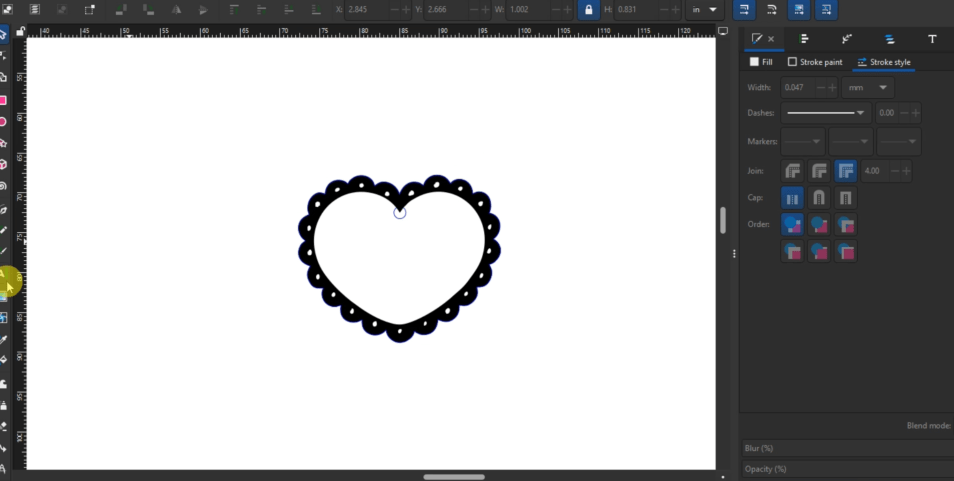
In Inkscape, I have the heart charm ready with a little bit of a fun outline to engrave, as well. Let’s go ahead and use the same font as before, but we’ll turn the spacing back to normal.

Centered and ready!
I’ll be using this basic veg-tanned leather. To make the engraving and cut a little less burnt, I’m going to give this scrap piece a bit of a soak in water.
The laser engraves and cuts this up pretty quick!
The dry time takes the longest, but other tasks can be going on while it’s drying.
Once dry, it can be buffed with some pressure and a cloth! And there you have it!
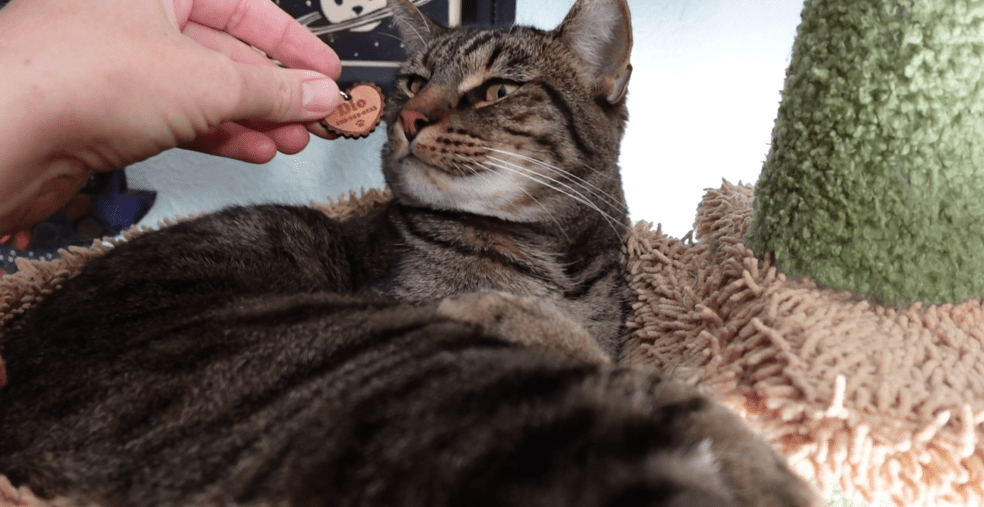
A custom leather tag that you can charge a lot more for than those little aluminum tags! Depending on your marketing, I could see these customizable tags selling online for anywhere between $20-30 a piece. That’s the magic of assumed value with a material like leather! Especially DESIGNER leathers!
Total Design + Cut Time: 5 Minutes
In fact, pricing is one of the hardest things to get right. And so is marketing and optimizing workflow. I know a lot of you are still trying to find success with your laser business, and I want to help! I am so excited to announce that I will be hosting a Laser Business Summit this November 11-13th, 2025.
I have gathered a number of other laser-preneurs, many you will recognize, who will be sharing their expertise in pricing, marketing, finding your niche, out-of-the-box selling methods and SO many more laser business specific topics!!

Not only will it be like an online convention of industry leaders handing out oodles of resources that could literally change the course of your laser business, but as an extra bonus, I’ll also be leading a 3-day Black Friday Marketing Challenge inside the summit!
More details will be released soon, so sign up to my email list so you are the first to be notified about it!
Happy Crafting!

Leave a reply to sepaschall Cancel reply