

How to Make Your Laser Cut Products Stand OUT
If you think laser engraving businesses are getting oversaturated, you could be right. But that doesn’t mean you can’t have massive success with a laser business! I’ve been selling laser cut jewelry fulltime since 2014. And if I can do it, you can do it, no matter what you sell!
Don’t get discouraged, all you need is a little tip or two to set yourself apart from the competition! I’ve got a few for you that will make your rivals wish they’d thought of it first! Let’s get those lasers fire up!
➕ Subscribe to my YouTube Channel HERE!
Finishing Techniques
If you’ve read my blog before, you know how passionate I am about finishing – I mean completely finishing – your laser projects.
It’s more than just gluing it all together. It’s sanding off the blowback marks. Maybe it’s painting it! Either before or after it is lasered! I have plenty of techniques for you to view here on my channel, and I want to tell you all about my favorites!
First off, simple staining.
I live in a pretty cold climate, so I have to do a lot of my work inside. Using smelly varnishes are not always a possibility, so I always turn to water based. These are my 2 favorites.
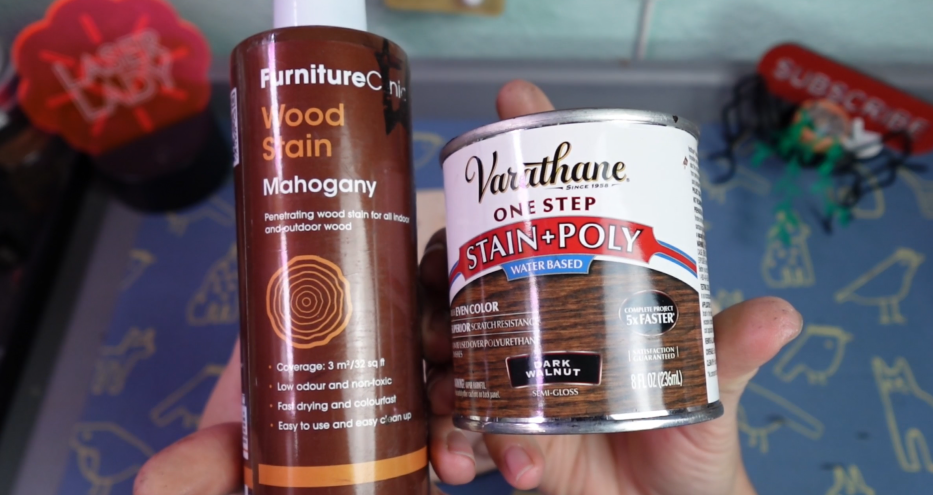
Water Based Wood Stain & One Step Stain & Poly
Let me laser out some signs and show you what I mean.
I have seen people try to sell something like this, straight out of the laser ALL THE TIME. Some designs might be able to get away with it, but VERY few, in my opinion. It feels like it’s just not done.
Don’t sell ingredients to your customers, sell them a hot meal.
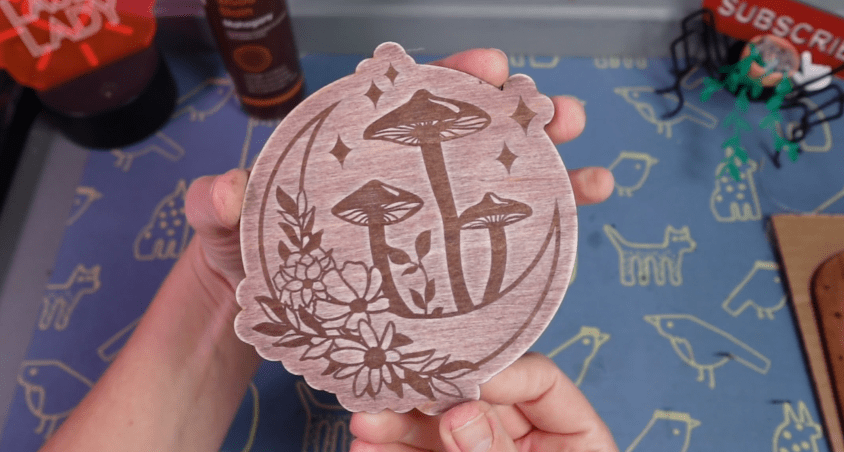
Here’s another little unfinished design. Now let me show you some magic that will only take a few minutes.
This varnish is pretty much just a dark watered down acrylic paint. I’m sure there is more to it, but that’s the consistency.
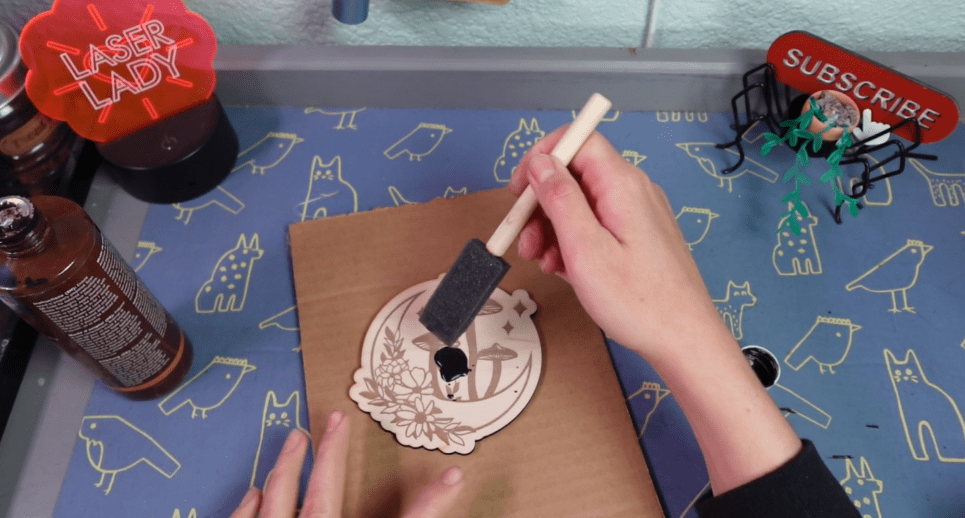
One layer on with a brush and now we just let it dry!
While that is drying, let’s use this water-based Stain & Poly mix. It’s not meant to be breathed in, like most things, but it’s not nearly as bad as other stains.
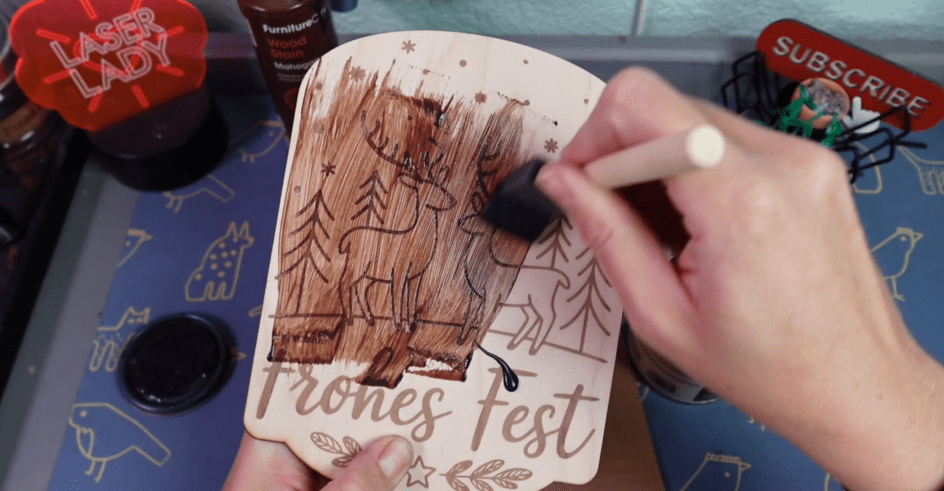
Make sure you have air blowing out and aren’t hanging around the drying area. A garage or spare room is great for this. I like to put it next to a fan, to speed up the process!
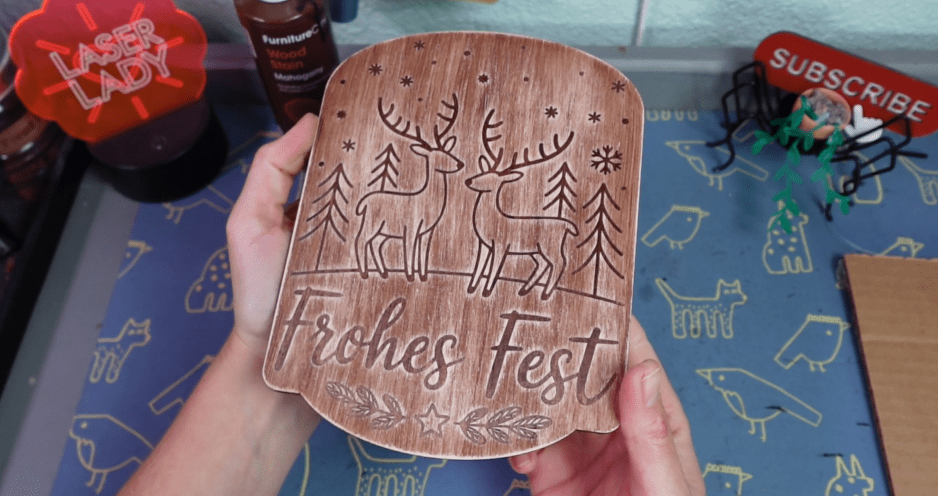
Viola! This 2 in 1 is done and just needs my little finishing touch (which is weathering it up a bit) and the other one will have to wait for a sunny day so I can put a spray coat on it. OR, leave it like it is!
It’s far more finished looking than it was.
Adding Color
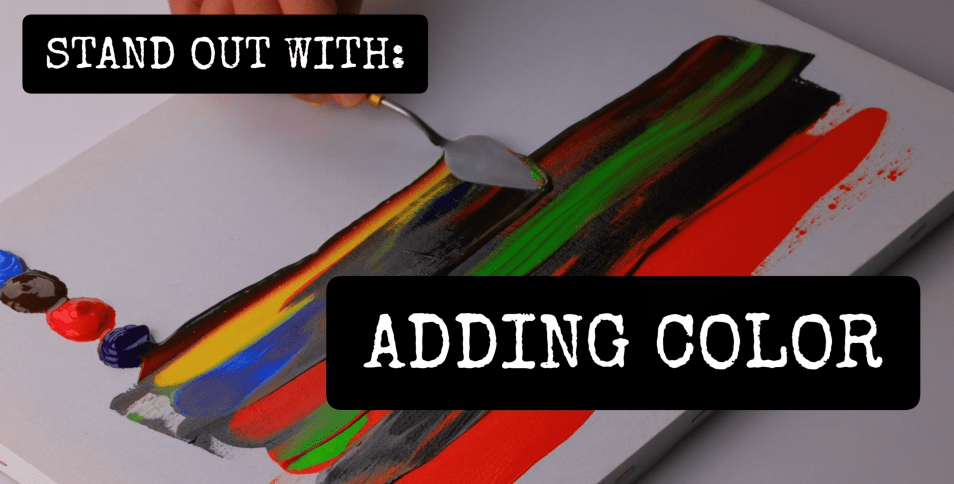
Apart from staining, adding any amount of color to a design changes it drastically.
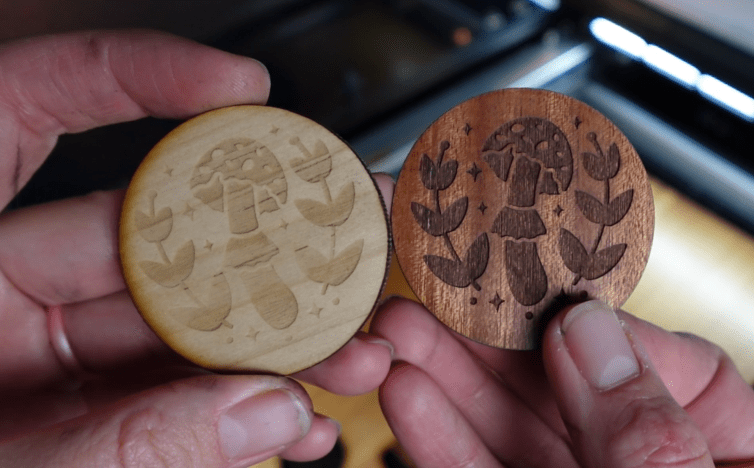
Compare these magnet charms. I like them both, but this bare wood one should get some varnish or something at least.
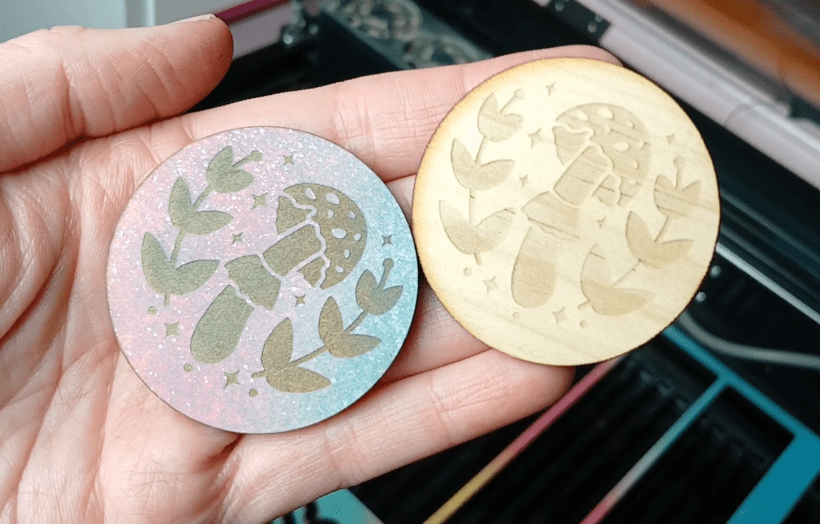
I’m sure some of you aren’t into these colors or this design, but I hope I’m getting the point across.
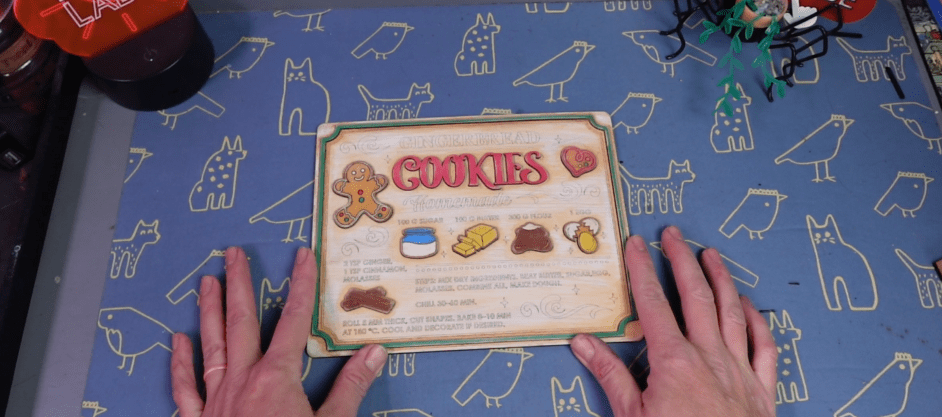
It’s easier than you think to add color after you’ve lasered something out. Take this gingerbread sign as an example. I got this Gingerbread Recipe design off of CreativeFabrica.
I’m going to pre-paint this white for the background. And then cut out the rest of the bits.
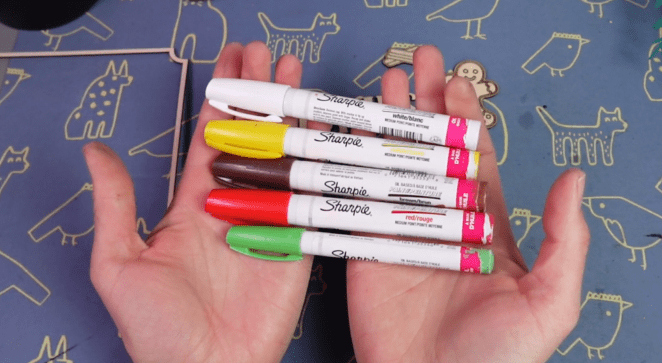
I can add color after with these paint markers super easily! No need for getting out the paintbrushes and water, and they are pretty precise! It’s like coloring in a coloring book, but you’re hopefully better at it than when you were 5. Even if not, I’m sure it’ll look great!
Absolutely, adorable!
If this had no color to it, it would not have the same charm, in my opinion.
But making designs you can find off the internet can be risky, especially if it’s popular. You risk having the same things for sale as everyone else, which brings us to the next point on how to stand out.
Originality
If you are just engraving a-thing-on-a-thing, you need to make it irresistibly unique. Sourcing your designs from SVG makers is of course fine, and a great place to start, but I recommend adding you’re own flair to it.
Even if you don’t consider yourself a graphic designer, it’s easier than ever to come off like one with a design website like Kittl.
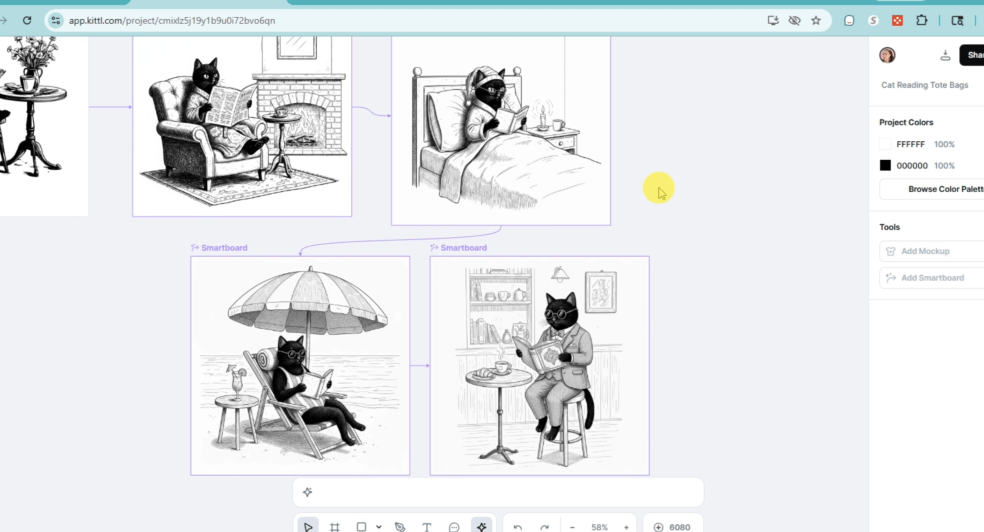
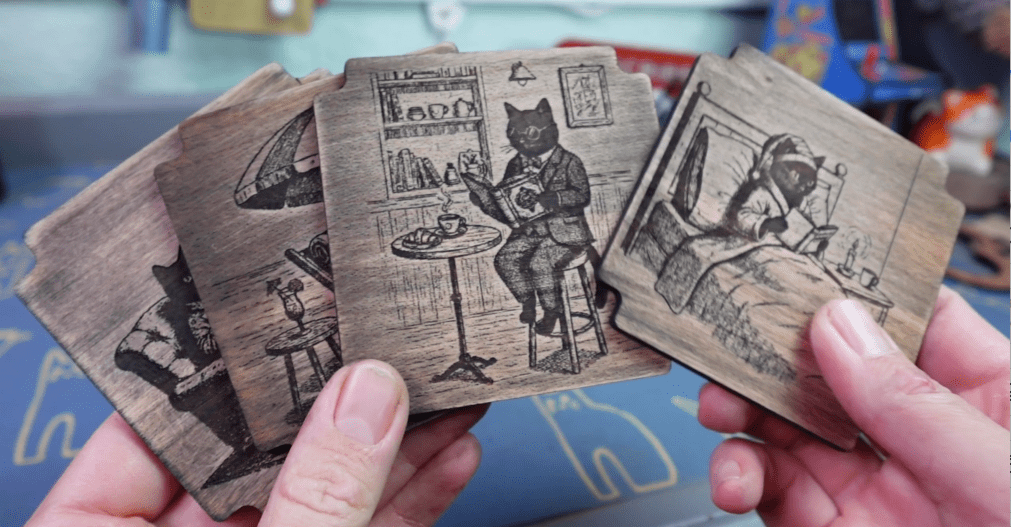
Kittl is my go-to source for designs people crave that you can’t find anywhere else. Let me show you what I’m talking about. Let’s say you want to make a set of coasters and need to make your own unique images to engrave onto them.
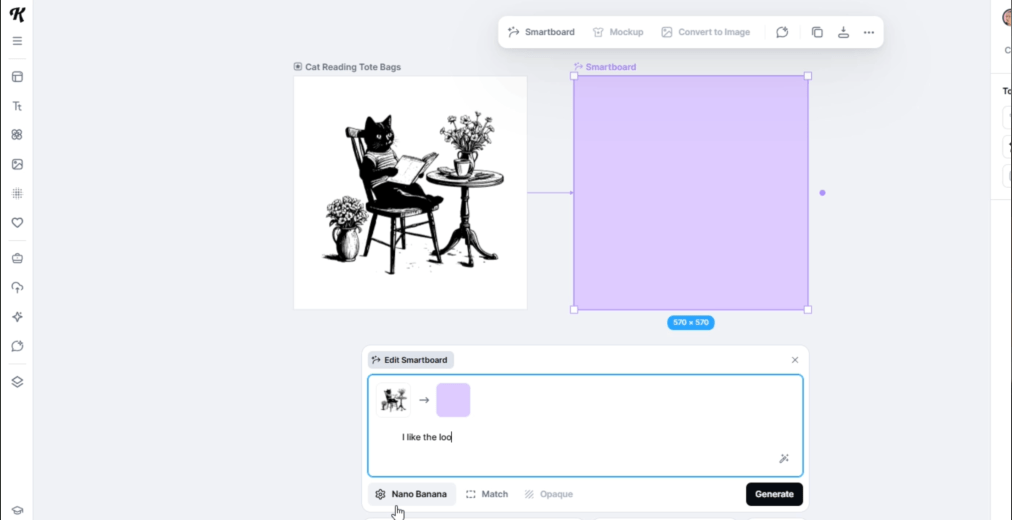
I like the look of this old-style line drawing. Bonus points because it’s a cat. However, I don’t quite want this design, so let’s use some AI magic. With the smartboard function, I don’t have to be that great at prompting to imitate this available art.
Here’s what I told it: “I would like to transform this cat reading a book on a chair to be a cat in a lounge chair reading a newspaper next to a fireplace. The cat should be wearing a robe and have lots of texture in the cat fur. Keep the art style the same.”

Love it! Let’s do it again with another super smart board. “Let’s keep the look of the cat, but instead of this fireplace location, put the cat in bed with some bedcovers on it. Let him have a sleeping cap on. The cat is awake and reading a small novel. There should also be a nightstand with a lit candle beside the bed. Keep the art style the same.”
I did it again with a beach cat, which I altered a second time with – “Remove the night cap and add sunglasses.”
Before ya know it, there are 4 cute kitties for this coaster set! You can easily go back in and fiddle with the prompts.
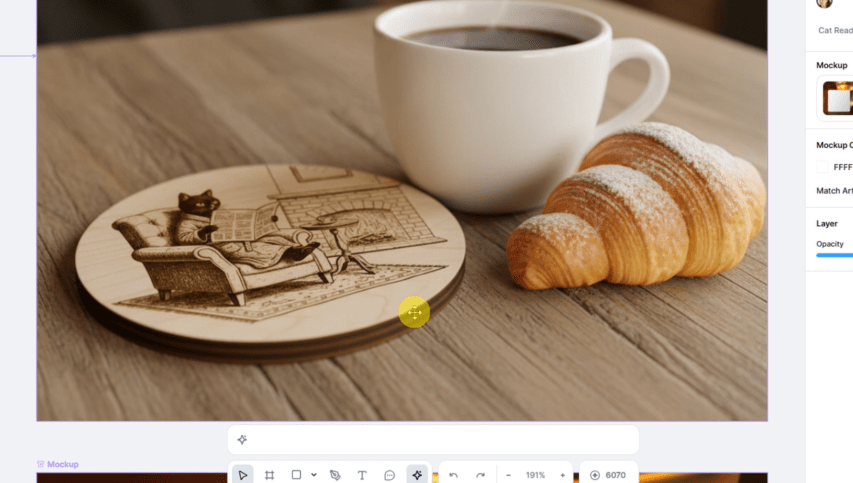
Now we can save all these as a SVG to laser engrave!
You can also level up your photo editing game with some awesome mockups. There is an entire customizable mockup generator or use your design in a new smartboard prompt for a laser engraved coaster on a cafe table! It even captured the look of plywood on the sides, pretty cool!
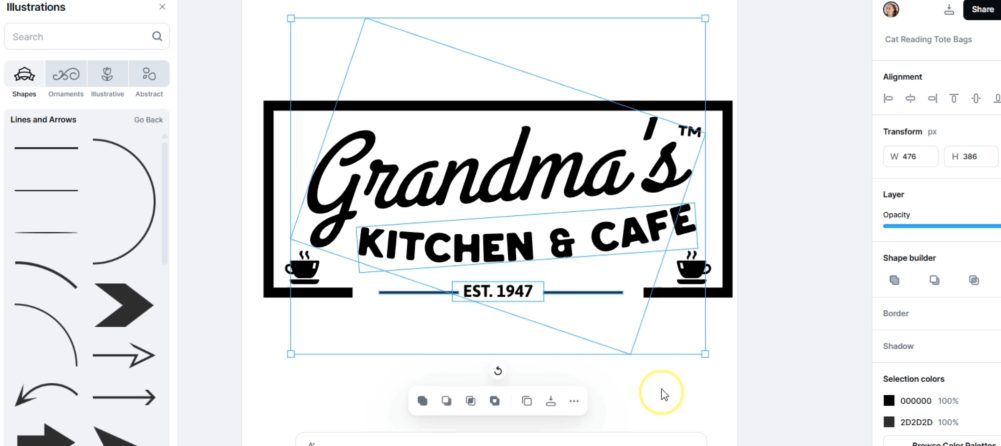
And if AI isn’t your thing, the text editing is off the charts and unlike any other web-based app. You can fit things to the exact shape you want and impress the heck out of your customers with your unique designs made possible with Kittl.
Of course, if you’d like to try it and see all the other amazing features I haven’t touched on yet, use code LASERLADYYT for 25% off on the first month of all Kittl plans for new users! I highly encourage you to try it out, you will get hooked just like I did!
Now, laser engraving is some pretty 2-dimensional business, but it doesn’t have to be.
Go 3D
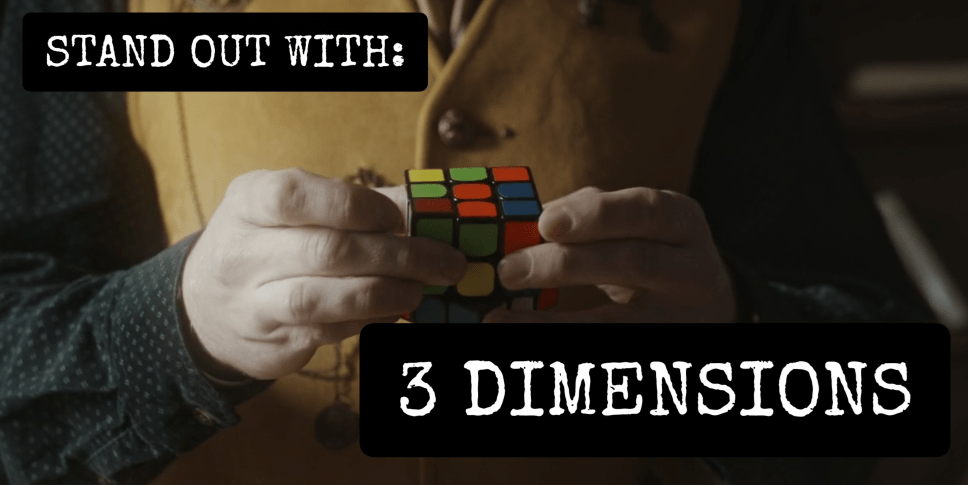
I see plenty of 3D SVG designs for sale online, but I never see the finished products when I’m doing craft shows at other laser booths! Which is wild!
This is such an underutilized skill to have! If you watch Valley Forged (highly recommend!) Eric over there has a purse design that is flipping amazing and sells very well for him! Something like this could be your next best seller! It will stop people in their tracks at a craft show – guaranteed!

People who like to fidget will absolutely love things like this.
It doesn’t have to be a complicated multi-tier, super design either. I took some of these “Cat vomit” mini floor signs to a cat convention, and I literally sold out in the first 30 minutes. They aren’t complicated, and they are still mostly flat, but people loved them. I will be sure to bring more next time!
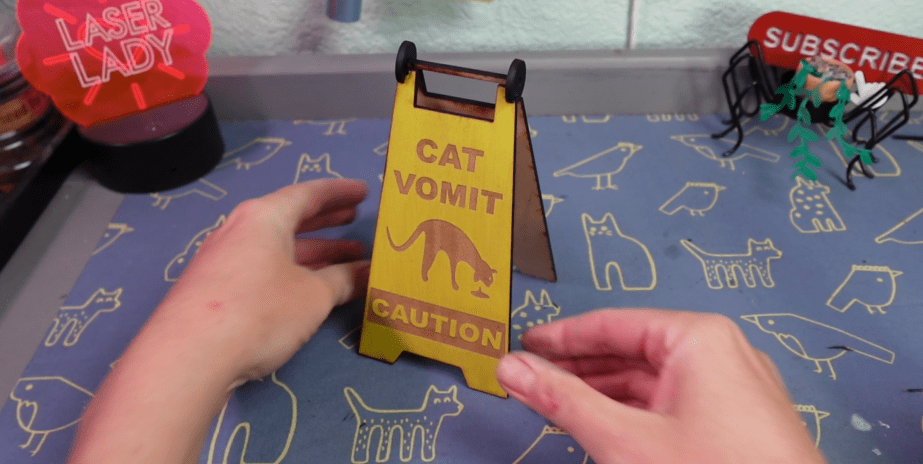
I understand if 3D laser cut projects are a little bit more involved for a product than you’d like. Which is why you’ll love then next one.
Material
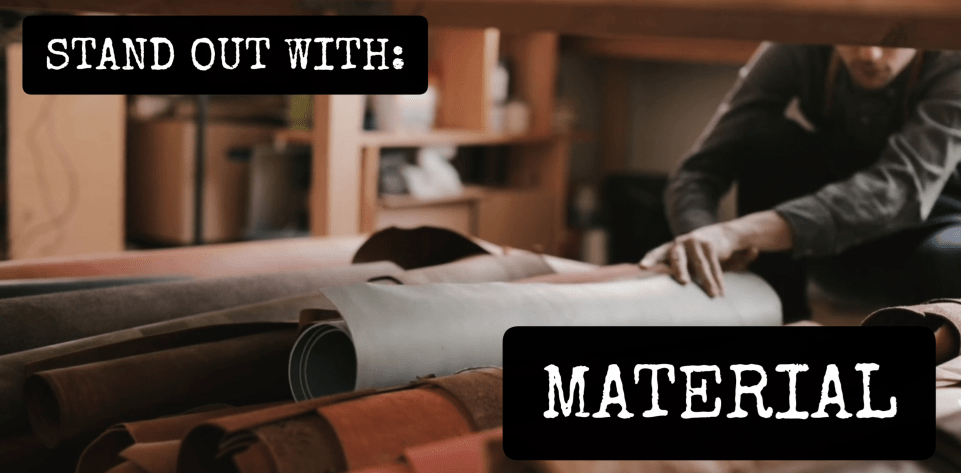
Some of us like to “Keep it Simple”. Maybe your business doesn’t revolve around heavily complex designs made with a bunch of little parts. Then, what you need to stand out with is simply – fancy pants materials.
Instead of using mdf or plywood, use prefinished exotic wood boards.
Instead of tanned leather, use Italian color finishes.
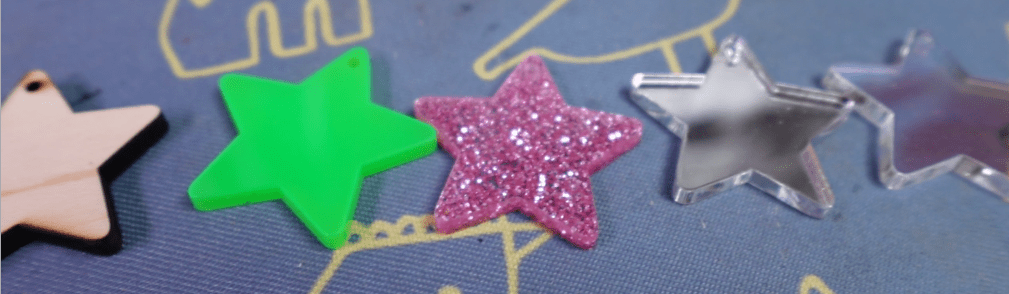
Instead of wood, use fun acrylics. There’s like a million types of colors, glitter, mirror, iridescent, and more!
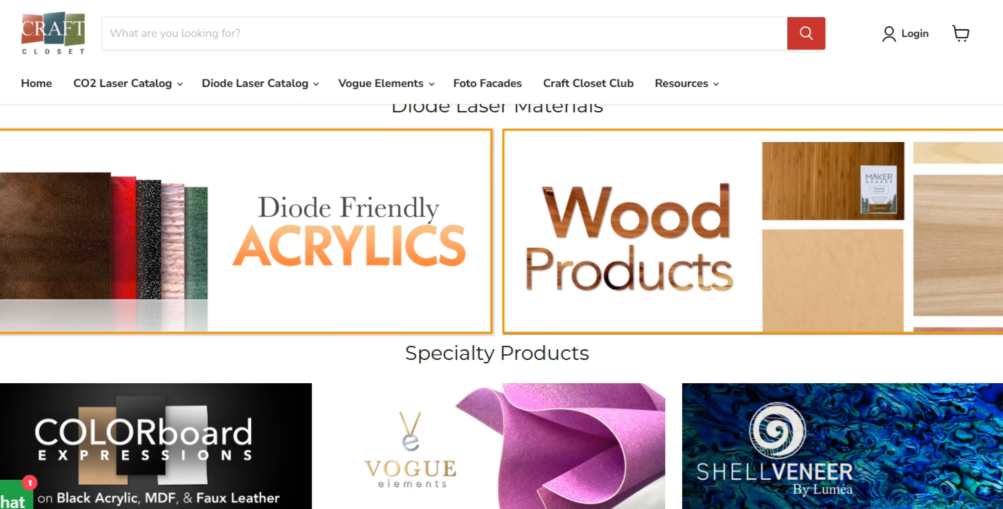
I know not all lasers can cut acrylic, so learning ways of finishing (like in the first example) is key. Or find diode compatible fancy materials. I love CraftCloset for this in particular because they have their diode materials all laid out for you!
It’s not impossible to have a successful business just selling plain… simple star earrings, let’s say, so long as you are picking materials that stand out to your customers.
But, how do you get to know your customers? That takes time, which leads into the next section.
Patience
Statistically, 1 in every 4 businesses fail in their 1st year, and that doesn’t even account for people who half-heartedly start a handmade business and quit 3 months later because their interests changed.
I can’t be more serious when I say that you will give yourself more chances to succeed the longer you are trying.
It might take you 2 years to get to $10,000 a year and then another 2 to go fulltime. Or it might take you less! Who knows? The only way TO know, is to never give up.
But, truth be told, there is no “easy” business, despite what youtube has to tell you. It’s true, I have found much success in the last 11 years with my laser business, but it sure hasn’t been easy. Though, it has gotten easier to stop thinking I should just give up and try out something new instead. So, please don’t give up.
The difference between you making $0 and $10,000 might be as simple as changing a product design or selling at a different market. If you’re ready to see what it takes to scale to the next milestone, check out this video next.
Happy Crafting!

Leave a comment