
You Got This! ✔
Congratulations on your new laser! You might be asking yourself, “What am I going to do with this thing?” Beyond the fact you could start a fire and breathe in toxic fumes, you also need to figure out what it’s even capable of!
Well, don’t you worry! Not only do I have some free downloads for you, but by the end of this, you’ll know where to put it, what to make, and how to make some money with your new laser!
➕ Subscribe to my YouTube Channel HERE
The Setup: Location, Location, Location
Let’s blow through these laser setup basics before we dive into some fun ideas of what you can make with your new laser!

There are a bunch of different lasers out there, but the requirements are similar.
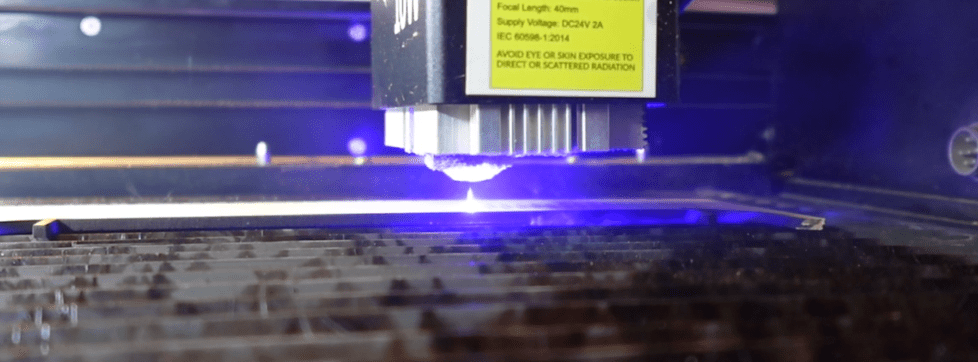
Not ventilating the fumes your laser will be creating is the #1 mistake newbies make. When you are cutting or engraving anything, it creates smoke and fumes.
So, you need a plan! Find a place for your laser by a window for an exhaust hose or use a filtration system.

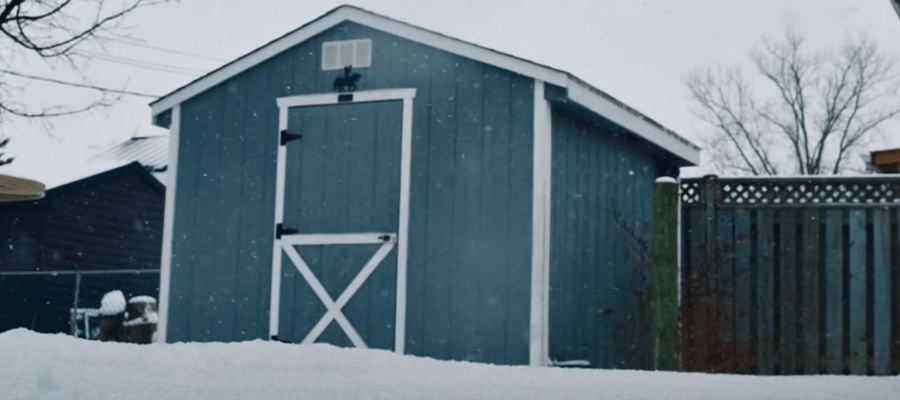
When picking the place you can vent your laser out to, consider the temperature of the location, as well. Lasers, such as a water-cooled CO2 laser and diode lasers, hate freezing temperatures. If you want to put one in an uninsulated garage or shed and have occasional freezing temperatures, you could crack your CO2 tube and have performance issues with cutting and engraving.
Make the space you choose work for you. You need space for the laser, space for your laptop or computer, and space for materials. Give yourself a little wiggle room. Trust me, your space will soon need to grow.
The “Boring but Deadly” Safety Talk
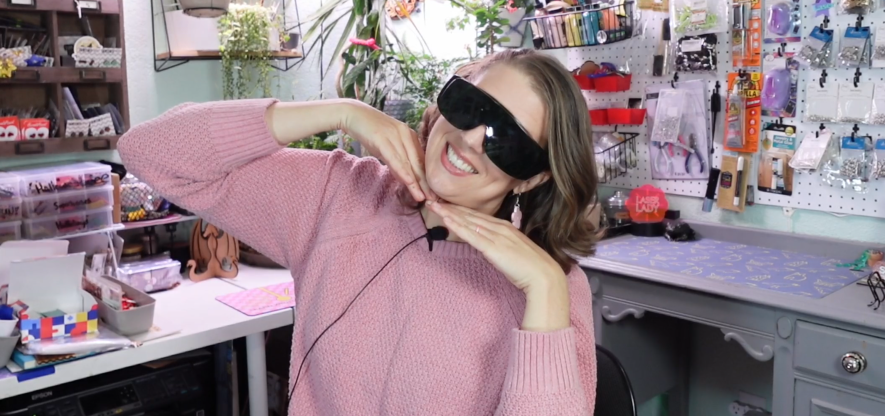
Here’s the basics: Don’t look at a laser beam. It will melt your eyeballs. Don’t touch it either! It will melt your skin.
You might have gotten some cool glasses with your laser. But, they might not be that good. Search up some nice “certified” laser light blocking brands or do what I do, and don’t watch the laser beam.
However, never leave the laser unattended.
Keep a fire extinguisher or at least a spray bottle of water nearby. I’m convinced everyone who has had a laser for a while has a fire story, so seriously ~ stay close. Nice lasers have a fire detection function, but not all of them and they’re not 100% reliable, anyway.

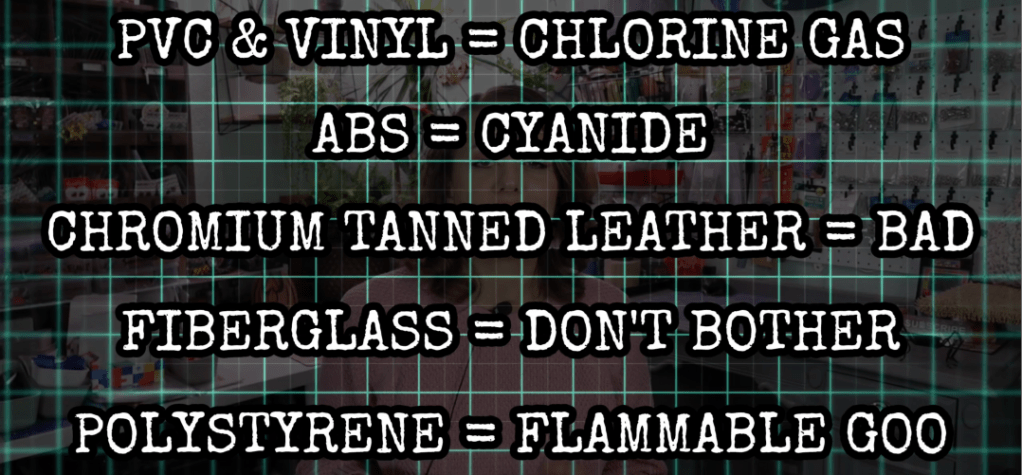
There are “Forbidden Materials” that could literally create toxic gas, ruin your laser and/or ruin your lungs. Here’s a quick list of what not to laser:
- PVC and Vinyl makes chlorine gas, which is toxic to humans and animal, and can corrode parts of your laser.
- ABS Plastic emits cyanide fumes when lasered.
- Chromium-tanned Leather releases toxic chromium oxide fumes during laser cutting.
- Fiberglass contains both glass and resin with awful fumes and likely won’t cut through.
- Polystyrene Foam will just melt into a flammable goo.
Stick to wood, acrylic, and paper until you learn more about materials and find trustworthy places to purchase laser-able materials.
Software
Like I have mentioned, there are oodles of laser manufacturers out there and some have proprietary software to operate your laser with and others are open to freeware or the big one – Lightburn.

There will be a learning curve on mastering your software, but the time spent will be worth it. Personally, I do love Lightburn. It is compatible with most lasers and has so much support and tutorials here on youtube, it’s amazing!
But I favor the proprietary MakeIt program that comes with the WeCreat brand lasers, when I’m using a WeCreat laser.
So, what can you make with a laser?
I could literally list a few hundred things that you can make with a laser, which I’ve done before on my channel, but I’ve come up with 5 fun projects for a newbie! It doesn’t matter what laser you have or how big. These are relatively small projects, and I’ll have a download for all of these below.
Magnet
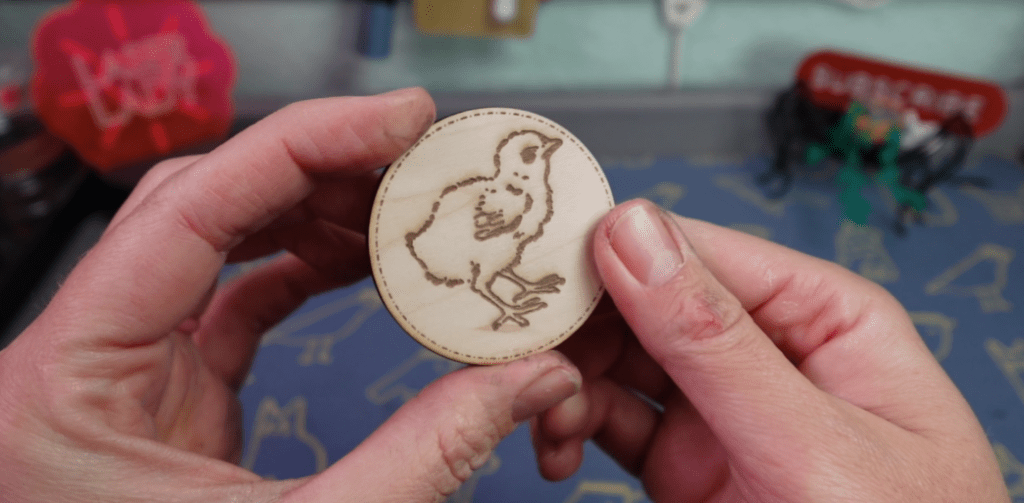
First up we have a classic magnet. But not just any magnet. This is the same exact design I had made for my very first laser project 11 years ago. A magnet, but not just any magnet, a Chick Magnet. Not because I’m a chick magnet, but I love chickens and this is a fun play on all that. If you know a chick magnet, this would be a great gift! Or to anyone who also has chickens. So versatile!
I recommend wood for this. I’ll be using some MDF core wood board from Craft Closet in my 10w diode WeCreat Vista laser.
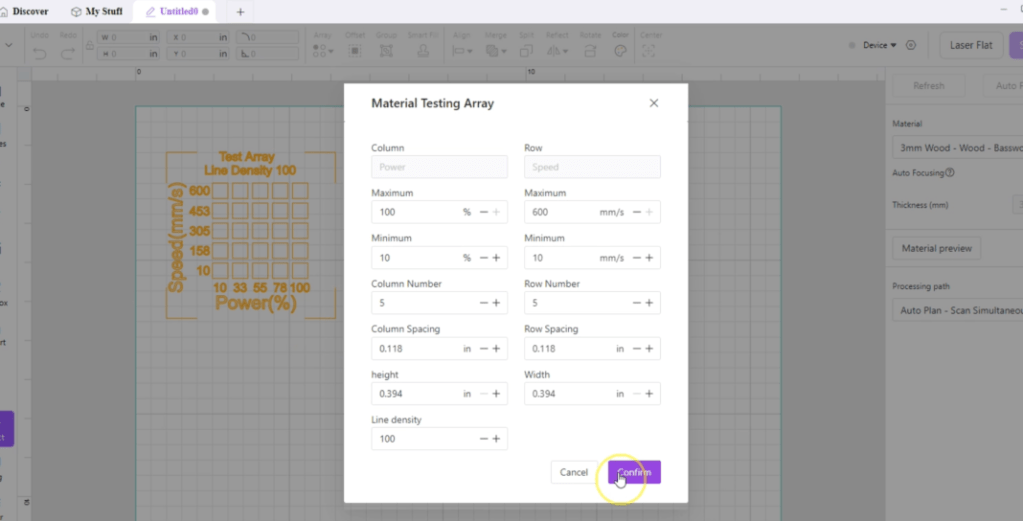
Settings are going to depend on the type and power of your laser. Before you get to this step, take a little time trying your settings. Pretty much every type of laser program will have a setting array to try out.
Engraving this little chick shouldn’t be too deep or scorched. If it is, your power settings are probably too high and/or your speed is too slow.
If you have a lower wattage of laser, say a 5w diode, you will probably want to go around the cut line more than once to cut through without scorching it.
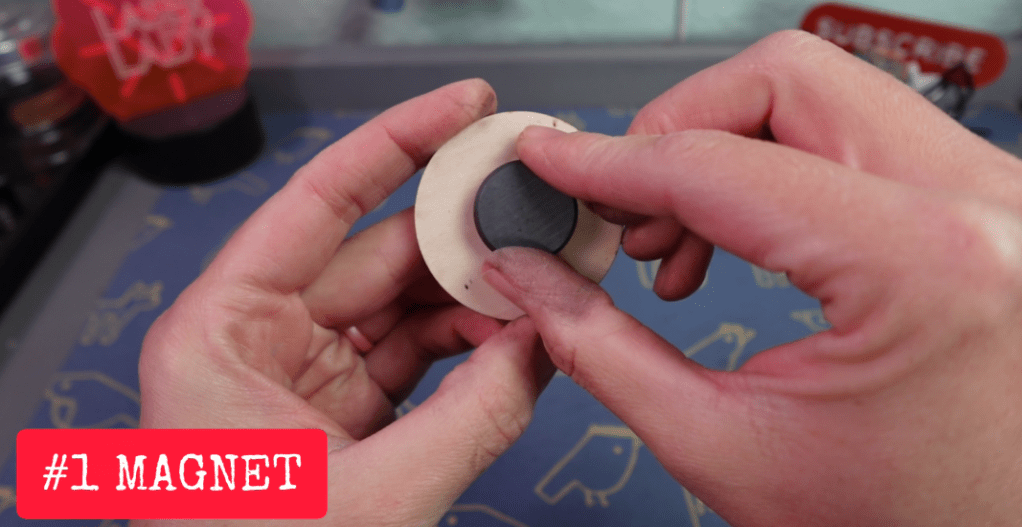
We just need to put a magnet on the back of this, and we’ve got ourselves a chick magnet!
Box

Time to make your first box! No need to stick with 2 dimensional items, let’s go 3D!
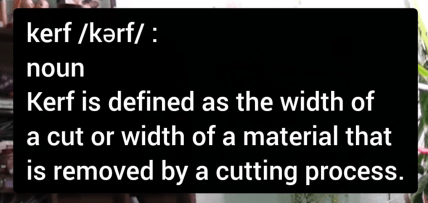
When making something that fits together like this, you need to know about kerf. When we laser out something, we are pretty much vaporizing a line of material, which then is separating it. But now some of the material is taken away, this is what a kerf is.
So, in order to make up for the kerf and ensure that the joints fit tightly together, we need to adjust the side of these joints to be ever so slightly bigger, or smaller depending on the joint. Lucky for you, I’ve already done this in the downloadable design (above).
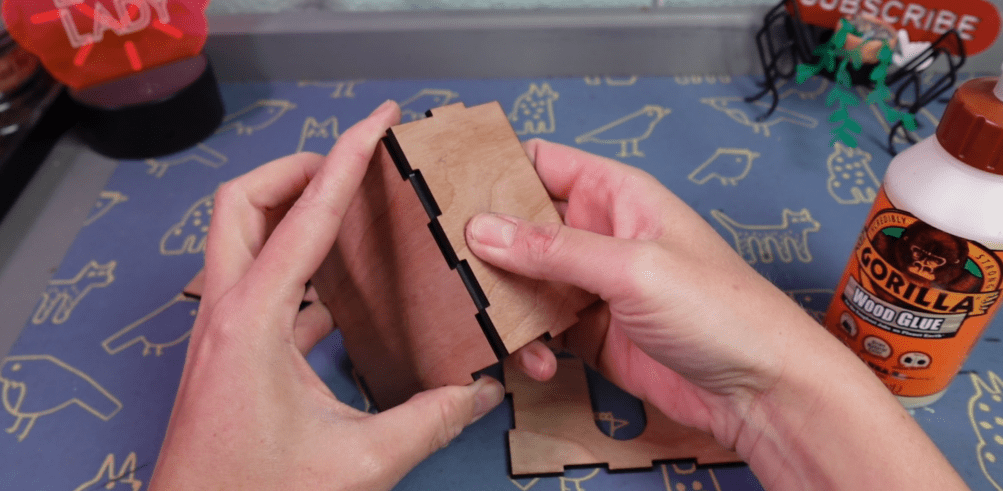
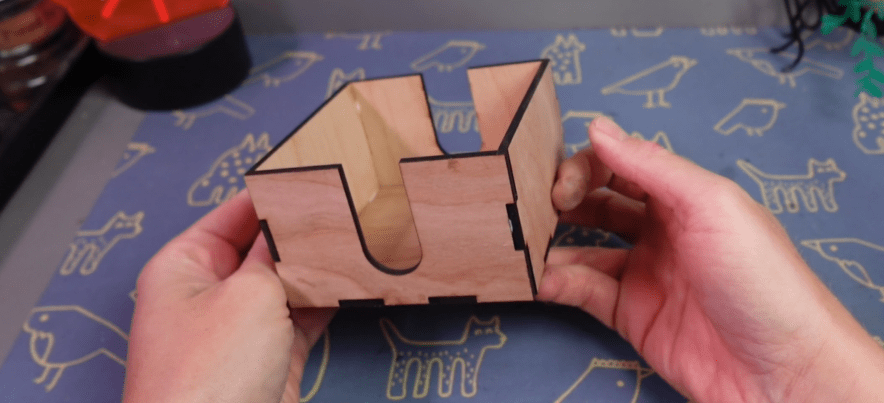
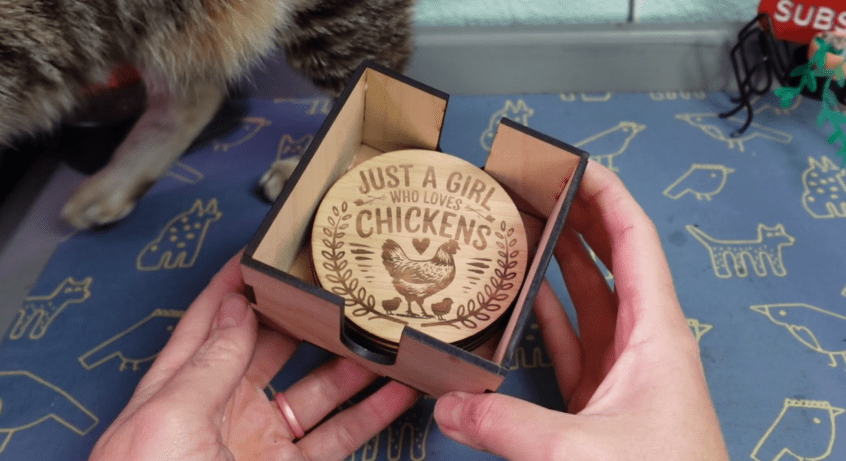
Now after you cut out the box, the corners fit more snuggly, which also really helps for gluing. If you are wondering why there are these slots, it’s because this is a coaster box! Now let’s make some coasters!
Coasters

If you own a laser, it is legally required that you make coasters at least once. I don’t make the rules, I’m just laying them down for you.
There are really cool materials out there that you can make coasters from, like slate or tiles. Let’s just stick with the same woods that we’ve been using.
The free file I have for these are blank. If you are using a program like the ones I’ve been talking about, you can usually import an image, and it will be able to engrave it.
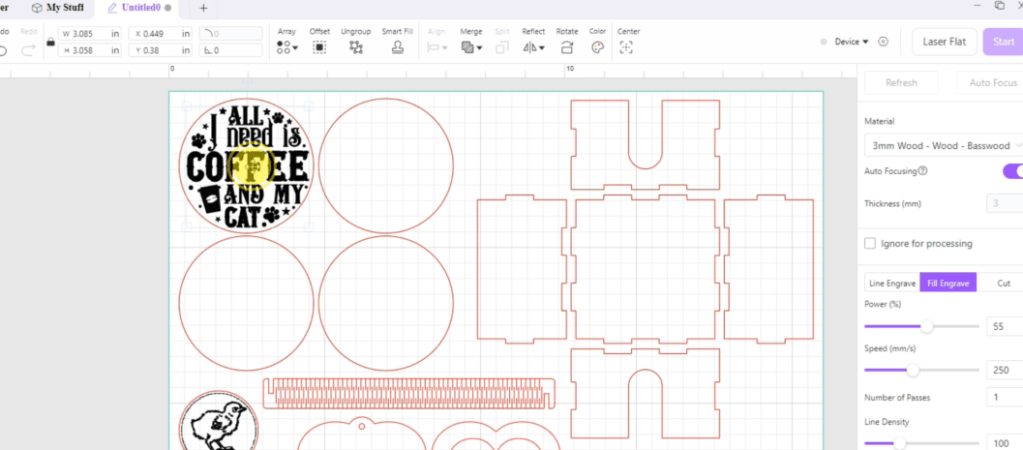
Here in the MakeIt program, I have uploaded some SVG designs and set them to engrave and the line to cut.

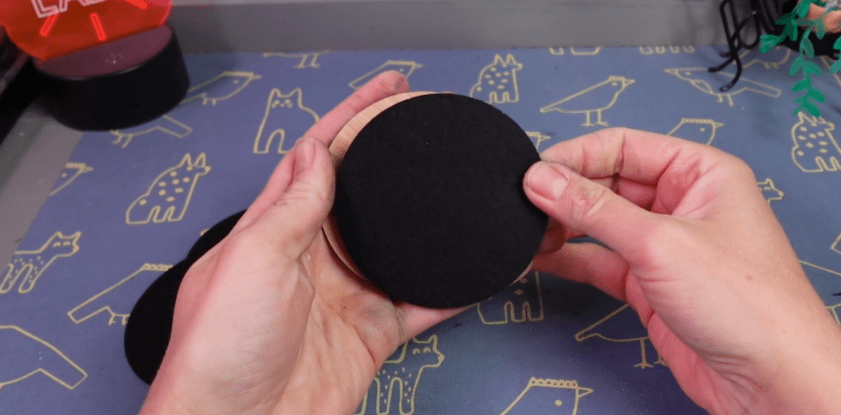
These can be painted, stained or sealed. I like to put a little felt on the underside, which we can cut some with our lasers, why not!?
Using the same cut lines as the coasters, I just cut that out of this felt that has a sticker side. It cuts much faster than wood, so be sure to adjust your settings!
You then just need to line them up and they are ready to protect tables from dangerous moisture!
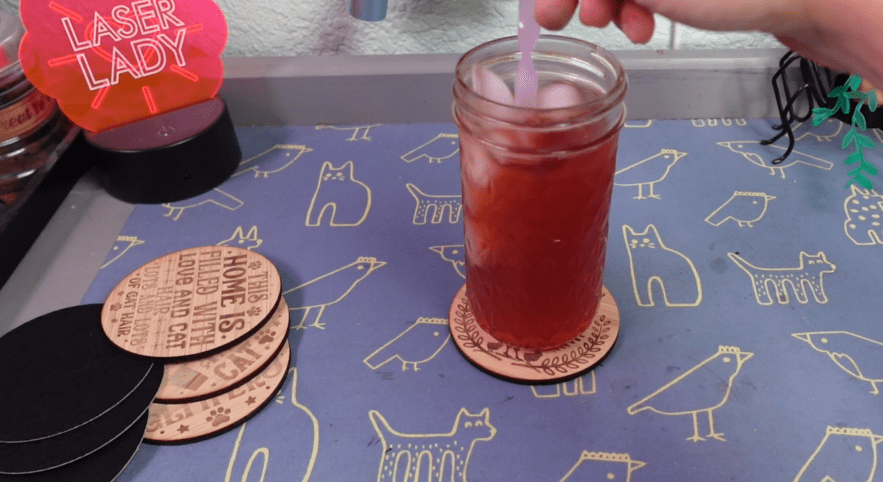
They just fit right in that box! You’ve got yourself a whole coaster set now!
Nested Design
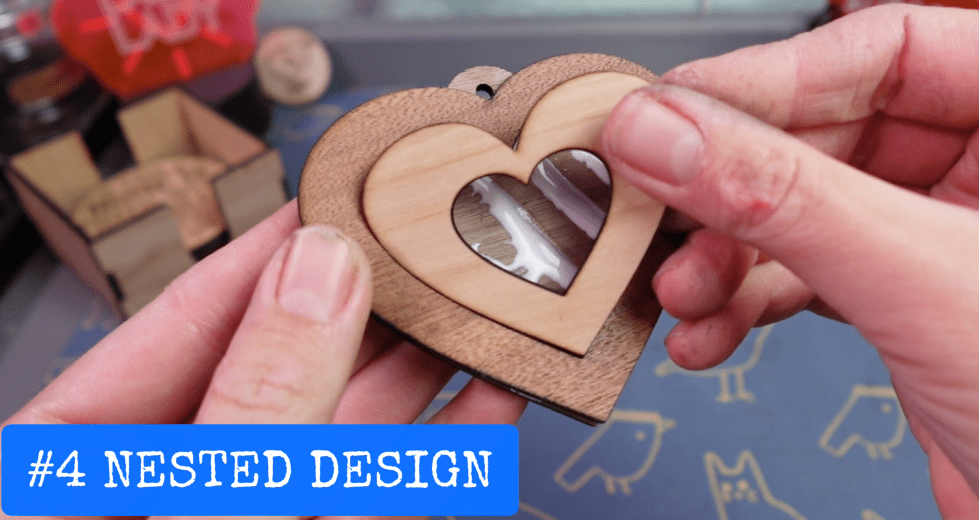
Layered and nested designs are what makes laser crafting absolutely addicting! I have this simple heart ornament design, so let’s cut out each of these in a different type of wood to get the full effect.

The more you cut out different kinds of wood like this, the more fun smells there are. I think walnut and bamboo is some of my favorite laser smells. Acrylic isn’t great, and leather is sure something else. That’s one of the many reasons why venting outside, is ideal.
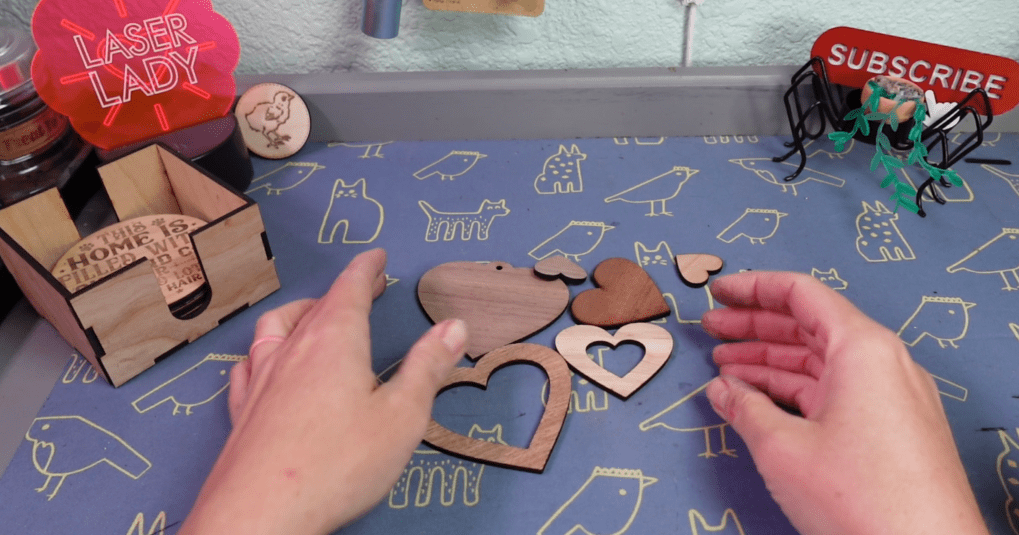
Once you have all the hearts cut out, we just need to glue them all together. A little spray varnish beings out the beauty of the wood!

You can use the scraps with other heart ornaments or make a new one!
Get Creative with Living Hinges
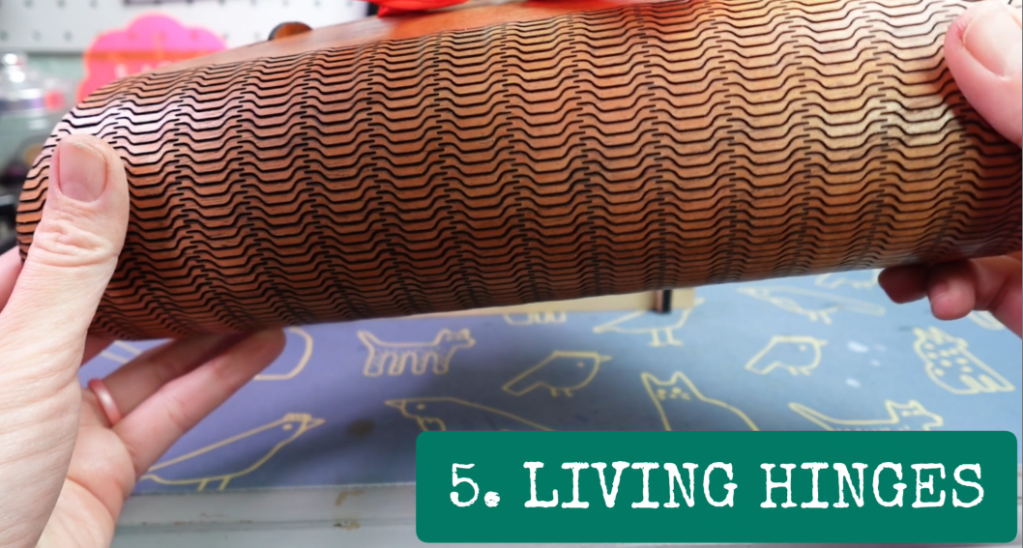
We’re straying away from 2D again! Living hinges are wildly fun when seeing what your laser can do!
The design I have for you is half just an example, and half a cord organizer. I’m going to use some nice cheap MDF from Craft Closet, one of my go-to places for laser materials.
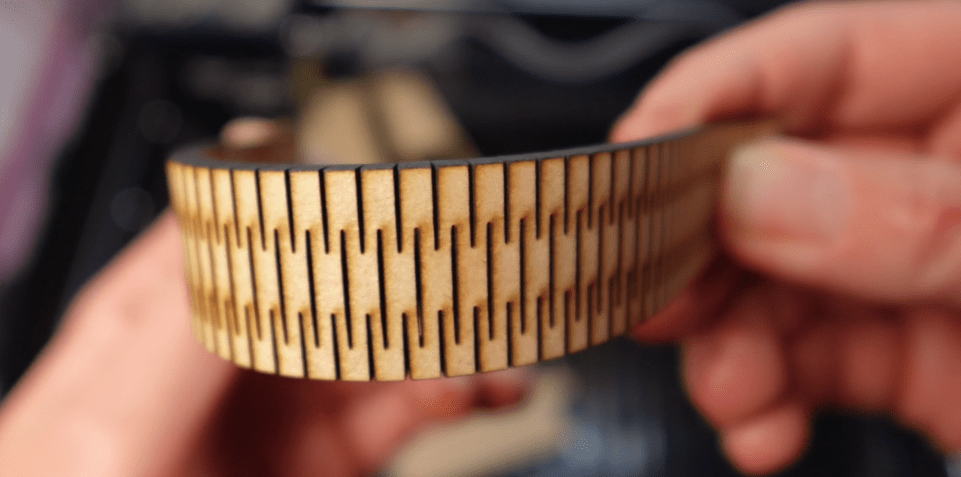
It just cuts out a whole lot of lines and thanks to the kerf, like we talked about earlier, and the way it’s all laid out, this thingy is now bendy!
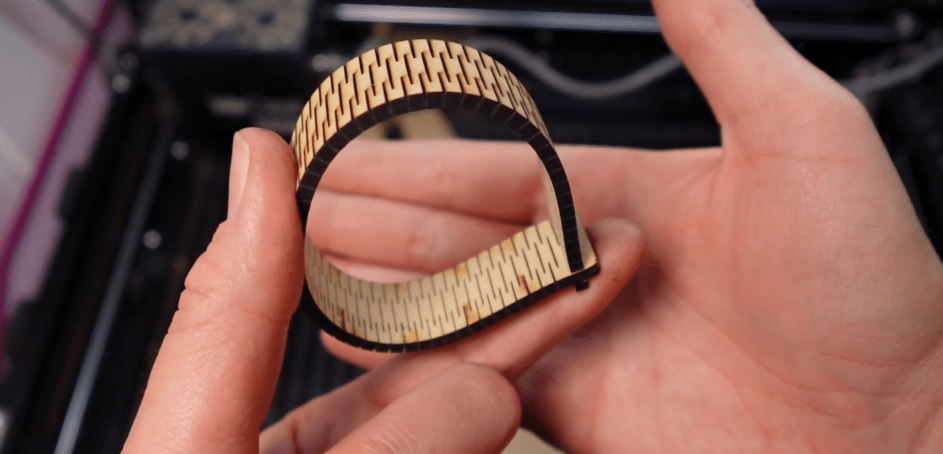
Finding or creating designs with hinges like this can open up your laser projects exponentially!
Making Money with Your New Laser
How do we make money with this thing?

First, get a few projects under your belt, and then perfect them. Showcase them to your friends, family and coworkers and see what they say!

There are a zillion strategies on how to start a laser business, and you’ve already gone over the first two steps! You got a laser, and you know how to use it!
I’ve had a full-time laser cut jewelry business since 2014. I started out with making and trying to sell everything. Then I saw that people liked my jewelry more than everything else I made and the rest is history. Well, history that is still be written!
If you are thinking about starting a laser business, you may wonder if it’s worthwhile. With the right preparation, success can be easy. I’ve been in your shoes and the best step you can take to make a successful laser business is to read this article next.
Happy crafting!

Leave a comment