

Small Space? This is the laser solution you’ve been looking for.
Supplies for Project
⇢ FLUX beamo Laser CO2 Laser
⇢ Fancy Acrylic – Save 10% with Code LASERLADY
⇢ Novus Plastic Polish
⇢ Weld-On Acrylic Solvent
⇢ Gorilla Duct Tape
⇢ Flower Earring File
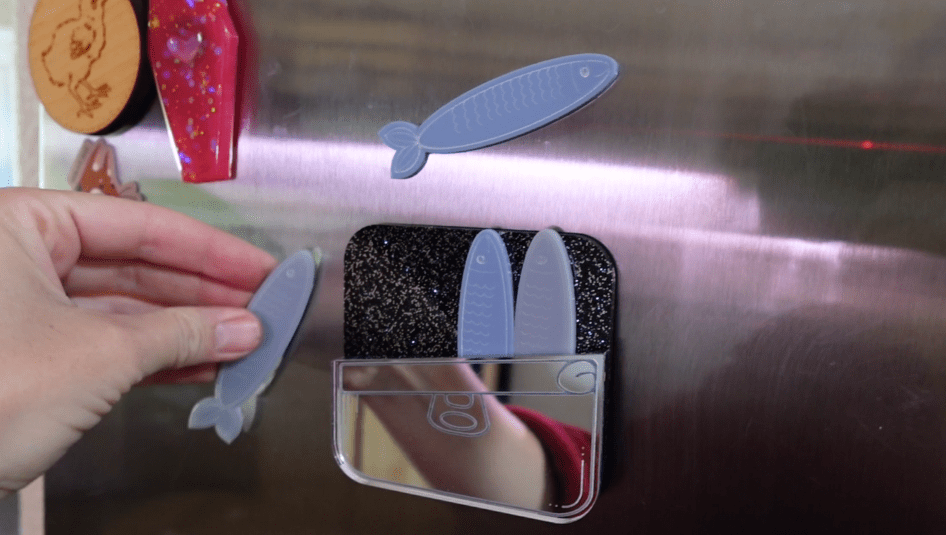
⇢ Sardine Magnet File
⇢ Extra Duct Fan Exhaust Unit
⇢ Replacement Focus File by 3D Universe
If you are looking for a laser that is small but powerful, can cut acrylic AND is easy to use – this is it! The beamo by FLUX Lasers is a mighty little machine made for big things. Let’s talk about it!
➕ Subscribe to my YouTube Channel HERE!
Little Laser Machine Made for Big Things
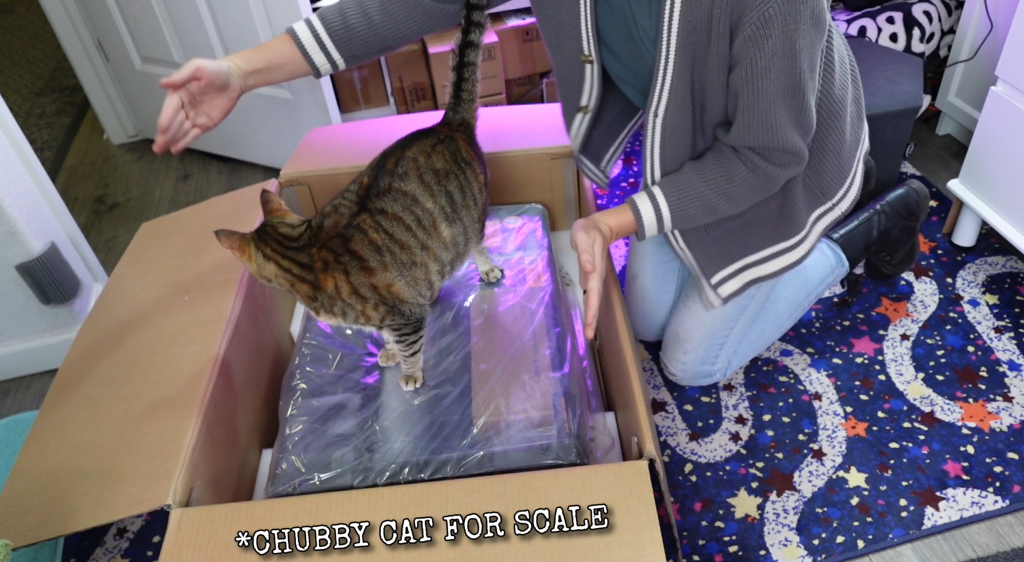
For those who don’t know, my office is a pretty small space and is quite occupied by all sorts of crafty things. This is the first benefit of the beamo. Coming in at only 2 feet wide, this CO2 30w laser, will fit nice and snug just about anywhere.
Let’s talk for a minute about what a CO2 laser means. A CO2 laser engraver is a type of machine that uses a high-powered CO2 laser beam to cut and engrave materials. The laser is generated by electrically stimulating a gas mixture primarily composed of carbon dioxide.
This differs greatly from a diode laser which is essentially a concentrated blue light that can engrave and cut solid materials like wood, but not clear materials like acrylic or glass.
Not only are CO2 lasers generally more powerful and can complete projects faster, but they can effectively engrave and cut every type of acrylic, engrave clear glass, but also paper, wood, leather, stamp rubber, and like 6000 other things.
Now that you know, let’s finish getting this thing set up.
Setting up the FLUX beamo Laser
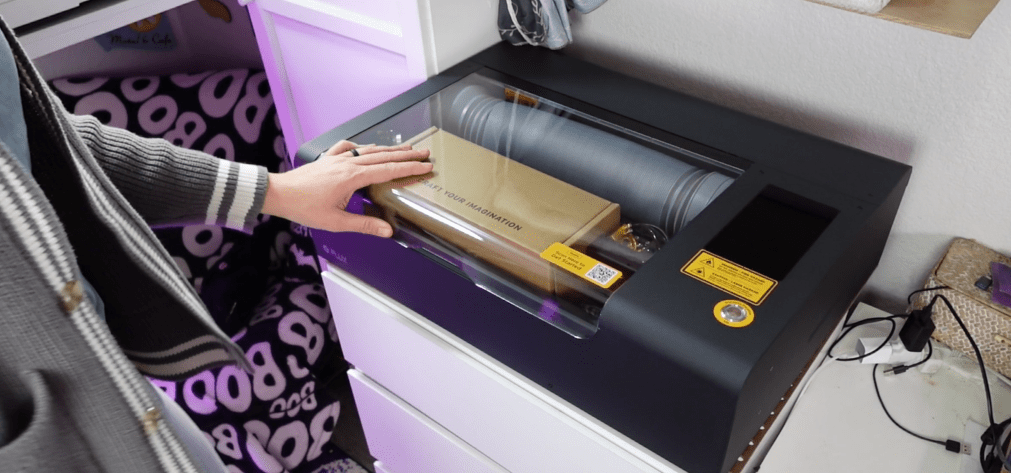
It comes with everything you need! I recommend you situate the machine near a window to vent the exhaust tube. We’ll get into that more here soon.
The only other things you really need are either set up, like the laser head and honeycomb bed, or included like the power cord and the Wi-Fi antennae.
Set up is wildly easy and should take you less than an hour to have it out of the box and onto your first project.
Simply plug in the power cord, exhaust pipe, and wifi anntenae and we can fire this thing on.
I hooked my exhaust pipe to a nice inline duct fan. This thing super sucks.
Now, if you are wondering about the air assist pump and the water cooling system necessary for CO2 type lasers, well, they are all inside and ready to go! This really helps to save even more on space but makes setup a dream.

This coolant that is inside the back part of the machine will need to be replaced eventually, but for now, we are set to go.
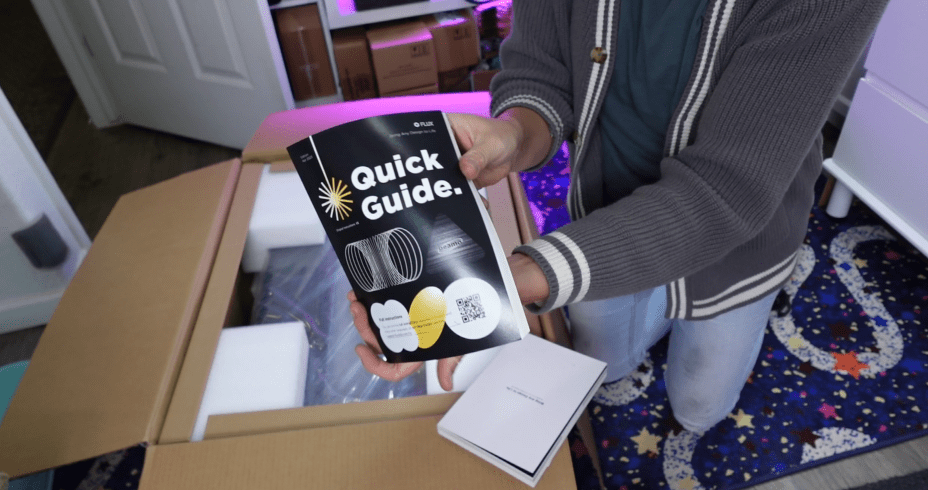
There are some things that need to be set once you power this tiny baby on for the first time. Lucky for us, the machine will guide you through it, along with those instruction books.
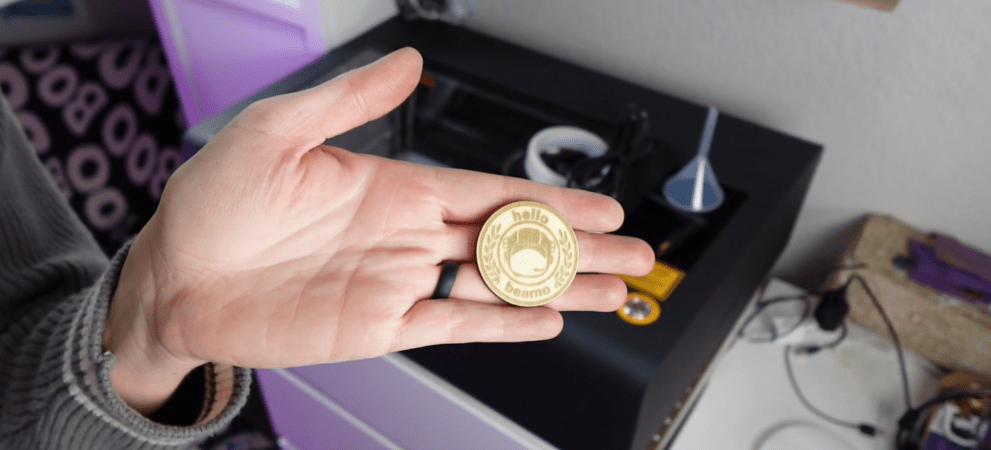
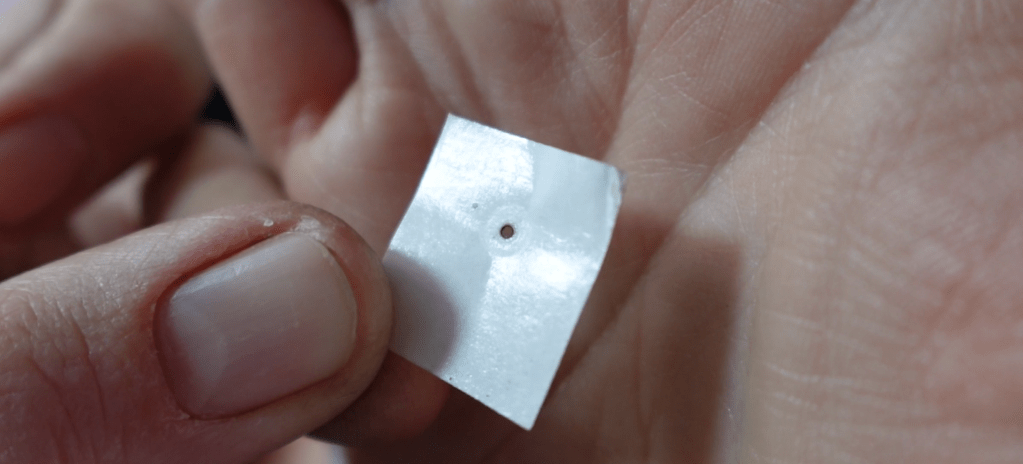
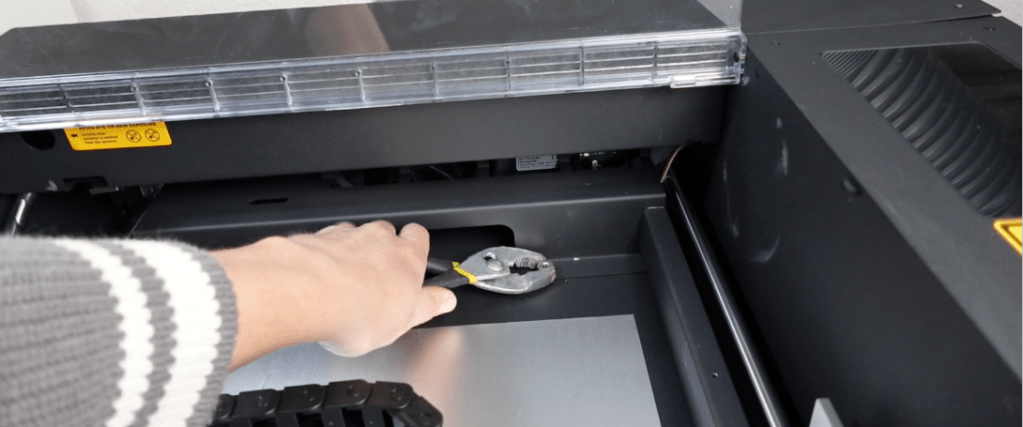
The first thing it will help guide you through is making sure the mirrors are aligned. The process is easy, just put a little bit of the tape provided, push it around the cone to make an indentation, and test if the beam shoots center of the cone. Perfect.
Let’s talk a minute about the Software.
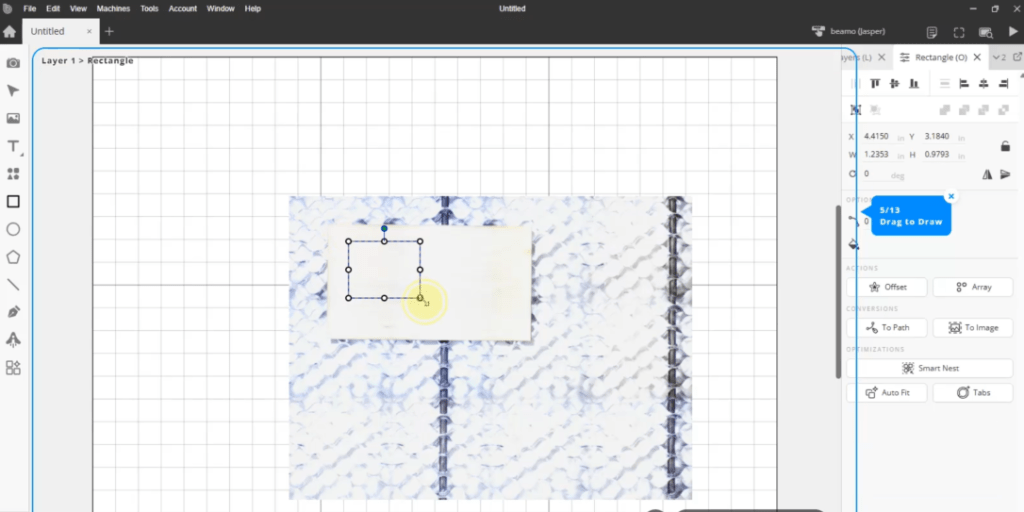
FLUX beamo Software Interface
I absolutely love a laser that comes with it’s own software. It usually makes settings easy, will always work with your machine and they’re literally made for each other. You can connect this machine to Lightburn with the bridge cable, if that is more your style.
You can do everything from here, such as make sure the camera is calibrated. YES! This little thing has a camera! You might be wondering where it is.
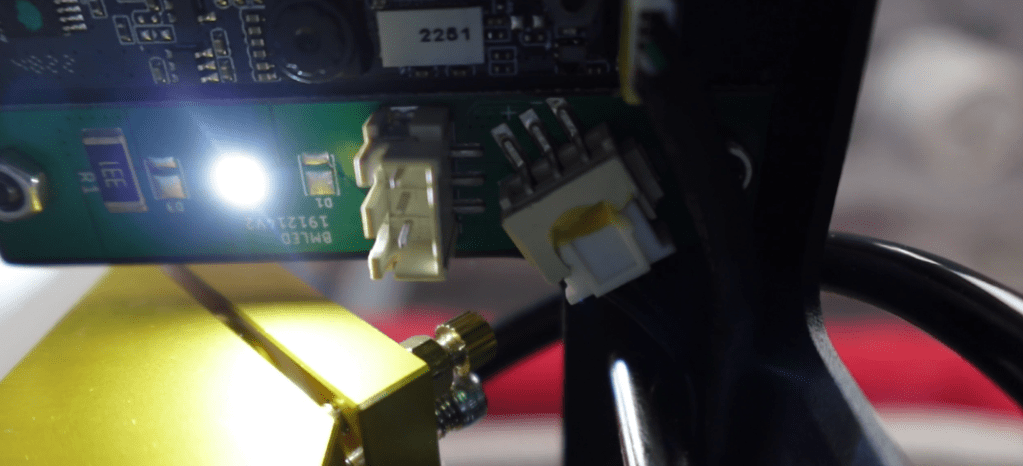
It is mounted near the laser head. So, to take a picture of your material, it will cycle through taking little pictures all along the bed.
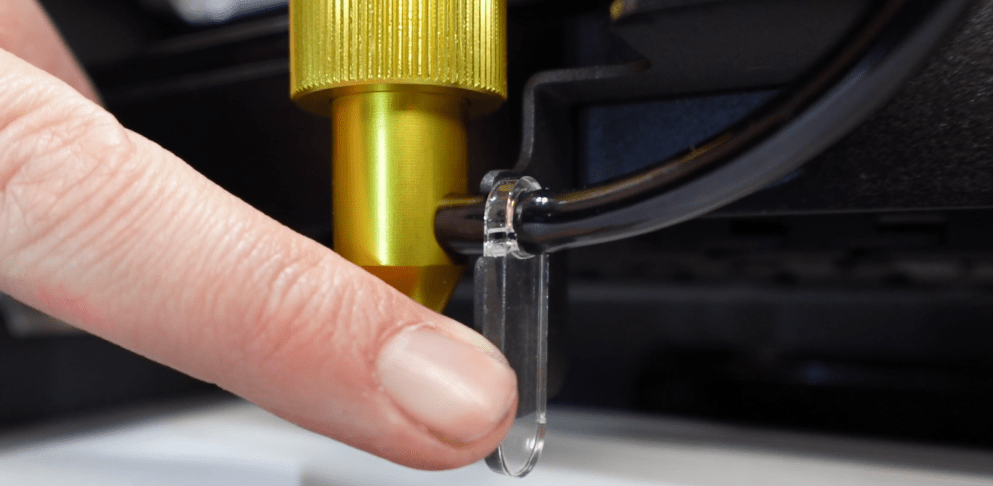
Plus, there is a little focusing tool on the laser head, to keep things simple. Just move this little acrylic piece down and adjust the head height.
There are many tutorials on how to get set up, try out your new machine and get to crafting!
Let’s stop dilly dallying and make something!
Testing FLUX beamo Laser with Mirror Acrylic
Let’s jump right into the deep end by trying out my beamo with Mirror Acrylic!
CO2 Lasers can do more than just engrave it; they can also cut through mirror acrylic from either side.
Let’s engrave the mirror side and try to cut it out. I don’t have the settings nailed down yet, but this is a great way to find them out!
Let’s start with the pre-set settings for acrylic.
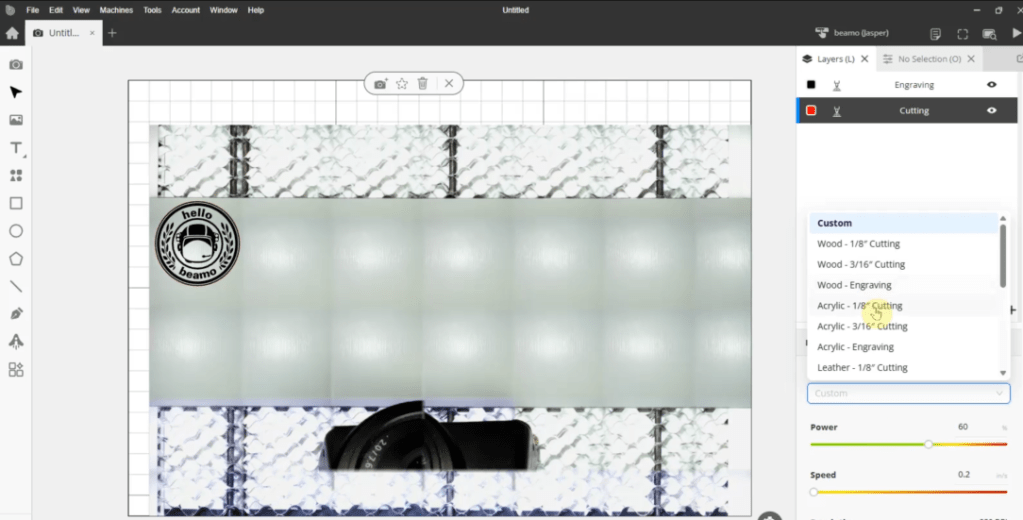
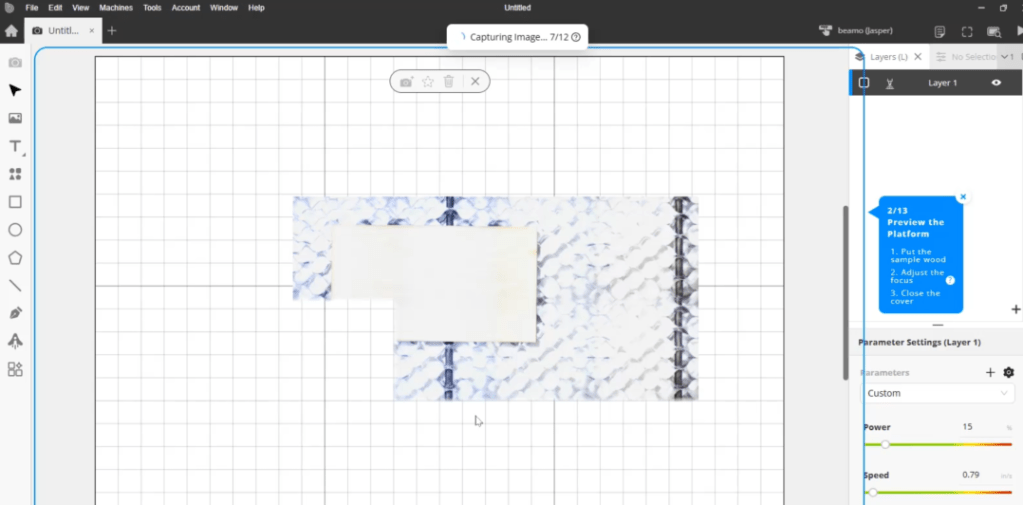
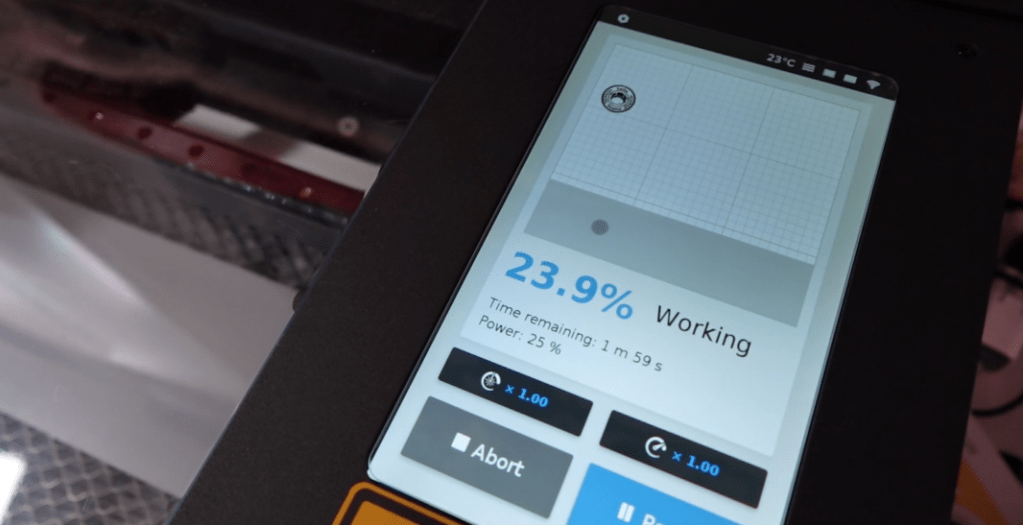
I really like how you can see how far along a project is, by the way.
It seems to have engraved really well, but the power is too high for this acrylic! As you can see, the shiny honeycomb bed really reflected a lot of the beam back onto the underside of the example. Plus, I didn’t reverse the image. Whoops.
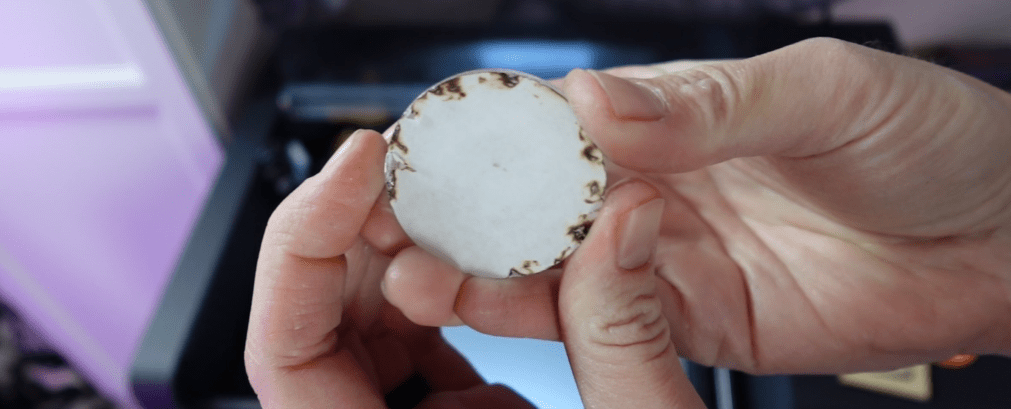
Time to decrease the power, increase the speed and try again!
This time, I’m going to try it with a little tree spirit you may recognize. After a few tries, I got the settings just right. It took two low power passes for a perfect cut. The more you try new settings, the more you’ll come to understand your machine and hone that in.
In fact, different types of acrylic would probably need different settings, so let’s try more types of acrylic!
beamo Fun Project Frenzy!
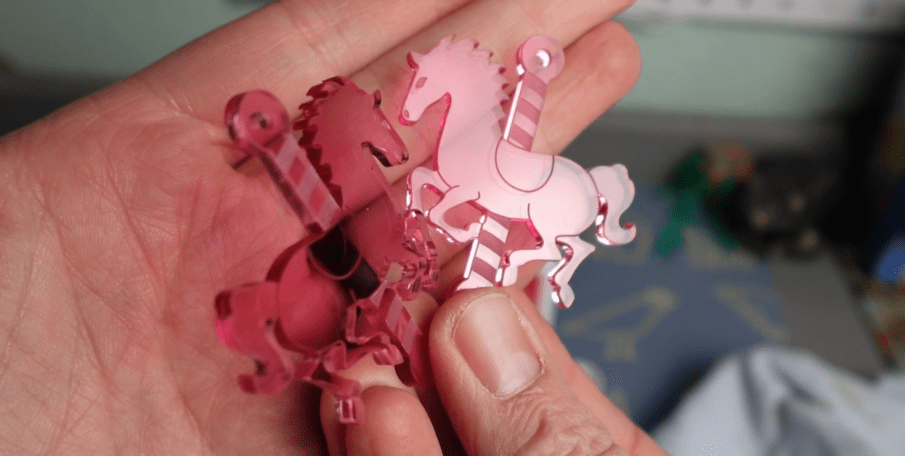
Next, let’s try clear pink acrylic. Clear acrylics cannot be cut by diode lasers, which makes CO2 lasers perfect for all your colorful laser needs.
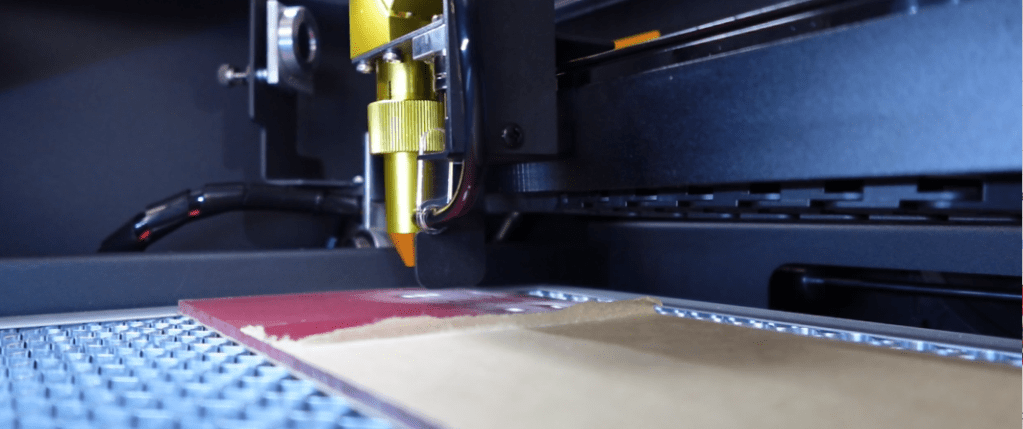
These carousel horses cut out in one pass, now they just need a little bit of buffing with this Novus Plastic Polish, number 2 is my favorite. Hot tip, strong duct tape can help you peel off the masking on acrylics.
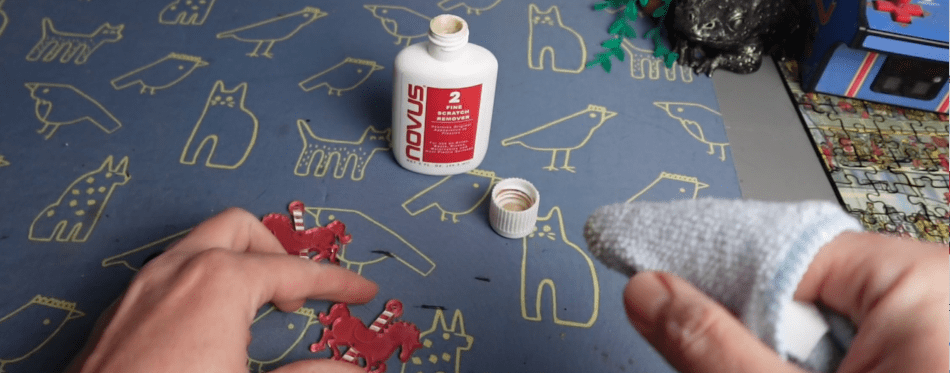
Now these are ready to turn into some earrings or maybe a couple of necklaces!
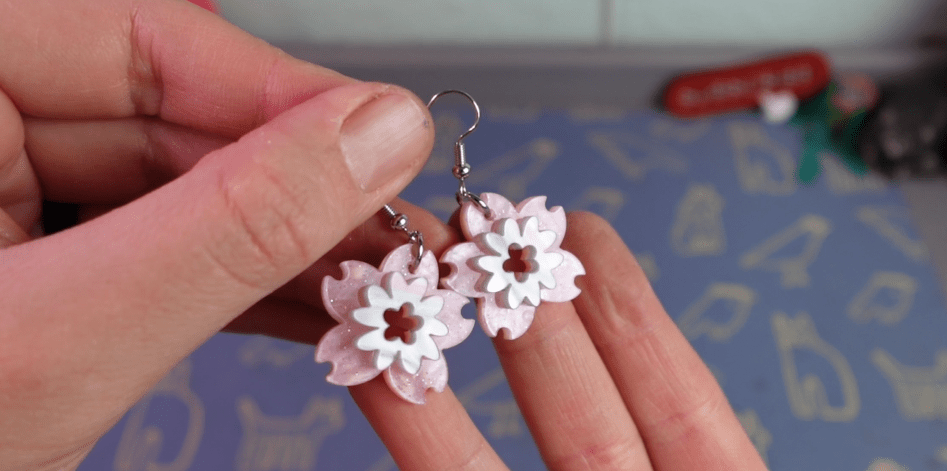
Speaking of jewelry, let’s try out some specialty acrylics like this shimmery swirl glitter acrylic. Again, it cut out like a cloud. Let’s make layered earrings by pairing the pink layer with this opalescent white color!
Here’s a little mini tutorial for you. To combine these acrylics, the best thing to use (in my opinion) is this Weld-On Solvent. It will essentially melt the two layers together making a permanent bond. I made this weird tool to grab just a little drop and the surface tension sucks it in between the layers.
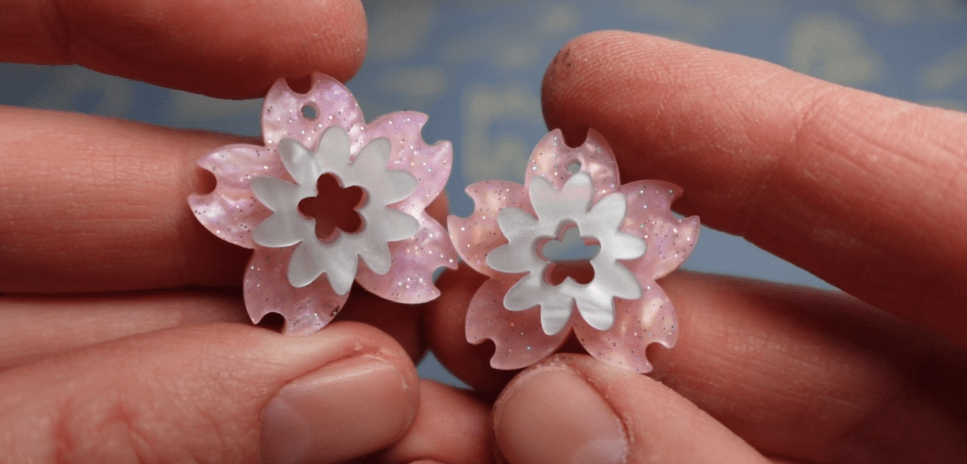
After a few moments, these are ready to turn into some more just jewelry! No need to paint or seal any wood. Just colorful, durable acrylic jewelry.
Time to set up the Rotary! That’s right, we’re taking this 2D journey into a whole other dimension!
Setting up the Chuck Rotary on FLUX beamo Laser
I am always looking for a good rotary tool and I think I’ve finally found one!
Whenever looking for a laser with a rotary add-on, always go for the “Chuck” style. You can engrave so many different shaped items, you gotta trust me on this one.
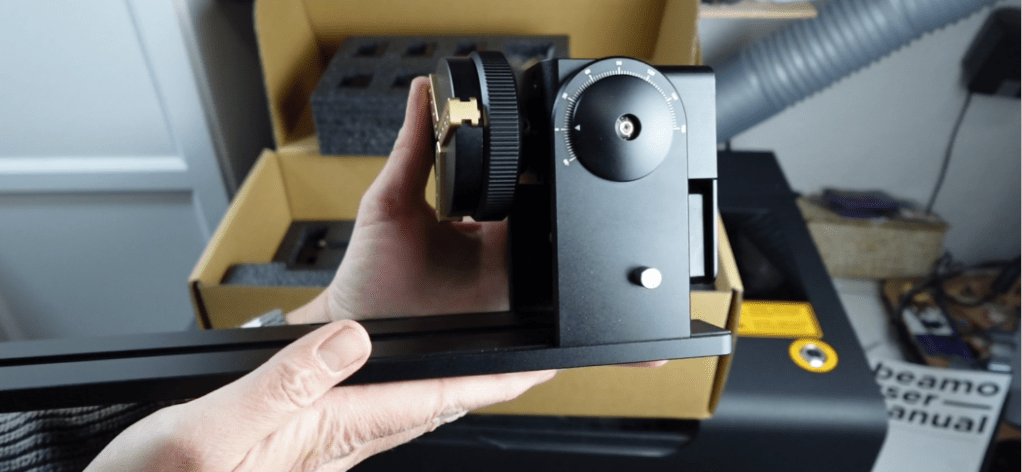
PLUS! This chuck rotary has the ability to angle your cylindrical item. We’ll be using this feature soon!
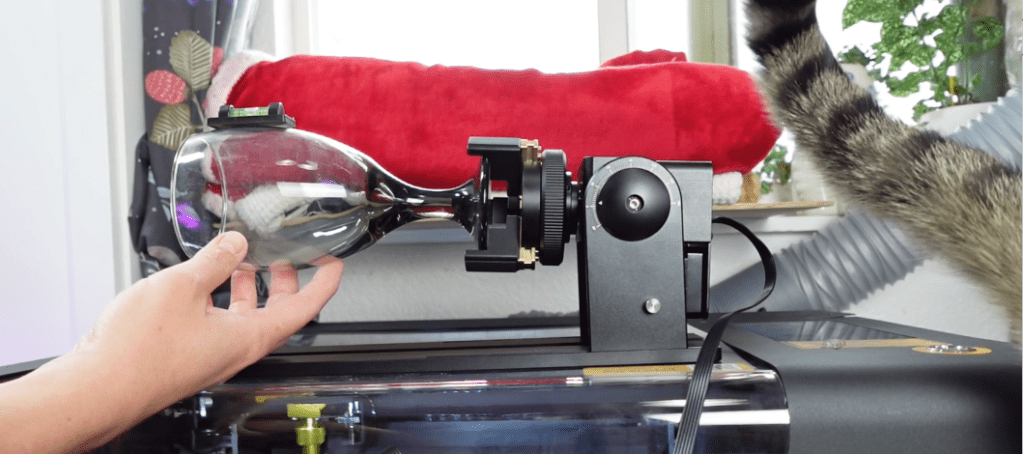
Hold onto those glasses! We’re going to need to raise the machine up and will need to protect our eyes, and look cool, obviousy.
Long story short, we need to get the honeycomb bed out of the way and remove the bottom panel. This is all pretty easy.
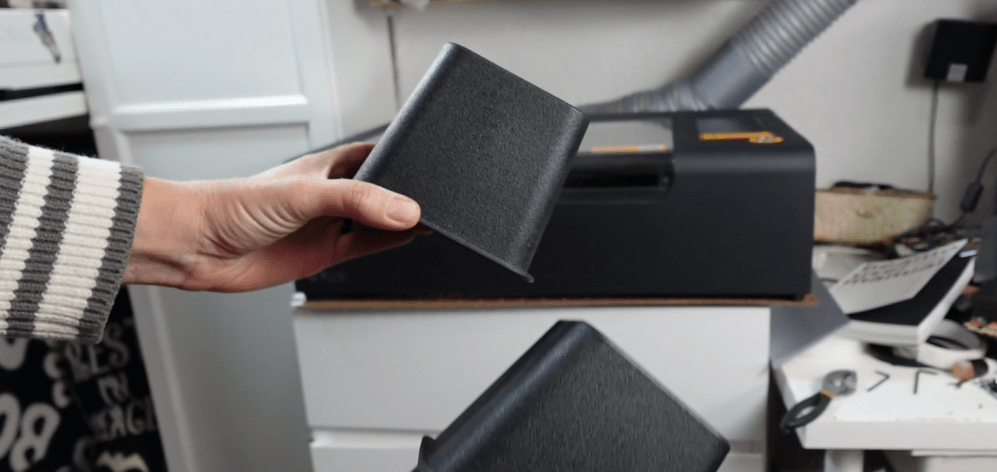
To raise up the machine, I have these super sturdy bed risers.
The underside of the machine is where the rotary cable is.
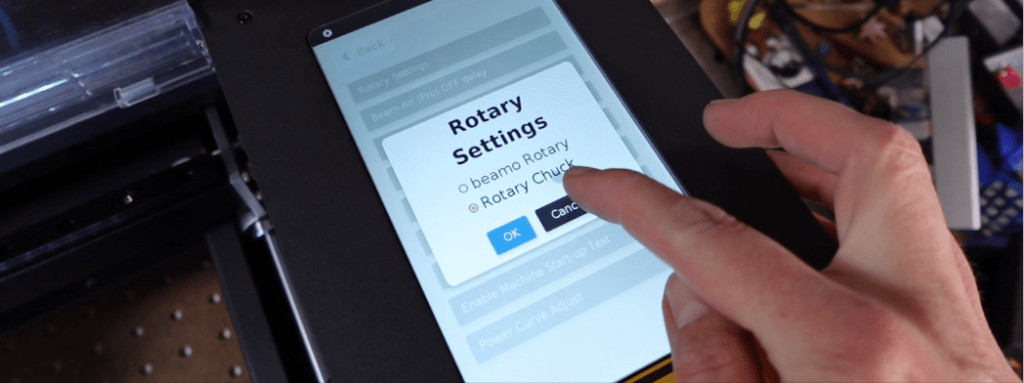
Once everything is ready, make sure your chuck rotary has some arms, plug it in and set it in the machine area, and then set your machine to rotary mode.
There are step by step guides to walk you through the process.
I’ve got my cup all measured, so let’s do a little testing!
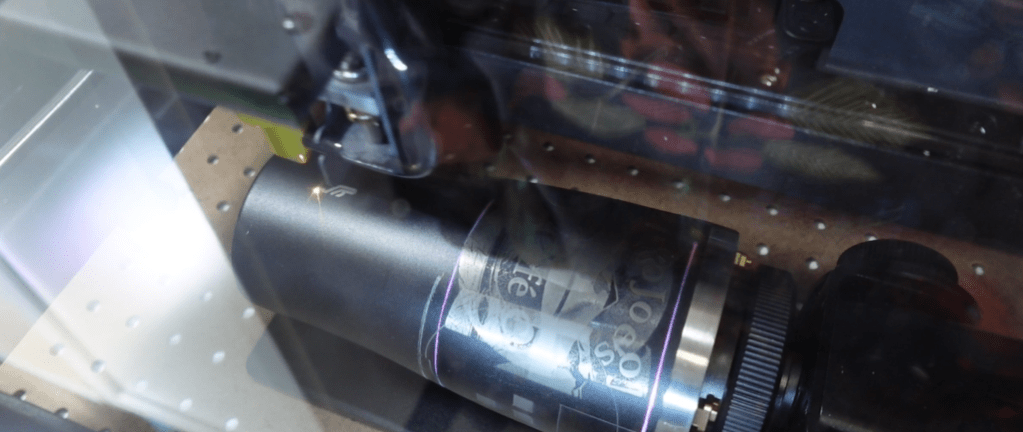
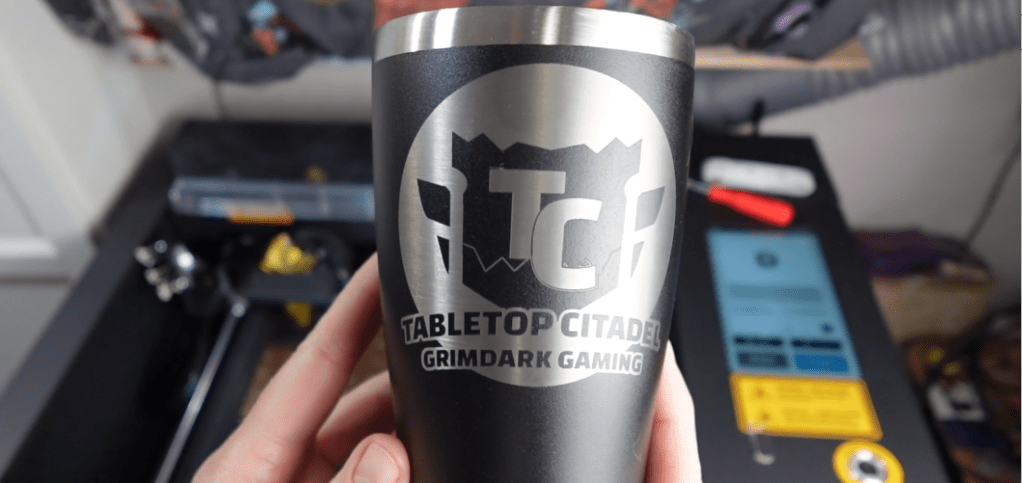
Just like with flat things, we can still use the camera function to align everything to where we want it. And since this is a powerful little 30-watt CO2 laser, it engraves quickly and without too much need for cleanup, like on less powerful diode lasers.
I made this one right after my successful test and this only took about 6 minutes! Here it is all cleaned up and ready to convince another local shop they need to pay me to make these. Haha!
But wait! There’s glass! I mean more!
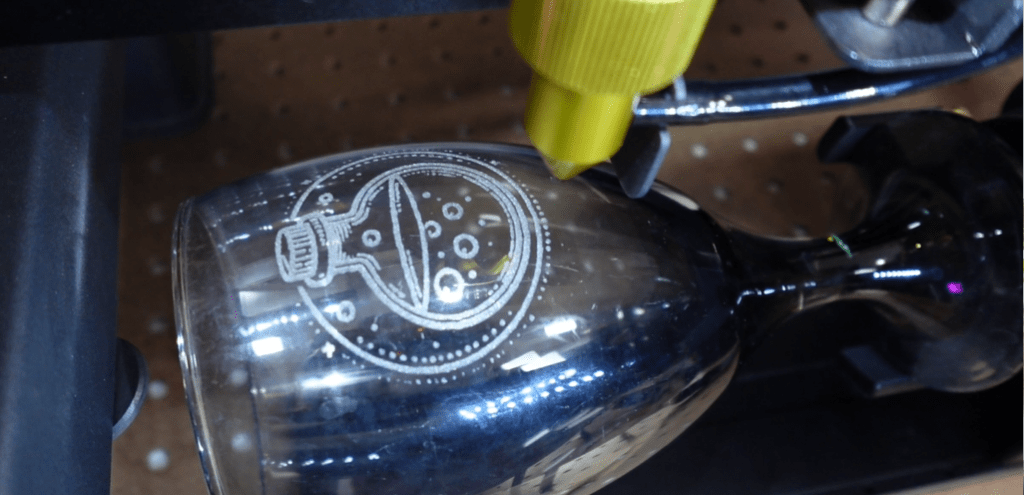
With a diode laser, you would need to have some sort of paint or substance to reflect the beam off of to achieve an etch, but not with CO2 lasers!
Plus, with the angled chuck rotary, we can get a glass like this wine glass, engraved at the perfect angle.
The software makes it easy to position images and the laser does all the hard work.
Not too bad for my first try engraving glass with this laser huh!?
Main Benefits of the FLUX beamo Laser
Ok, quick recap while I cut out a bunch of special fun acrylics. And – Let’s see if you can guess what I am making while I do!
Acrylic. This beautiful baby beamo can cut them all. Engrave them all. Yes ALL. Any this 30watt cutie patootie can cut acrylic up to 3mm thick. Of course, it dominates wood too, and I’m not just talking nice airy birch. But solid woods, which I recommend for jewelry applications.
In fact, keep an eye out for a masterclass on Jewelry making with my beamo here in the coming weeks. It’s how I make a living, and I want to prove to you that it could be a profitable laser business avenue for you to take.
The software is wicked easy to use, especially if you use the tutorials and experiment a little.
You might be thinking the bed is small, but here’s some of the biggest advice I can give you if you are planning on selling things you make with a laser – small things ship for cheap.
Even with shipping prices that keep going up, you can keep costs down for yourself and your customers with easy to ship smaller items.
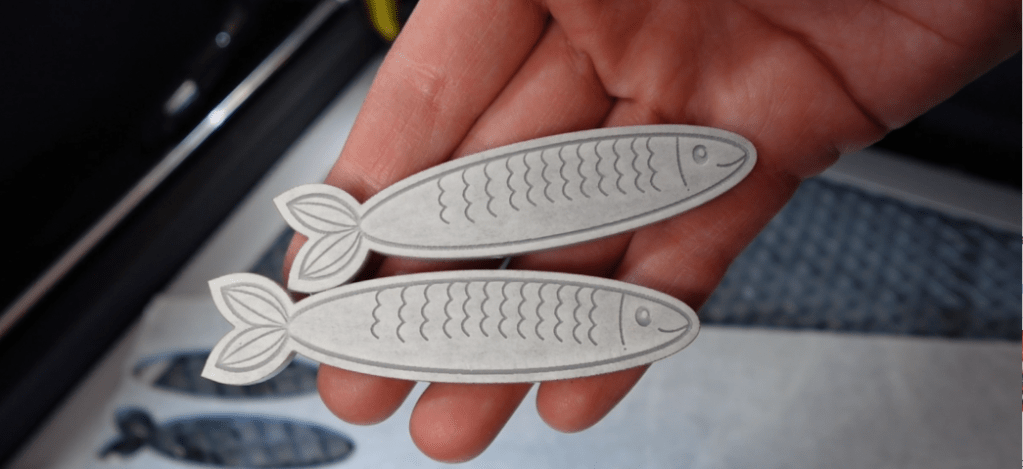
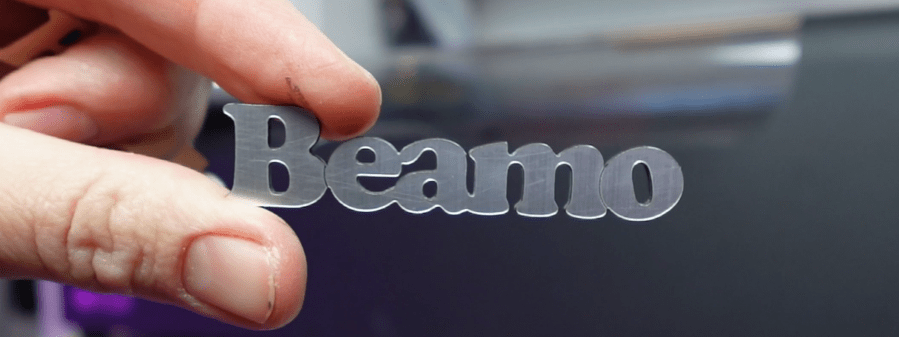
Plus, it’s just fun to make things like this!
Look how cute this is! I’ll have a link to where I got the file in the description and on my blog.
Oh, and guess what I did!? I broke that little focusing tool. I had a feeling I would. So, I just cut another one out! This time, it’s neon green. Very fancy.
Sometimes, the best things come in small packages.
Small affordable packages that are on Sale for Mothers Day right now! Check out the beamo RIGHT HERE.
Don’t get overwhelmed by a $10000 CO2 laser, try out the beamo, fall in love with the brand and see what else FLUX Lasers has to offer!
Thank you so much for watching and Happy Crafting!

Leave a comment